
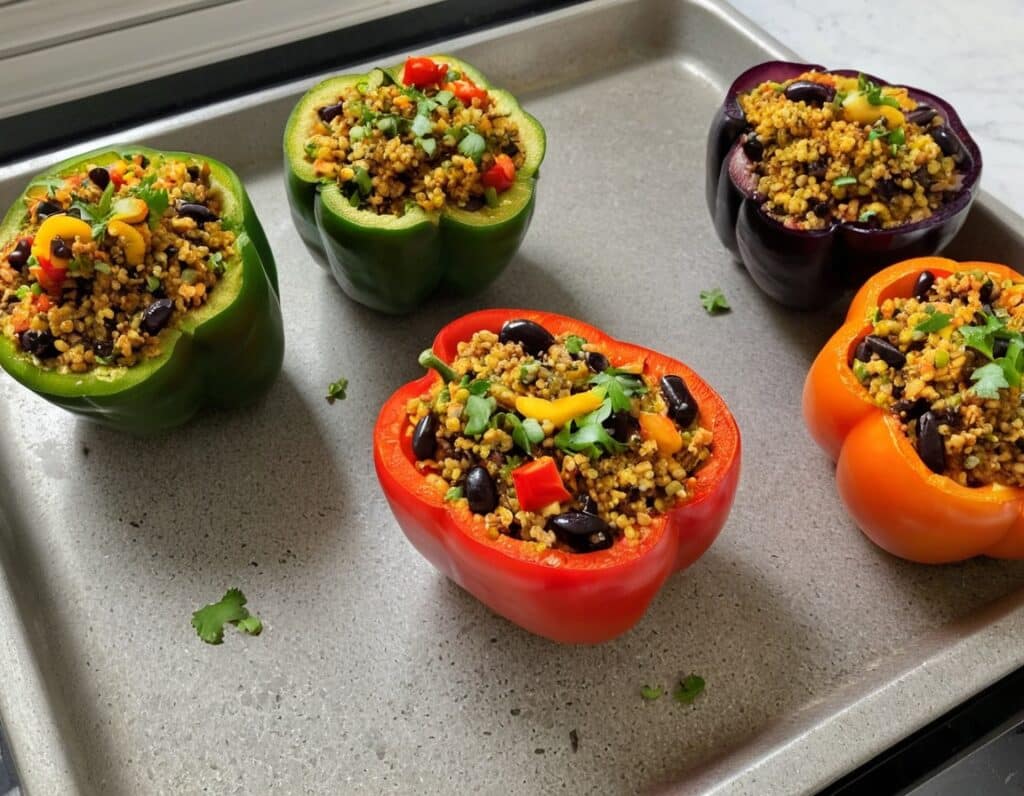
Protein-Stuffed Bell Peppers
10almonds is reader-supported. We may, at no cost to you, receive a portion of sales if you purchase a product through a link in this article.
Hot, tasty, meaty, and vegan! You can have it all. And with this recipe, you’ll want to err on the side of overcatering, because everyone will want some. As for healthiness, we’ve got lycopene, lutein and a stack of other carotenoids, a plethora of other polyphenols, and a veritable garden party of miscellaneous phytochemicals otherwise categorized. It’s full of protein, fiber, vitamins, and minerals, relatively low-fat but the fats present are healthy. It’s antidiabetic, anti-CVD, anticancer, antineurodegeneration, and basically does everything short of making you sing well too.
You will need
- 4 large bell peppers, tops sliced open and innards removed (keep the tops; we will put them back on later)
- 1 cup quinoa, rinsed
- 1 can black beans, drained and rinsed
- 1 small zucchini (diced)
- 1 small eggplant (diced)
- 1 small red onion (finely chopped)
- ½ bulb garlic, minced*
- 1 tbsp tomato paste
- 1 tbsp chia seeds
- 2 tbsp extra virgin olive oil
- 2 tsp dried basil
- 2 tsp dried thyme
- 2 tsp black pepper, coarse ground
- 2 tsp ground cumin
- 1 tsp smoked paprika
- ½ tsp MSG or 1 tsp low-sodium salt
*we always try to give general guidelines with regard to garlic, but the reality is it depends on the size and strength of your local garlic, which we cannot account for, as well as your personal taste. Same situation with hot peppers of various kinds. This writer (it’s me, hi) would generally use about 2x the garlic and pepper advised in our recipes. All we can say is: follow your heart!
Method
(we suggest you read everything at least once before doing anything)
1) Combine the quinoa with the chia seeds, and cook as per normal cooking of quinoa (i.e. bring to a boil and then simmer for about 15 minutes until cooked and fluffy). Drain and rinse (carefully, without losing the chia seeds; use a sieve).
2) Heat your grill to a high heat. Combine the zucchini, eggplant, onion, garlic, and olive oil in a big bowl and mix well, ensuring an even distribution of the oil. Now also add the herbs and spices (including the MSG or salt) and mix well again. Put them all to grill for about 5 minutes, turning as necessary.
3) Heat your oven to a high heat. Take the grilled vegetables and combine them in a bowl with the quinoa-and-chia, and the black beans, as well as the tomato paste. Mix everything well. Spoon the mixture generously into the bell peppers, replacing the tops (it can be loosely), and bake for about 5–10 minutes, keeping an eye on them; you want them to be lightly charred, but not a burnt offering.
4) Serve! This dish works well as a light lunch or as part of a larger spread.
(before going in the oven with lids replaced to keep moisture in)
Enjoy!
Want to learn more?
For those interested in some of the science of what we have going on today:
- A Spectrum Of Specialties: Which Color Bell Peppers To Pick?
- Why You’re Probably Not Getting Enough Fiber (And How To Fix It)
- The Tiniest Seeds With The Most Value: If You’re Not Taking Chia, You’re Missing Out
- Chickpeas vs Black Beans – Which is Healthier?
- The Many Health Benefits Of Garlic
- Black Pepper’s Impressive Anti-Cancer Arsenal (And More)
- Monosodium Glutamate: Sinless Flavor-Enhancer Or Terrible Health Risk?
Take care!
Don’t Forget…
Did you arrive here from our newsletter? Don’t forget to return to the email to continue learning!
Recommended
Learn to Age Gracefully
Join the 98k+ American women taking control of their health & aging with our 100% free (and fun!) daily emails:
-

No Time to Panic – by Matt Gutman

10almonds is reader-supported. We may, at no cost to you, receive a portion of sales if you purchase a product through a link in this article.
Matt Gutman is not a doctor or a psychologist. He’s a journalist, accustomed to asking questions and then asking more probing questions, unrelenting until he gets the answers he’s looking for.
This book is the result of what happened when he needed to overcome his own anxiety and panic attacks, and went on an incisive investigative journey.
The style is as clear and accessible as you’d expect of a journalist, and presents a very human exploration, nonetheless organized in a way that will be useful to the reader.
It’s said that “experience is a great teacher, but she sends hefty bills”. In this case as in many, it’s good to learn from someone else’s experience!
By the end of the book, you’ll have a good grounding in most approaches to dealing with anxiety and panic attacks, and an idea of efficacy/applicability, and what to expect.
Bottom line: without claiming any magic bullet, this book presents six key strategies that Gutman found to work, along with his experiences of what didn’t. Valuable reading if you want to curb your own anxiety, or want to be able to help/support someone else with theirs.
Click here to check out No Time To Panic, and find the peace you deserve!
Share This Post
-

How To Fix Wrist Pain
10almonds is reader-supported. We may, at no cost to you, receive a portion of sales if you purchase a product through a link in this article.
A wrist injury can make so many everyday activities difficult, so it’s natural to want it back in working order as quickly as possible, and pain-free. Here’s how:
Rest *And* Exercise (But: Correctly)
The key is both resting and exercising the wrist, in the right ways.
First let’s understand what goes wrong: pain on the outer side of the wrist is often due to a Triangular Fibro-Cartilage Complex (TFCC) injury, a structure that stabilizes wrist joints during movements like pronation, supination, and displacement (i.e. normal movements in various directions). Injury usually results from compressive loading during ulnar deviation, forceful wrist extension, or impact (e.g. falls, hits, or repetitive sports motions like batting).
Now for how the problem is diagnosed: physiotherapists perform the “Piano Key Test” (pressing down the ulna styloid to check for pain) and for extra fun, the “Pain Reproduction Test” (compression and rotation of the wrist). You can see both of these in the video. As for why these tests are done, it’s because tendonitis of the wrist extensors must also be ruled out before confirming a TFCC injury.
Initial treatment (0–6 weeks): in the first week after injury, brace, protect, and ice the wrist. Healing may take 2 days to 6 weeks. During this time, keep fingers moving (e.g., finger opposition) and lightly load the wrist only with the palm facing inward (i.e. classic groceries-carrying position, or “farmer’s walk”) to prevent stiffness, while avoiding positions that could worsen the injury.
Post-acute care and mobility: once the pain and swelling subside, remove the brace and start gentle wrist stretches (flexion, extension, radial and ulnar deviation), but avoid pronation and supination initially to prevent re-injury (see video if unsure about these terms). Apply gentle heat to increase blood flow and promote recovery.
Long-term recovery and strengthening: if the pain persists, gently massage the ulnar side to reduce scar tissue buildup—stop if the pain worsens. Begin strengthening exercises using weights, resistance bands, or bottles to work on flexion, extension, and deviations (10 reps, 3 sets). Gradually reintroduce pronation and supination using a hammer, increasing resistance by adjusting your grip position (i.e. near the weight or nearer the other end, to make it easier or harder, respectively). Finish with grip strength exercises using a squishy ball (10–15 reps) to strengthen wrist muscles and tendons.
For more on all of this plus visual demonstrations, enjoy:
Click Here If The Embedded Video Doesn’t Load Automatically!
Want to learn more?
You might also like:
Yoga Wrist Strength – 5 Minute Wrist Exercise Routine ← for if your wrists are fine now and you’d like them to stay that way!
Take care!
Share This Post
-
Do kids really need vitamin supplements?
10almonds is reader-supported. We may, at no cost to you, receive a portion of sales if you purchase a product through a link in this article.
Walk down the health aisle of any supermarket and you’ll see shelves lined with brightly packaged vitamin and mineral supplements designed for children.
These products promise to support immunity, boost brain development and promote healthy growth – leading many parents to believe they’re a necessary addition to their child’s diet.
For parents of fussy eaters in particular, supplements may feel like a quick and reassuring solution. But are they actually needed?

Anastassiya Bezhekeneva/Getty Images The nutrients children really need
It’s true that children require a broad range of vitamins and minerals – such as vitamins A, B, C, D, E, and K, along with folate, calcium, iodine, iron and zinc – for healthy development. These nutrients play essential roles in brain and nerve development, vision, bone strength, immune function, metabolism and maintaining a healthy weight.
However, for most healthy children, these nutrients can and should come from food – not from supplements.
Even children with selective eating habits typically receive adequate nutrition from everyday foods, many of which are fortified. Common staples such as breakfast cereals, milk and bread are often enriched with key nutrients such as B vitamins, iron, calcium and iodine.
What the science says about supplements
Although many children’s supplements claim to support immunity, growth, or overall wellbeing, there is little robust scientific evidence that they improve health outcomes or prevent illness in otherwise healthy children.
Leading health bodies advise that children who consume a varied diet do not need additional supplementation.
Research consistently shows that getting vitamins and minerals through whole foods is superior to taking them in supplement form. Foods provide these nutrients along with fibre, enzymes, and bioactive compounds, such as phytochemicals and healthy fats, which enhance absorption, metabolism and overall efficacy in ways isolated supplements cannot replicate.
Potential risks and unintended consequences
Parents should also be aware that supplements are not risk-free.
Fat-soluble vitamins – such as A, D, E and K – can accumulate in the body if consumed in excess. If they reach toxic levels, they can cause cause health issues. In the case of A and B vitamins, these issues can be severe and even cause death.
High doses of other water-soluble vitamins, such as vitamin C, may not be dangerous, but can cause side effects like diarrhoea or interfere with the absorption of other nutrients.
Many children’s supplements are flavoured or sweetened to make them more appealing. While this might make them easier to administer, it also introduces added sugars and artificial ingredients into children’s diets – potentially undermining healthy eating habits.
There is also a psychological dimension to consider. Routinely giving children supplements in response to normal eating behaviours, such as fussiness or selective food preferences, may inadvertently teach them that pills are a substitute for a nutritious diet, rather than a temporary aid.
So, what should parents do?
The most reliable way to provide children with essential vitamins and minerals is through a varied and balanced diet. This means including dairy, meat, poultry, fish, wholegrains, nuts, seeds, legumes, and a colourful array of fruits and vegetables.
If you’re regularly negotiating with a pint-sized dictator over a single pea, rest assured you’re far from alone. Research shows nearly half of children go through a phase of picky eating – a behaviour rooted in our evolutionary past.
Early humans developed an aversion to unfamiliar or bitter foods as a survival mechanism to avoid potential toxins. At the same time, they learned to seek out and store energy-rich, palatable foods to survive periods of scarcity.
So, how can parents gently encourage toddlers to embrace healthier, more colourful food options?
- Mix things up. Blend less nutritious beige or white foods with healthier ingredients. For example, add cannellini beans and cauliflower into mashed potatoes to boost nutrient content without sacrificing familiarity.
- Make healthy swaps. Gradually replace white bread, pasta and rice with wholegrain versions. Start by mixing brown rice into a serving of white rice to ease the transition.
- Use familiarity to your advantage. Pair new, colourful foods with familiar favourites. Offer fruit dipped in yoghurt or add a vibrant red or green sauce to pasta, making new flavours less intimidating.
By taking these small, strategic steps, parents can support their child’s nutrition and help them develop a positive relationship with food – no matter how selective their tastes may be.
That said, there are cases where supplementation may be appropriate – such as children with diagnosed nutritional deficiencies, specific medical conditions, or highly restricted diets.
In these instances, parents should seek advice from a qualified health professional, such as a GP or paediatric dietitian. Warning signs may include symptoms such as persistent constipation or signs of impaired growth.
But for most children, vitamin supplements aren’t necessary – they may be doing more harm than good.
Nick Fuller is the author of Healthy Parents, Healthy Kids – Six Steps to Total Family Wellness. His free, practical recipe ideas for a nutritious, varied diet can be found at feedingfussykids.com.
Nick Fuller, Clinical Trials Director, Department of Endocrinology, RPA Hospital, University of Sydney
This article is republished from The Conversation under a Creative Commons license. Read the original article.
Share This Post


Related Posts
-
Grapefruit vs Guava – Which is Healthier?
10almonds is reader-supported. We may, at no cost to you, receive a portion of sales if you purchase a product through a link in this article.
Our Verdict
When comparing grapefruit to guava, we picked the guava.
Why?
It’s not close:
In terms of macros, guava has 3x the fiber, slightly more carbs, and 3x the protein, winning easily in this category.
In the category of vitamins, grapefruit has more vitamin A, while guava has more of vitamins A, B1, B2, B3, B5, B6, B7, B9, C, E, and K, sweeping its second round in a row.
Looking at minerals, grapefruit has a tiny touch more calcium, while guava has a lot more copper, iron, magnesium, manganese, phosphorus, potassium, selenium, and zinc, winning its third round by a long way.
One more consideration that’s not shown in the nutritional values, is that grapefruit contains high levels of furanocoumarins, which can inhibit cytochrome P-450 3A4 isoenzyme and P-glycoptrotein transporters in the intestine and liver—slowing down their drug metabolism capabilities, thus effectively increasing the bioavailability of many drugs manifold.
This may sound superficially like a good thing (improving bioavailability of things we want), but in practice it means that in the case of many drugs, if you take them with (or near in time to) grapefruit or grapefruit juice, then congratulations, you just took an overdose. This happens with a lot of meds for blood pressure, cholesterol (including statins), calcium channel-blockers, anti-depressants, benzo-family drugs, beta-blockers, and more. Oh, and Viagra, too. Which latter might sound funny, but remember, Viagra’s mechanism of action is blood pressure modulation, and that is not something you want to mess around with unduly. So, do check with your pharmacist to know if you’re on any meds that would be affected by grapefruit or grapefruit juice!
PS: the same substance is quite available in pummelos and sour oranges (but not meaningfully in sweet oranges); you can see a chart here showing the relative furanocoumarin contents of many citrus fruits, or lack thereof as the case may be, as it is for lemons and most limes).
Adding up the sections makes for an overwhelming overall win for guava, but by all means do enjoy either or both, unless any of the furanocoumarin contraindications apply!
Want to learn more?
You might like:
Watch Out For Furanocoumarins!
Enjoy!
Don’t Forget…
Did you arrive here from our newsletter? Don’t forget to return to the email to continue learning!
Learn to Age Gracefully
Join the 98k+ American women taking control of their health & aging with our 100% free (and fun!) daily emails:
-
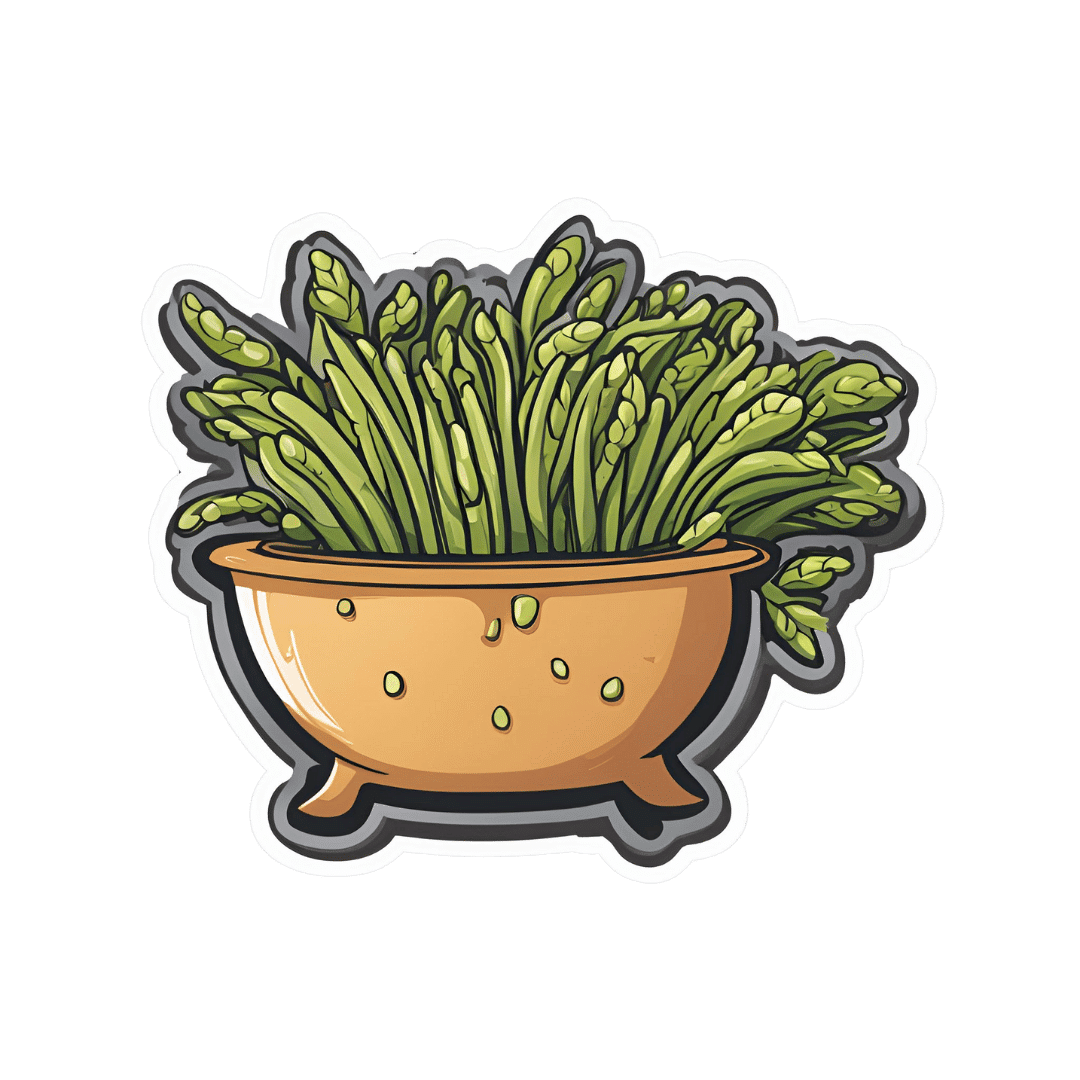
Sprout Your Seeds, Grains, Beans, Etc
10almonds is reader-supported. We may, at no cost to you, receive a portion of sales if you purchase a product through a link in this article.
Good Things Come In Small Packages
“Sprouting” grains and seeds—that is, allowing them to germinate and begin to grow—enhances their nutritional qualities, boosting their available vitamins, minerals, amino acids, and even antioxidants.
You may be thinking: surely whatever nutrients are in there, are in there already; how can it be increased?
Well, the grand sweeping miracle of life itself is beyond the scope of what we have room to cover today, but in few words: there are processes that allow plants to transform stuff into other stuff, and that is part of what is happening.
Additionally, in the cases of some nutrients, they were there already, but the sprouting process allows them to become more available to us. Think about the later example of how it’s easier to eat and digest a ripe fruit than an unripe one, and now scale that back to a seed and a sprouted seed.
A third way that sprouting benefits us is by reducing“antinutrients”, such as phytic acid.
Let’s drop a few examples of the “what”, before we press on to the “how”:
- Enhancement of attributes of cereals by germination and fermentation: a review
- Sprouting characteristics and associated changes in nutritional composition of cowpea (Vigna unguiculata)
- Phytic acid, in vitro protein digestibility, dietary fiber, and minerals of pulses as influenced by processing methods
- Effects of germination on the nutritional properties, phenolic profiles, and antioxidant activities of buckwheat
- Effect of several germination treatments on phosphatases activities and degradation of phytate in faba bean (Vicia faba L.) and azuki bean (Vigna angularis L.)
Sounds great! How do we do it?
First, take the seeds, grains, nuts, beans, etc that you’re going to sprout. Fine examples to try for a first sprouting session include:
- Grains: buckwheat, brown rice, quinoa
- Legumes: soy beans, black beans, kidney beans
- Greens: broccoli, mustard greens, radish
- Nuts/seeds: almonds, pumpkin seeds, chia seeds
Note: whatever you use should be as unprocessed as possible to start with:
- On the one hand, you’d be surprised how often “life finds a way” when it comes to sprouting ridiculous choices
- On the other hand, it’s usually easier if you’re not trying to sprout blanched almonds, split lentils, rolled oats, or toasted hulled buckwheat.
Second, you will need clean water, a jar with a lid, muslin cloth or similar, and a rubber band.
Next, take an amount of the plants you’ll be sprouting. Let’s say beans of some kind. Try it with ¼ cup to start with; you can do bigger batches once you’re more confident of your setup and the process.
Rinse and soak them for at least 24 hours. Take care to add more water than it looks like you’ll need, because those beans are thirsty, and sprouting is thirsty work.
Drain, rinse, and put them in a clean glass jar, covering with just the muslin cloth in place of the lid, held in place by the rubber band. No extra water in it this time, and you’re going to be storing the jar upside down (with ventilation underneath, so for example on some sort of wire rack is ideal) in a dark moderately warm place (e.g. 80℉ / 25℃ is often ideal, but it doesn’t have to be exact, you have wiggle-room, and some things will enjoy a few degrees cooler or warmer than that)
Each day, rinse and replace until you see that they are sprouting. When they’re sprouting, they’re ready to eat!
Unless you want to grow a whole plant, in which case, go for it (we recommend looking for a gardening guide in that case).
But watch out!
That 80℉ / 25℃ temperature at which our sprouting seeds, beans, grains etc thrive? There are other things that thrive at that temperature too! Things like:
- E. coli
- Salmonella
- Listeria
…amongst others.
So, some things to keep you safe:
- If it looks or smells bad, throw it out
- If in doubt, throw it out
- Even if it looks perfect, blanch it (by boiling it in water for 30 seconds, before rinsing it in cold water to take it back to a colder temperature) before eating it or refrigerating it for later.
- When you come back to get it from the fridge, see once again points 1 and 2 above.
- Ideally you should enjoy sprouted things within 5 days.
Want to know more about sprouting?
You’ll love this book that we reviewed recently:
The Sprout Book – by Doug Evans
Enjoy!
Don’t Forget…
Did you arrive here from our newsletter? Don’t forget to return to the email to continue learning!
Learn to Age Gracefully
Join the 98k+ American women taking control of their health & aging with our 100% free (and fun!) daily emails:
-

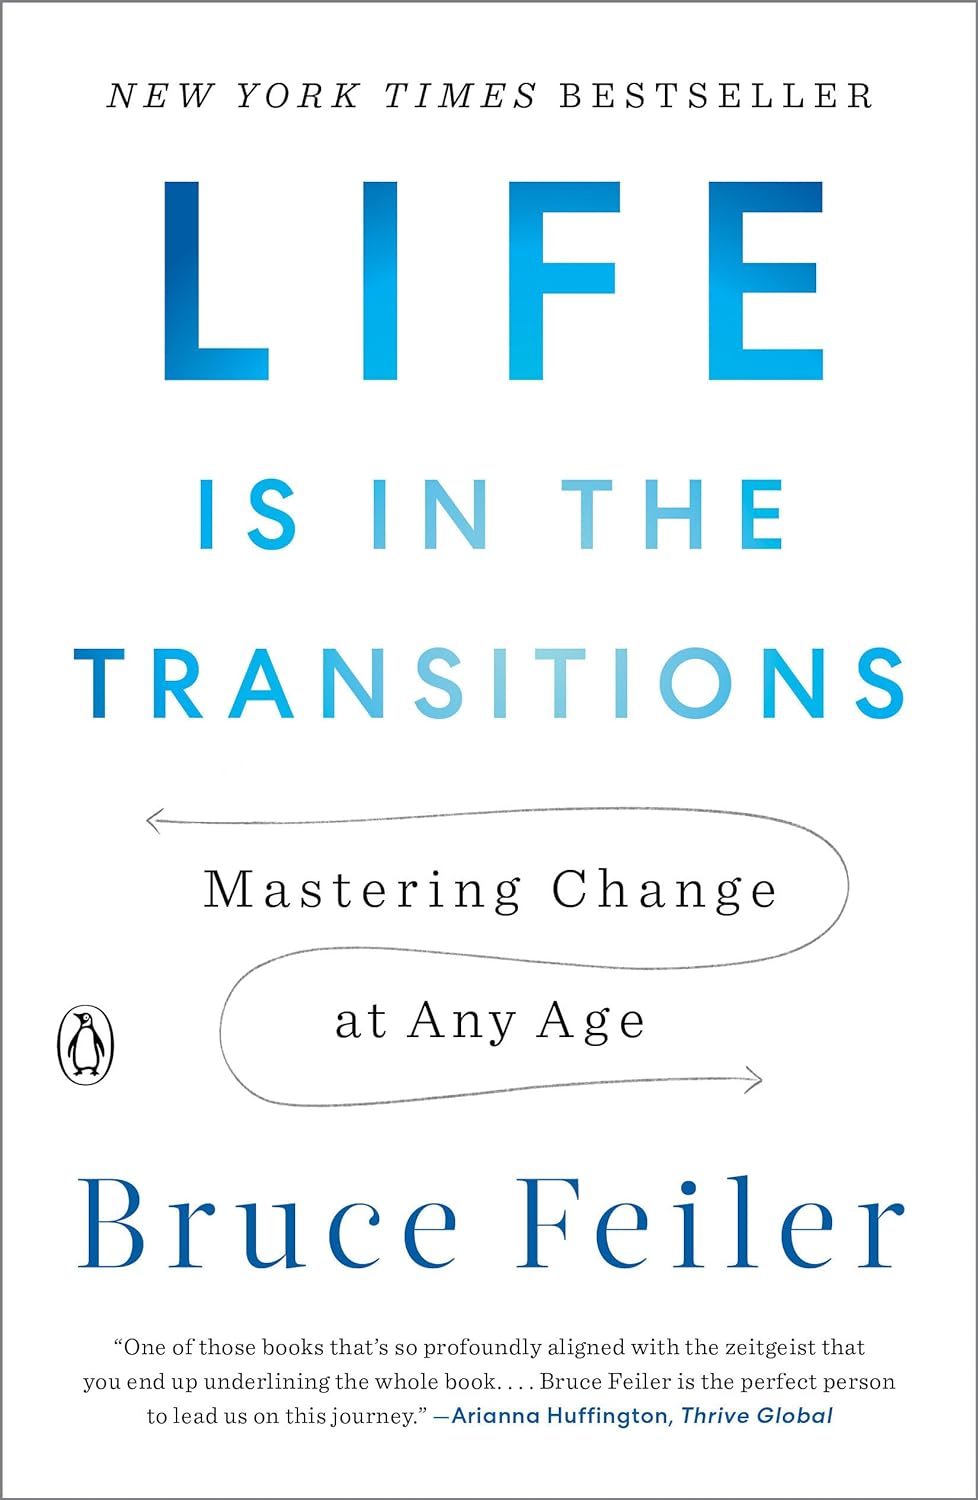
Life Is in the Transitions – by Bruce Feiler
10almonds is reader-supported. We may, at no cost to you, receive a portion of sales if you purchase a product through a link in this article.
Change happens. Sometimes, because we choose it. More often, we don’t get a choice.
Our bodies change; with time, with illness, with accident or incident, or even, sometimes, with effort. People in our lives change; they come, they go, they get sick, they die. Our working lives change; we get a job, we lose a job, we change jobs, our jobs change, we retire.
Whether we’re undergoing cancer treatment or a religious conversion, whether our families are growing or down to the last few standing, change is inescapable.
Our author makes the case that on average, we each undergo at least 5 major “lifequakes”; changes that shake our lives to the core. Sometimes one will come along when we’ve barely got back on our feet from the previous—if we have at all.
What, then, to do about this? We can’t stop change from occurring, and some changes aren’t easy to “roll with”. Feiler isn’t prescriptive about this, but rather, descriptive:
By looking at the stories of hundreds of people he interviewed for this book, he looks at how people pivoted on the spot (or picked up the pieces!) and made the best of their situation—or didn’t.
Bottom line: zooming out like this, looking at many people’s lives, can remind us that while we don’t get to choose what winds we get swept by, we at least get to choose how we set the sails. The examples of others, as this book gives, can help us make better decisions.
Click here to check out Life Is In The Transitions, and get conscious about how you handle yours!
Don’t Forget…
Did you arrive here from our newsletter? Don’t forget to return to the email to continue learning!
Learn to Age Gracefully
Join the 98k+ American women taking control of their health & aging with our 100% free (and fun!) daily emails: