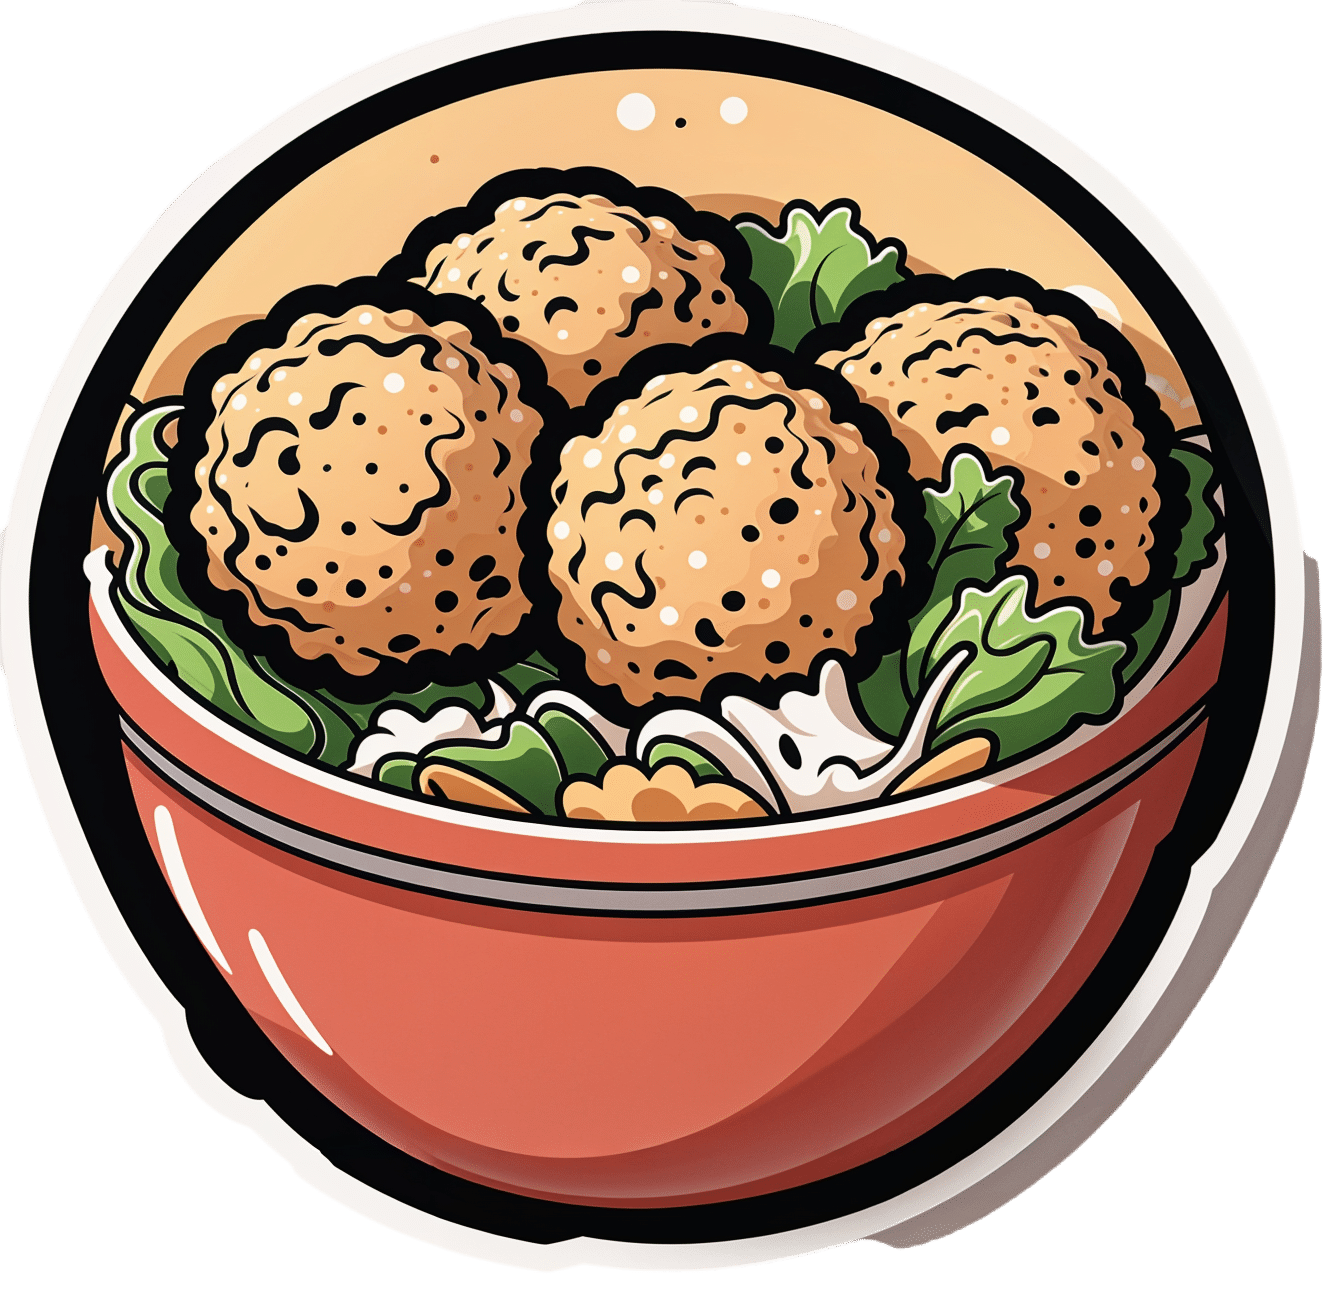
Easy Quinoa Falafel
10almonds is reader-supported. We may, at no cost to you, receive a portion of sales if you purchase a product through a link in this article.
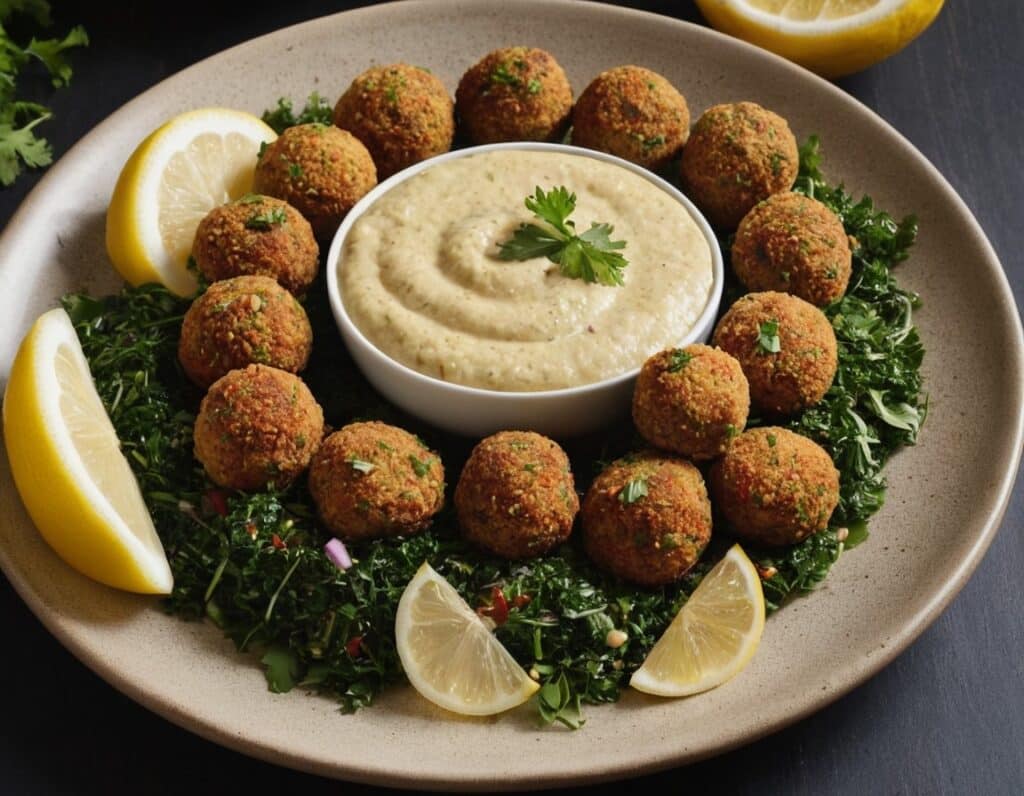
Falafel is a wonderful snack or accompaniment to a main, and if you’ve only had shop-bought, you’re missing out. Plus, with this quinoa-based recipe, it’s almost impossible to accidentally make them dry.
You will need
- 1 cup cooked quinoa
- 1 cup chopped fresh parsley
- ½ cup wholewheat breadcrumbs (or rye breadcrumbs if you’re avoiding wheat/gluten)
- 1 can chickpeas, drained
- 4 green onions, chopped
- ½ bulb garlic, minced
- 2 tbsp extra virgin olive oil, plus more for frying
- 2 tbsp tomato paste
- 1 tbsp apple cider vinegar
- 2 tsp nutritional yeast
- 2 tsp ground cumin
- 1 tsp red pepper flakes
- 1 tsp black pepper, coarse ground
- 1 tsp dried thyme
- ½ tsp MSG or 1 tsp low-sodium salt
Method
(we suggest you read everything at least once before doing anything)
1) Blend all the ingredients in a food processor until it has an even, but still moderately coarse, texture.
2) Shape into 1″ balls, and put them in the fridge to chill for about 20 minutes.
3) Fry the balls over a medium-high heat until evenly browned—just do a few at a time, taking care to not overcrowd the pan.
4) Serve! Great with salad, hummus, and other such tasty healthy snack items:
Enjoy!
Want to learn more?
For those interested in more of what we have going on today:
- Cilantro vs Parsley – Which is Healthier?
- Our Top 5 Spices: How Much Is Enough For Benefits?
- What Matters Most For Your Heart?
- An Apple (Cider Vinegar) A Day…
- Hero Homemade Hummus Recipe ← perfect accompaniment!
- Tasty Tabbouleh with Tahini Recipe ← also a great option!
Take care!
Don’t Forget…
Did you arrive here from our newsletter? Don’t forget to return to the email to continue learning!
Recommended

Learn to Age Gracefully
Join the 98k+ American women taking control of their health & aging with our 100% free (and fun!) daily emails:
-

Here’s Looking At Ya!

10almonds is reader-supported. We may, at no cost to you, receive a portion of sales if you purchase a product through a link in this article.
This Main Feature Should Take You Two Minutes (and 18 Seconds) To Read*
*Or at least, that’s what we’re told by this software that checks things for readability!
There’s a problem nobody wants to talk about when it comes to speed-reading
If you’re not very conscientious in your method, information does get lost. Especially, anything over 500 words per minute is almost certainly skimming and not true speed-reading.
One of the reasons information gets lost is because of a weird and wonderful feature of our eyes and brain: saccades.
Basically, our eyes can either collect visual information or they can move; they can’t do both at once. And as you may know, our eyes are almost always moving. So why aren’t we blind most of the time?
We actually are.
Did you know: your eyes take two upside-down 2D images and your brain presents you one 3D image the right way around instead? You probably did know that. So: it’s a bit like that.
Your brain takes a series of snapshots from whenever your eyes weren’t moving, and mentally fills in the blanks for you, just like a studio animation. We have a “frame rate” of about 60 frames per second, by the way—that’s why many computer monitors use that frequency. Lower frequencies can result in a noticeable flicker, and higher frequencies are wasted on us mere mortals!
Our eyes do some super-speedy movements called saccades (up to 500º per second! Happily no, our eyes don’t rotate 500º, but that’s the “per second” rate) and our brain fills in the gaps with its best guesses. The more you push it, the more it’ll guess wrong.
We’re not making this up, by the way! See for yourself:
Eye Movements In Reading And Information Processing: 20 Years Of Research
Fortunately, it is possible to use your eyes in a way that reduces the brain’s need to guess. That also means it has more processing power left over to guess correctly when it does need to.
Yes, There’s An App For That
Actually there are a few! But we’re going to recommend Spreeder as a top-tier option, with very rapid improvement right from day one.
It works by presenting the text with a single unmoving focal point. This is the opposite of traditional speed-reading methods that involve a rapidly moving pacer (such as your finger on the page, or a dot on the screen).
This unmoving focal point (while the words move instead) greatly reduces the number of saccades needed, and so a lot less information is lost to optical illusions and guesswork.
Try Spreeder (any platform) Here Now!
If you find that easy to use and would like something with a few more features, you might like another app that works on the same principle: Spritz.
It can take a bit more getting-used-to, but allows for greater integrations with all your favourite content in the long-run:
Check Out Spritz: Android App / iOS App / Free Chrome Extension
Lastly, if you don’t want any of those fancy apps and would just like to read more quickly and easily with less eye-strain, Beeline has you covered.
For free, unless you want to unlock some premium features!
How Beeline works is by adding a color gradient to text on websites and in documents. This makes it a lot easier for the eye to track without going off-piste, skipping a line, or re-reading the same bit again, etc.
Share This Post
-

Heart Health vs Systemic Stress
10almonds is reader-supported. We may, at no cost to you, receive a portion of sales if you purchase a product through a link in this article.
At The Heart Of Good Health

This is Dr. Michelle Albert. She’s a cardiologist with a decades-long impressive career, recently including a term as the president of the American Heart Association. She’s the current Admissions Dean at UCSF Medical School. She’s accumulated enough awards and honors that if we list them, this email will not fit in your inbox without getting clipped.
What does she want us to know?
First, lifestyle
Although Dr. Albert is also known for her work with statins (which found that pravastatin may have anti-inflammatory effects in addition to lipid-lowering effects, which is especially good news for women, for whom the lipid-lowering effects may be less useful than for men), she is keen to emphasize that they should not be anyone’s first port-of-call unless “first” here means “didn’t see the risk until it was too late and now LDL levels are already ≥190 mg/dL”.
Instead, she recommends taking seriously the guidelines on:
- getting plenty of fruit, vegetables, whole grains, lean protein
- avoiding red meat, processed meats, refined carbohydrates, and sweetened beverages
- getting your 150 minutes per week of moderate exercise
- avoiding alcohol, and definitely abstaining from smoking
See also: These Top Five Things Make The Biggest Difference To Health
Next, get your house in order
No, not your home gym—though sure, that too!
But rather: after the “Top Five Things” we linked just above, the sixth on the list would be “reduce stress”. Indeed, as Dr. Albert says:
❝Heart health is not just about the physical heart but also about emotional well-being. Stress management is crucial for a healthy heart❞
~ Dr. Michelle Albert
This is where a lot of people would advise mindfulness meditation, CBT, somatic therapies, and the like. And these things are useful! See for example:
No-Frills, Evidence-Based Mindfulness
…and:
However, Dr. Albert also advocates for awareness of what some professionals have called “Shit Life Syndrome”.
This is more about socioeconomic factors. There are many of those that can’t be controlled by the individual, for example:
❝Adverse maternal experiences such as depression, economic issues and low social status can lead to poor cognitive outcomes as well as cardiovascular disease.
Many jarring statistics illuminate a marked wealth gap by race and ethnicity… You might be thinking education could help bridge that gap. But it is not that simple.
While education does increase wealth, the returns are not the same for everyone. Black persons need a post-graduate degree just to attain similar wealth as white individuals with a high school degree.❞
~ Dr. Michelle Albert
Read in full: AHA president: The connection between economic adversity and cardiovascular health
What this means in practical terms (besides advocating for structural change to tackle the things such as the racism that has been baked into a lot of systems for generations) is:
Be aware not just of your obvious health risk factors, but also your socioeconomic risk factors, if you want to have good general health outcomes.
So for example, let’s say that you, dear reader, are wealthy and white, in which case you have some very big things in your favor, but are you also a woman? Because if so…
Women and Minorities Bear the Brunt of Medical Misdiagnosis
See also, relevant for some: Obesity Discrimination In Healthcare Settings ← you’ll need to scroll to the penultimate section for this one.
In other words… If you are one of the majority of people who is a woman and/or some kind of minority, things are already stacked against you, and not only will this have its own direct harmful effect, but also, it’s going to make your life harder and that stress increases CVD risk more than salt.
In short…
This means: tackle not just your stress, but also the things that cause that. Look after your finances, gather social support, know your rights and be prepared to self-advocate / have someone advocate for you, and go into medical appointments with calm well-prepared confidence.
Take care!
Share This Post
-

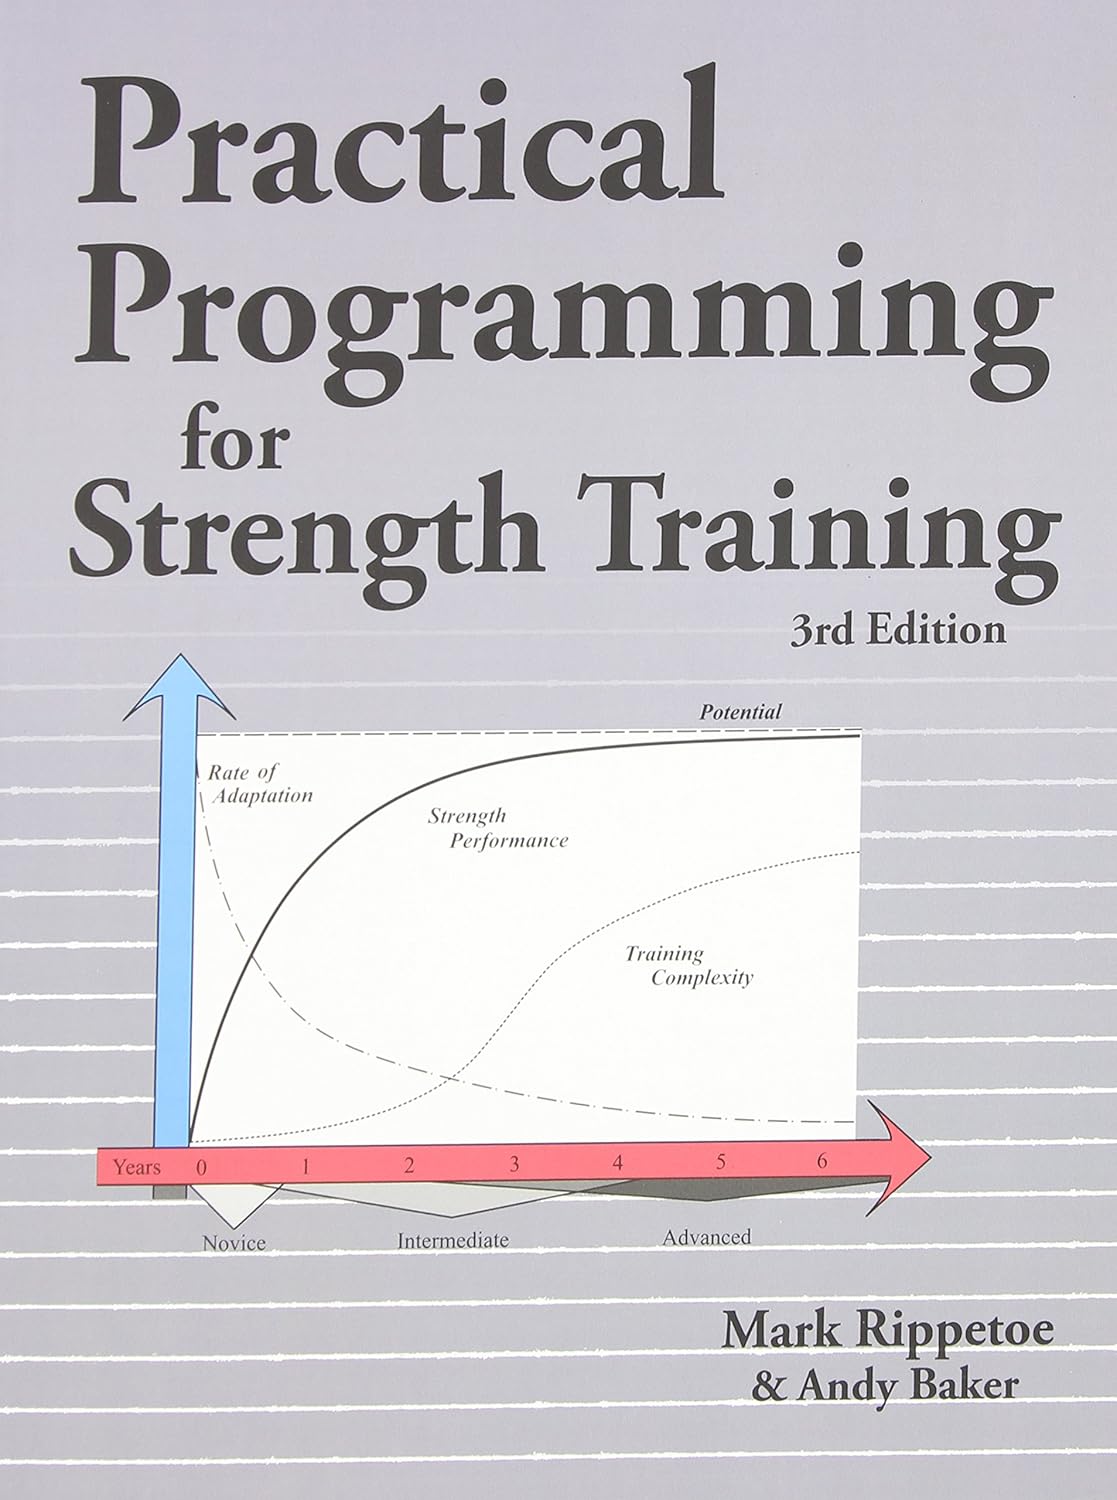
Practical Programming for Strength Training – by Mark Rippetoe & Andy Baker
10almonds is reader-supported. We may, at no cost to you, receive a portion of sales if you purchase a product through a link in this article.
Strength training is an important part of overall health maintenance, but it can be hard to find a good guide to progressive strength improvement that isn’t a bodybuilding book.
This one gives a ground-upwards approach, explaining small details to even quite basic things, before taking the reader through to more advanced progressions, and how to get the most strength-building out of each exercise over time.
As such, this is a good book for anyone of any level from beginner to quite experienced, and you can hop in at any point since there are always catch-up summaries and/or reiterations of the previous concepts that we’re now building on from.
The authors do also talk nutrition, hormones, and so forth, but most of it is about the exercises and the progressions thereof.
There is a slightly patronizing chapter towards the end, about “special populations”, for example offering “novice and intermediate training for women”, but it doesn’t take away from the majority of the book, as the exercises don’t care about your gender. Muscles are muscles, and we all start from wherever we are. Yes, testosterone boosts muscle mass, but let’s face it, there are a lot of women in the world who are stronger than a lot of men.
One thing to bear in mind is that a lot of this is barbell training, so you will need a barbell (or access to one at a gym). If purely bodyweight training is your preference, or perhaps some other form of weightlifting (e.g. kettlebells or such) then this isn’t the book for that.
Bottom line: if strength training is your focus and you like barbells, then this is a great book to take you quite a way along that road.
Click here to check out Practical Programming For Strength Training, and get stronger!
Share This Post


Related Posts
-

Make Your Negativity Work For You
10almonds is reader-supported. We may, at no cost to you, receive a portion of sales if you purchase a product through a link in this article.
What’s The Right Balance?
We’ve written before about positivity the pitfalls and perils of toxic positivity:
How To Get Your Brain On A More Positive Track (Without Toxic Positivity)
…as well as the benefits that can be found from selectively opting out of complaining:
A Bone To Pick… Up And Then Put Back Where We Found It
So… What place, if any, does negativity usefully have in our lives?
Carrot and Stick
We tend to think of “carrot and stick” motivation being extrinsic, i.e. there is some authority figure offering is reward and/or punishment, in response to our reactions.
In those cases when it really is extrinsic, the “stick” can still work for most people, by the way! At least in the short term.
Because in the long term, people are more likely to rebel against a “stick” that they consider unjust, and/or enter a state of learned helplessness, per “I’ll never be good enough to satisfy this person” and give up trying to please them.
But what about when you have your own carrot and stick? What about when it comes to, for example, your own management of your own healthy practices?
Here it becomes a little different—and more effective. We’ll get to that, but first, bear with us for a touch more about extrinsic motivation, because here be science:
We will generally be swayed more easily by negative feelings than positive ones.
For example, a study was conducted as part of a blood donation drive, and:
- Group A was told that their donation could save a life
- Group B was told that their donation could prevent a death
The negative wording given to group B boosted donations severalfold:
Read the paper: Life or Death Decisions: Framing the Call for Help
We have, by the way, noticed a similar trend—when it comes to subject lines in our newsletters. We continually change things up to see if trends change (and also to avoid becoming boring), but as a rule, the response we get from subscribers is typically greater when a subject line is phrased negatively, e.g. “how to avoid this bad thing” rather than “how to have this good thing”.
How we can all apply this as individuals?
When we want to make a health change (or keep up a healthy practice we already have)…
- it’s good to note the benefits of that change/practice!
- it’s even better to note the negative consequences of not doing it
For example, if you want to overcome an addiction, you will do better for your self-reminders to be about the bad consequences of using, more than the good consequences of abstinence.
See also: How To Reduce Or Quit Alcohol
This goes even just for things like diet and exercise! Things like diet and exercise can seem much more low-stakes than substance abuse, but at the end of the day, they can add healthy years onto our lives, or take them off.
Because of this, it’s good to take time to remember, when you don’t feel like exercising or do feel like ordering that triple cheeseburger with fries, the bad outcomes that you are planning to avoid with good diet and exercise.
Imagine yourself going in for that quadruple bypass surgery, asking yourself whether the unhealthy lifestyle was worth it. Double down on the emotions; imagine your loved ones grieving your premature death.
Oof, that was hard-hitting
It was, but it’s effective—if you choose to do it. We’re not the boss of you! Either way, we’ll continue to send the same good health advice and tips and research and whatnot every day, with the same (usually!) cheery tone.
One last thing…
While it’s good to note the negative, in order to avoid the things that lead to it, it’s not so good to dwell on the negative.
So if you get caught in negative thought spirals or the like, it’s still good to get yourself out of those.
If you need a little help with that sometimes, check out these:
Take care!
Don’t Forget…
Did you arrive here from our newsletter? Don’t forget to return to the email to continue learning!
Learn to Age Gracefully
Join the 98k+ American women taking control of their health & aging with our 100% free (and fun!) daily emails:
-

The Blood Sugar Solution – by Dr. Mark Hyman
10almonds is reader-supported. We may, at no cost to you, receive a portion of sales if you purchase a product through a link in this article.
The main purpose of this book is combating metabolic disease, the amalgam of what’s often prediabetes (sometimes fully-fledged diabetes) and cardiovascular disease (sometimes fully-fledged heart disease).
To achieve this (after an introductory section explaining what the sociomedical problems are and why the sociomedical problems are happening), he offers a seven-step program; we’ll not keep those steps a mystery; they are:
- Boost your nutrition
- Regulate your hormones
- Reduce inflammation
- Improve your digestion
- Maximize detoxification
- Enhance energy metabolism
- Soothe your mind
Thereafter, it’s all about leading the reader by the hand through the steps; he also offers a six-week action plan, and a six-week meal plan with recipes.
The style is very sensationalist (too sensationalist for this reviewer’s personal taste) but nevertheless backed up with hard science when it comes to hard claims. So, if you don’t mind wading through (or skipping) some early chapters that are a bit “used car salesman” in feel, there’s actually a lot of good information, especially in the middle of the book, and useful practical guides in the middle and end.
Bottom line: if you want a good comprehensive science-based practical guide to addressing the risk of metabolic disease, this is that.
Click here to check out The Blood Sugar Solution, and look after yours!
Don’t Forget…
Did you arrive here from our newsletter? Don’t forget to return to the email to continue learning!
Learn to Age Gracefully
Join the 98k+ American women taking control of their health & aging with our 100% free (and fun!) daily emails:
-

Good news: midlife health is about more than a waist measurement. Here’s why
10almonds is reader-supported. We may, at no cost to you, receive a portion of sales if you purchase a product through a link in this article.
You’re not in your 20s or 30s anymore and you know regular health checks are important. So you go to your GP. During the appointment they measure your waist. They might also check your weight. Looking concerned, they recommend some lifestyle changes.
GPs and health professionals commonly measure waist circumference as a vital sign for health. This is a better indicator than body mass index (BMI) of the amount of intra-abdominal fat. This is the really risky fat around and within the organs that can drive heart disease and metabolic disorders such as type 2 diabetes.
Men are at greatly increased risk of health issues if their waist circumference is greater than 102 centimetres. Women are considered to be at greater risk with a waist circumference of 88 centimetres or more. More than two-thirds of Australian adults have waist measurements that put them at an increased risk of disease. An even better indicator is waist circumference divided by height or waist-to-height ratio.
But we know people (especially women) have a propensity to gain weight around their middle during midlife, which can be very hard to control. Are they doomed to ill health? It turns out that, although such measurements are important, they are not the whole story when it comes to your risk of disease and death.
How much is too much?
Having a waist circumference to height ratio larger than 0.5 is associated with greater risk of chronic disease as well as premature death and this applies in adults of any age. A healthy waist-to-height ratio is between 0.4 to 0.49. A ratio of 0.6 or more places a person at the highest risk of disease.
Some experts recommend waist circumference be routinely measured in patients during health appointments. This can kick off a discussion about their risk of chronic diseases and how they might address this.
Excessive body fat and the associated health problems manifest more strongly during midlife. A range of social, personal and physiological factors come together to make it more difficult to control waist circumference as we age. Metabolism tends to slow down mainly due to decreasing muscle mass because people do less vigorous physical activity, in particular resistance exercise.
For women, hormone levels begin changing in mid-life and this also stimulates increased fat levels particularly around the abdomen. At the same time, this life phase (often involving job responsibilities, parenting and caring for ageing parents) is when elevated stress can lead to increased cortisol which causes fat gain in the abdominal region.
Midlife can also bring poorer sleep patterns. These contribute to fat gain with disruption to the hormones that control appetite.
Finally, your family history and genetics can make you predisposed to gaining more abdominal fat.
Why the waist?
This intra-abdominal or visceral fat is much more metabolically active (it has a greater impact on body organs and systems) than the fat under the skin (subcutaneous fat).
Visceral fat surrounds and infiltrates major organs such as the liver, pancreas and intestines, releasing a variety of chemicals (hormones, inflammatory signals, and fatty acids). These affect inflammation, lipid metabolism, cholesterol levels and insulin resistance, contributing to the development of chronic illnesses.
Exercise can limit visceral fat gains in mid-life. Shutterstock/Zamrznuti tonovi The issue is particularly evident during menopause. In addition to the direct effects of hormone changes, declining levels of oestrogen change brain function, mood and motivation. These psychological alterations can result in reduced physical activity and increased eating – often of comfort foods high in sugar and fat.
But these outcomes are not inevitable. Diet, exercise and managing mental health can limit visceral fat gains in mid-life. And importantly, the waist circumference (and ratio to height) is just one measure of human health. There are so many other aspects of body composition, exercise and diet. These can have much larger influence on a person’s health.
Muscle matters
The quantity and quality of skeletal muscle (attached to bones to produce movement) a person has makes a big difference to their heart, lung, metabolic, immune, neurological and mental health as well as their physical function.
On current evidence, it is equally or more important for health and longevity to have higher muscle mass and better cardiorespiratory (aerobic) fitness than waist circumference within the healthy range.
So, if a person does have an excessive waist circumference, but they are also sedentary and have less muscle mass and aerobic fitness, then the recommendation would be to focus on an appropriate exercise program. The fitness deficits should be addressed as priority rather than worry about fat loss.
Conversely, a person with low visceral fat levels is not necessarily fit and healthy and may have quite poor aerobic fitness, muscle mass, and strength. The research evidence is that these vital signs of health – how strong a person is, the quality of their diet and how well their heart, circulation and lungs are working – are more predictive of risk of disease and death than how thin or fat a person is.
For example, a 2017 Dutch study followed overweight and obese people for 15 years and found people who were very physically active had no increased heart disease risk than “normal weight” participants.
Getting moving is important advice
Physical activity has many benefits. Exercise can counter a lot of the negative behavioural and physiological changes that are occurring during midlife including for people going through menopause.
And regular exercise reduces the tendency to use food and drink to help manage what can be a quite difficult time in life.
Measuring your waist circumference and monitoring your weight remains important. If the measures exceed the values listed above, then it is certainly a good idea to make some changes. Exercise is effective for fat loss and in particular decreasing visceral fat with greater effectiveness when combined with dietary restriction of energy intake. Importantly, any fat loss program – whether through drugs, diet or surgery – is also a muscle loss program unless resistance exercise is part of the program. Talking about your overall health with a doctor is a great place to start.
Accredited exercise physiologists and accredited practising dietitians are the most appropriate allied health professionals to assess your physical structure, fitness and diet and work with you to get a plan in place to improve your health, fitness and reduce your current and future health risks.
Rob Newton, Professor of Exercise Medicine, Edith Cowan University
This article is republished from The Conversation under a Creative Commons license. Read the original article.
Don’t Forget…
Did you arrive here from our newsletter? Don’t forget to return to the email to continue learning!
Learn to Age Gracefully
Join the 98k+ American women taking control of their health & aging with our 100% free (and fun!) daily emails: