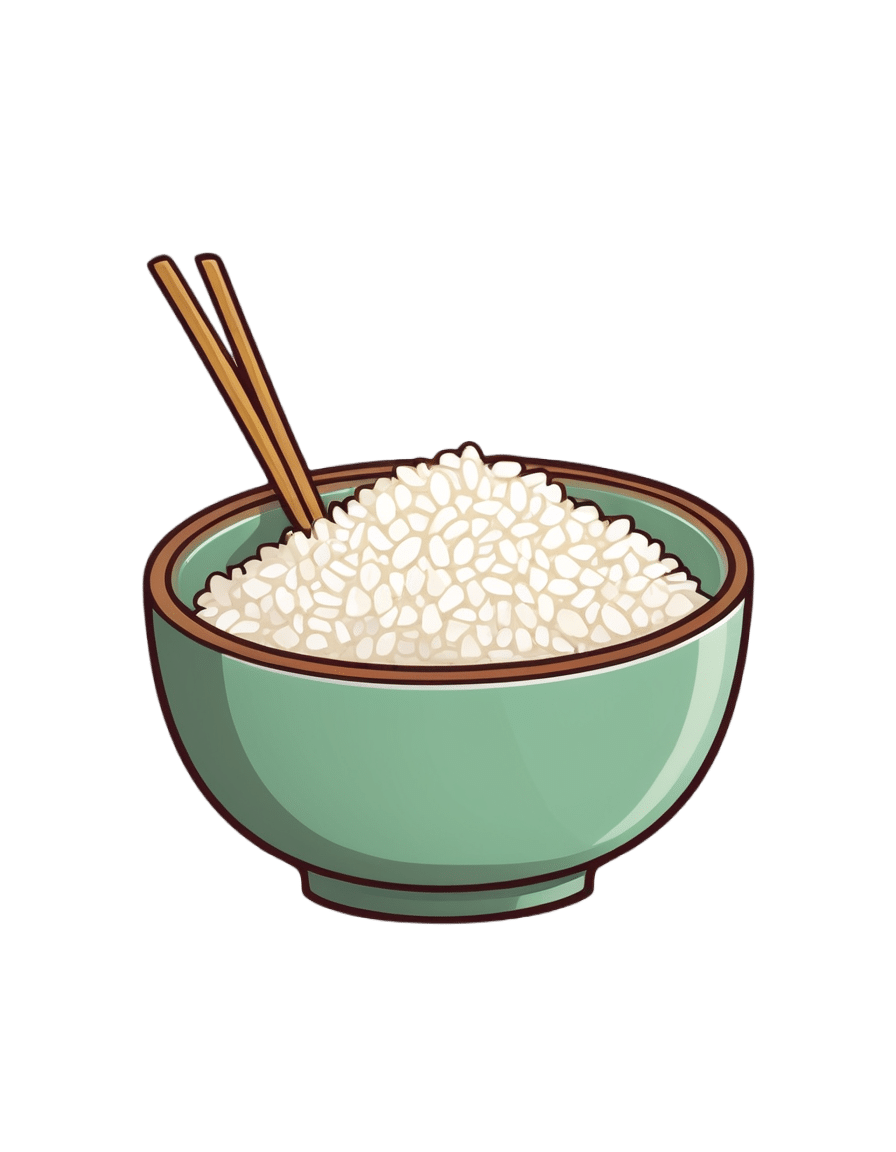
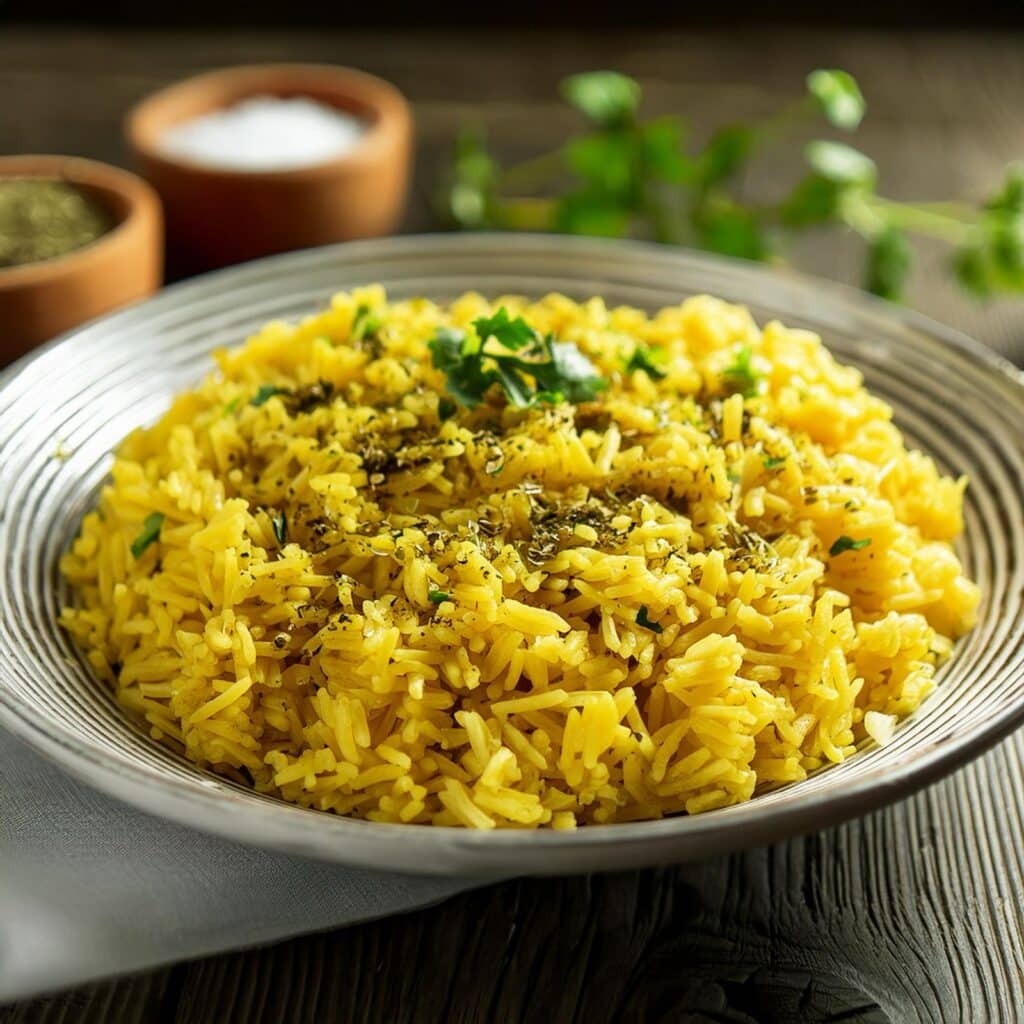
Tasty Versatile Rice
10almonds is reader-supported. We may, at no cost to you, receive a portion of sales if you purchase a product through a link in this article.
In the nearish future, we’re going to do some incredible rice dishes, but first we need to make sure we’re all on the same page about cooking rice, so here’s a simple recipe first, to get technique down and work in some essentials. We’ll be using wholegrain basmati rice, because it has a low glycemic index, lowest likelihood of heavy metal contamination (a problem for some kinds of rice), and it’s one of the easiest rices to cook well.
You will need
- 1 cup wholegrain basmati rice (it may also be called “brown basmati rice“; this is the same)
- 1 1/2 cups vegetable stock (ideally you have made this yourself from vegetable offcuts that you saved in the freezer, then it will be healthiest and lowest in sodium; failing that, low-sodium vegetable stock cubes can be purchased at most large supermarkets. and then made up at home with hot water)
- 1 tbsp extra virgin olive oil
- 1 tbsp chia seeds
- 1 tbsp black pepper, coarse ground
- 1 tsp turmeric powder (this small quantity will not change the flavor, but it has important health benefits, and also makes the rice a pleasant golden color)
- 1 tsp garlic powder
- 1 tsp yeast extract (this gently improves the savory flavor and also adds vitamin B12)
- Optional small quantity of green herbs for garnish. Cilantro is good (unless you have the soap gene); parsley never fails.
This is the ingredients list for a super-basic rice that will go with anything rice will go with; another day we can talk more extensive mixes of herbs and spice blends for different kinds of dishes (and different health benefits!), but for now, let’s get going!
Method
(we suggest you read everything at least once before doing anything)
1) Wash the rice thoroughly. We recommend using a made-for-purpose rice-washing bowl (like this one, for example), but failing that, simply rinse it thoroughly with cold water using a bowl and a sieve. You will probably need to rinse it 4–5 times, but with practice, it will only take a few seconds per rinse, and the water will be coming up clear.
2) Warm the pan. It doesn’t matter for the moment whether you’re using an electronic rice cooker, a stovetop pressure cooker, electronic pressure cooker, or just a sturdy pan with a heavy lid available, aside from that if it’s something non-stovetop, you now want it to be on low to warm up already.
3) Separately in a saucepan, bring your stock to a simmer
4) Put the tbsp of olive oil into the pan (even if you’re confident the rice won’t stick; this isn’t entirely about that) and turn up the heat (if it’s a very simple rice cooker, most at least have a warm/cook differentiation; if so, turn it to “cook”). You don’t want the oil to get to the point of smoking, so, to test the temperature as it heats, flick a single drop of water from your fingertip (you did wash your hands first, right? We haven’t been including that step, but please do wash your hands before doing kitchen things) into the pan. If it sizzles, the pan is hot enough now for the next step.
5) Put the rice into the pan. That’s right, with no extra liquid yet; we’re going to toast it for a moment. Stir it a little, for no more than a minute; keep it moving; don’t let it burn! If you try this several times and fail, it could be that you need a better pan. Treat yourself to one when you get the opportunity; until then, skip the toasting part if necessary.
6) Add the chia seeds and spices, followed by the stock, followed by the yeast extract. Why did we do the stock before the yeast extract? It’s because hot liquid will get all the yeast extract off the teaspoon 🙂
7) Put the lid on/down (per what kind of pan or rice cooker you are using), and turn up the heat (if it is a variable heat source) until a tiny bit of steam starts making its way out. When it does, turn it down to a simmer, and let the rice cook. Don’t stir it, don’t jiggle it; trust the process. If you stir or jiggle it, the rice will cook unevenly and, paradoxically, probably stick.
8) Do keep an eye on it, because when steam stops coming out, it is done, and needs taking off the heat immediately. If using an automatic rice cooker, you can be less attentive if you like, because it will monitor this for you.
Note: if you are using a simple pan with a non-fastening lid (any other kind of rice cooking setup is better), more steam will escape than the other methods, and it’s possible that it might run out of steam (literally) before the rice is finished. If the steam stops and you find the rice isn’t done, add a splash of water as necessary (the rice doesn’t need to be submerged, it just needs to have liquid; the steam is part of the cooking process), and make a note of how much you had to add (so that next time you can just add it at the start), and put it back on the heat until it is done.
9) Having taken it off the heat, let it sit for 5 minutes (with the lid still on) before doing any fluffing-up. Then you can fluff-up and serve, adding the garnish if you want one.
Enjoy!
Want to learn more?
For those interested in some of the science of what we have going on today:
- Should You Go Light Or Heavy On Carbs?
- Chia: The Tiniest Seeds With The Most Value
- Black Pepper’s Impressive Anti-Cancer Arsenal (And More)
- Why Curcumin (Turmeric) Is Worth Its Weight In Gold
- The Many Health Benefits Of Garlic
Take care!
Don’t Forget…
Did you arrive here from our newsletter? Don’t forget to return to the email to continue learning!
Recommended

Learn to Age Gracefully
Join the 98k+ American women taking control of their health & aging with our 100% free (and fun!) daily emails:
-

Brain Power – by Michael Gelb & Kelly Howell

10almonds is reader-supported. We may, at no cost to you, receive a portion of sales if you purchase a product through a link in this article.
What’s most important when it comes to brain health? Is it the right diet? Supplements? Brain-training? Attitude? Sleep? Physical exercise? Social connections? Something else?
This book covers a lot of bases, including all of the above and more. The authors are not scientists by training and this is not a book of science, so much as a book of aggregated science-based advice from other sources. The authors did consult with many scientists, and their input is shown throughout.
In the category of criticism, nothing here goes very deeply into the science, and there’s also nothing you wouldn’t find we’ve previously written about in a 10almonds article somewhere. But all the same, it’s good to have a wide variety of brain-healthy advices all in one place.
Bottom line: if you’re looking for a one-stop-shop “look after your brain as you age” guide, then this is a good one.
Click here to check out Brain Power, and improve your mind as you age!
Share This Post
-

Finish What You Start – by Peter Hollins
10almonds is reader-supported. We may, at no cost to you, receive a portion of sales if you purchase a product through a link in this article.
For some people, getting started is the problem. For others of us, getting started is the easy part! We just need a little help not dropping things we started.
There are summaries at the starts and ends of sections, and many “quick tips” to get you back on track.
As a taster: one of these is “temptation bundling“, combining unpleasant things with pleasant. A kind of “spoonful of sugar” approach.
Hollins also discusses hyperbolic discounting (the way we tend to value rewards according to how near they are, and procrastinate accordingly). He offers a tool to overcome this, too, the “10–10–10 rule“.
Also dealt with is “the preparation trap“, and how to know when you have enough information to press on.
For a lot of us, the places we’re most likely to drop a project is 20% in (initial enthusiasm wore off) or 80% in (“it’s nearly done; no need to worry about it”). Those are the times when the advices in this book can be particularly handy!
All in all, a great book for seeing a lot of things to completion.
Share This Post
-

The Food Additive You Do Want
10almonds is reader-supported. We may, at no cost to you, receive a portion of sales if you purchase a product through a link in this article.
Q: When Is A Fiber Not A Fiber?
A: when it’s a resistant starch. What’s it resistant to? Digestion. So, it functions as though a fiber, and by some systems, may get classified as such.
It’s a little like how sucralose is technically a sugar, but the body processes it like a fiber (but beware, because the sweetness of this disaccharide alone can trigger an insulin response anyway—dose dependent)
There may be other problems too:
But today’s not about sucralose, it’s about…
Guar gum’s surprising dietary role
You may have noticed “guar gum” on the list of ingredients of all kinds of things from baked goods to dairy products to condiments to confectionary and more.
It’s also used in cosmetics and explosives, but let’s not focus on that.
It’s used in food products as…
- a bulking agent
- a thickener
- a stabilizer
Our attention was caught by a new study, that found:
Resistant starch intake facilitates weight loss in humans by reshaping the gut microbiota
Often people think of “fiber helps weight loss” as “well yes, if you are bulking out your food with sawdust, you will eat less”, but it’s not that.
There’s an actual physiological process going on here!
We can’t digest it, but our gut microbiota can and will ferment it. See also:
Fiber against pounds: Resistant starch found to support weight loss
Beyond weight loss
Not everyone wants to lose weight, and even where weight loss is a goal, it’s usually not the only goal. As it turns out, adding guar gum into our diet does more things too:
Resistant starch supplement found to reduce liver triglycerides in people with fatty liver disease
(specifically, this was about NAFLD, non-alcoholic fatty liver disease)
Digging a little, it seems the benefits don’t stop there either:
Diet high in guar gum fiber limits inflammation and delays multiple sclerosis symptoms
(this one was a rodent study, but still, it’s promising and it’s consistent with what one would expect based on what else we know about its function in diet)
Should we just eat foods with guar gum in as an additive?
That depends on what they are, but watch out for the other additives if you do!
You can just buy guar gum by itself, by the way (here’s an example product on Amazon).
It’s doubtlessly no fun to take as a supplement (we haven’t tried this one), but it can be baked into bread, if baking’s your thing, or just used as a thickener in recipes where ordinarily you might use cornstarch or something else.
Can I get similar benefits from other foods?
The relevant quality is also present in resistant starches in general, so you might want to check out these foods, for example:
9 Foods That Are High in Resistant Starch
You can also check out ways to increase your fiber intake in general:
Level-Up Your Fiber Intake! (Without Difficulty Or Discomfort)
Enjoy!
Share This Post


Related Posts
-

Dr. Greger’s Daily Dozen
10almonds is reader-supported. We may, at no cost to you, receive a portion of sales if you purchase a product through a link in this article.
Give Us This Day Our Daily Dozen

This is Dr. Michael Greger. He’s a physician-turned-author-educator, and we’ve featured him and his work occasionally over the past year or so:
- Brain Food? The Eyes Have It! ← this is about dark leafy greens, lutein, & avoiding Alzheimer’s
- Twenty-One, No Wait, Twenty Tweaks For Better Health ← he says 21, but we say one of them is very skippable. Check it out and decide what you think!
- Dr. Greger’s Anti-Aging Eight ← his top well-evidenced interventions specifically for slowing aging
But what we’ve not covered, astonishingly, is one of the things for which he’s most famous, which is…
Dr. Greger’s Daily Dozen
Based on the research in the very information-dense tome that his his magnum opus How Not To Die (while it doesn’t confer immortality, it does help avoid the most common causes of death), Dr. Greger recommends that we take care to enjoy each of the following things per day:
Beans
- Servings: 3 per day
- Examples: ½ cup cooked beans, ¼ cup hummus
Greens
- Servings: 2 per day
- Examples: 1 cup raw, ½ cup cooked
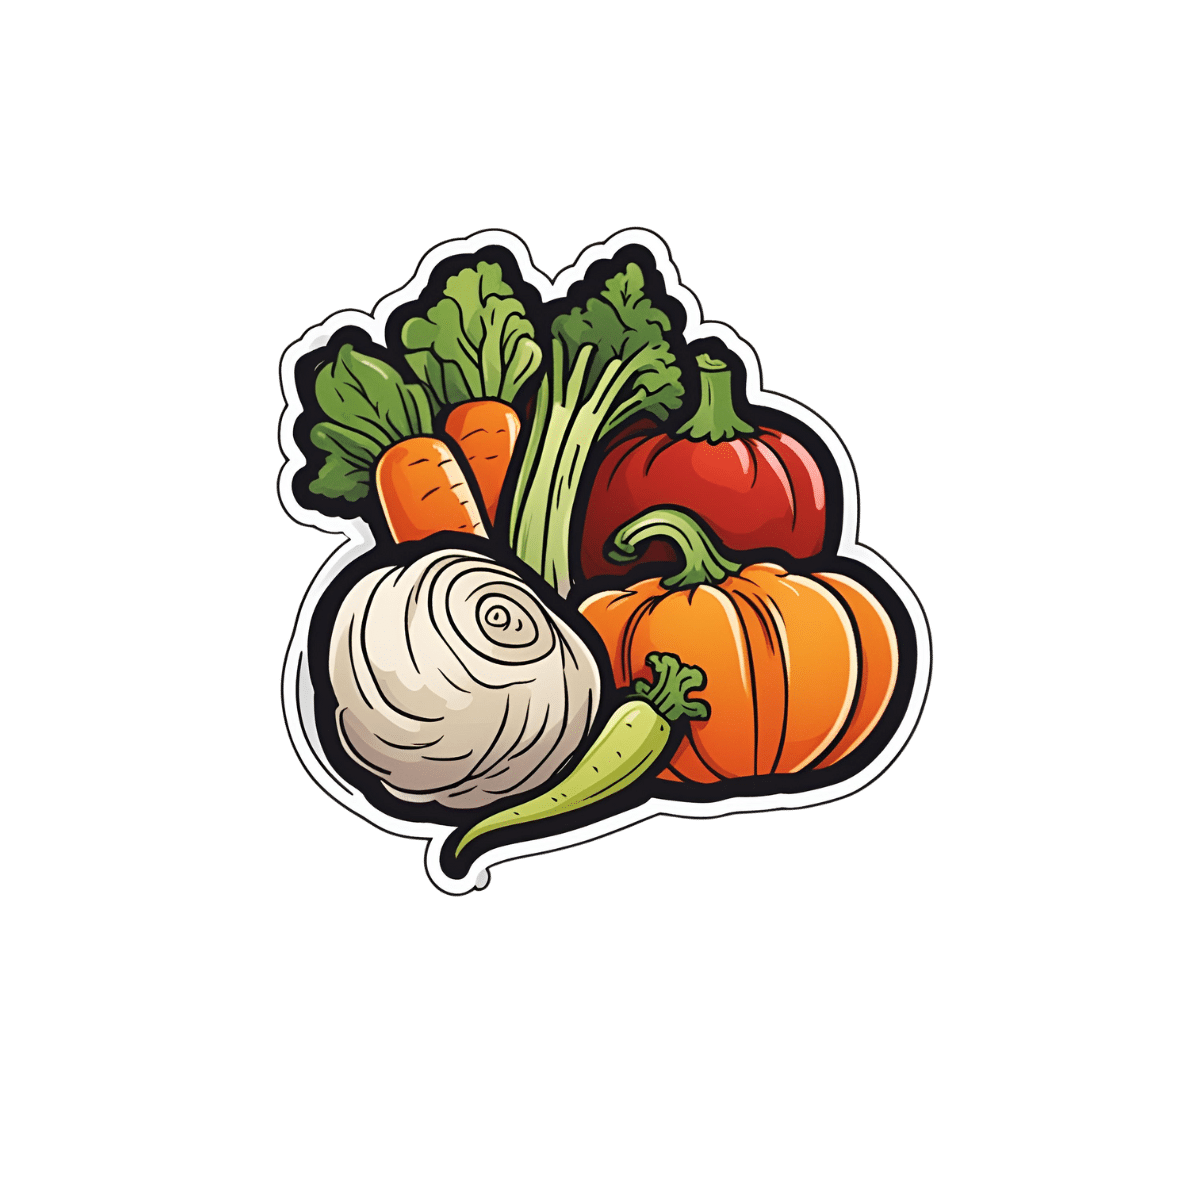
Cruciferous vegetables
- Servings: 1 per day
- Examples: ½ cup chopped, 1 tablespoon horseradish
Other vegetables
- Servings: 2 per day
- Examples: ½ cup non-leafy vegetables
Whole grains
- Servings: 3 per day
- Examples: ½ cup hot cereal, 1 slice of bread
Berries
- Servings: 1 per day
- Examples: ½ cup fresh or frozen, ¼ cup dried
Other fruits
- Servings: 3 per day
- Examples: 1 medium fruit, ¼ cup dried fruit
Flaxseed
- Servings: 1 per day
- Examples: 1 tablespoon ground
Nuts & (other) seeds
- Servings: 1 per day
- Examples: ¼ cup nuts, 2 tablespoons nut butter
Herbs & spices
- Servings: 1 per day
- Examples: ¼ teaspoon turmeric
Hydrating drinks
- Servings: 60 oz per day
- Examples: Water, green tea, hibiscus tea
Exercise
- Servings: Once per day
- Examples: 90 minutes moderate or 40 minutes vigorous
Superficially it seems an interesting choice to, after listing 11 foods and drinks, have the 12th item as exercise but not add a 13th one of sleep—but perhaps he quite reasonably expects that people get a dose of sleep with more consistency than people get a dose of exercise. After all, exercise is mostly optional, whereas if we try to skip sleep for too long, our body will force the matter for us.
Further 10almonds notes:
- We’d consider chia superior to flax, but you do you. Flax is a fine choice also.
- We recommend trying to get each of these top 5 most health-giving spices in daily if you can.
Enjoy!
Don’t Forget…
Did you arrive here from our newsletter? Don’t forget to return to the email to continue learning!
Learn to Age Gracefully
Join the 98k+ American women taking control of their health & aging with our 100% free (and fun!) daily emails:
-

Astaxanthin: Super-Antioxidant & Neuroprotectant
10almonds is reader-supported. We may, at no cost to you, receive a portion of sales if you purchase a product through a link in this article.
Think Pink For Brain Health!
Astaxanthin is a carotenoid that’s found in:
- certain marine microalgae
- tiny crustaceans that eat the algae
- fish (and flamingos!) that eat the crustaceans
Yes, it’s the one that makes things pink.
But it does a lot more than that…
Super-antioxidant
Move over, green tea! Astaxanthin has higher antioxidant activity than most carotenoids. For example, it is 2–5 times more effective than alpha-carotene, lutein, beta-carotene, and lycopene:
Antioxidant activities of astaxanthin and related carotenoids
We can’t claim credit for naming it a super-antioxidant though, because:
Astaxanthin: A super antioxidant from microalgae and its therapeutic potential
Grow new brain cells
Axtaxanthin is a neuroprotectant, but that’s to be expected from something with such a powerful antioxidant ability.
What’s more special to astaxanthin is that it assists continued adult neurogenesis (creation of new brain cells):
❝The unique chemical structure of astaxanthin enables it to cross the blood-brain barrier and easily reach the brain, where it may positively influence adult neurogenesis.
Furthermore, astaxanthin appears to modulate neuroinflammation by suppressing the NF-κB pathway, reducing the production of pro-inflammatory cytokines, and limiting neuroinflammation associated with aging and chronic microglial activation.
By modulating these pathways, along with its potent antioxidant properties, astaxanthin may contribute to the restoration of a healthy neurogenic microenvironment, thereby preserving the activity of neurogenic niches during both normal and pathological aging. ❞
That first part is very important, by the way! There are so many things that our brain needs, and we can eat, but the molecules are unable to pass the blood-brain barrier, meaning they either get wasted, or used elsewhere, or dismantled for their constituent parts. In this case, it zips straight into the brain instead.
See also:
How To Grow New Brain Cells (At Any Age)
(Probably) good for the joints, too
First, astaxanthin got a glowing report in a study we knew not to trust blindly:
…and breathe. What a title that was! But, did you catch why it’s not to be trusted blindly? It was down at the bottom…
❝Conflict of interest statement
NOVAREX Co., Ltd. funded the study. Valensa International provided the FlexPro MD® ingredients, and NOVAREX Co., Ltd. encapsulated the test products (e.g., both FlexPro MD® and placebo)❞
Studies where a supplement company funded the study are not necessarily corrupt, but they can certainly sway publication bias, i.e. the company funds a bunch of studies and then pulls funding from the ones that aren’t going the way it wants.
So instead let’s look at:
Astaxanthin attenuates joint inflammation induced by monosodium urate crystals
and
Astaxanthin ameliorates cartilage damage in experimental osteoarthritis
…which had no such conflicts of interest.
They agree that astaxanthin indeed does the things (attenuates joint inflammation & ameliorates cartilage damage).
However, they are animal studies (rats), so we’d like to see studies with humans to be able to say for sure how much it helps these things.
Summary of benefits
Based on the available research, astaxanthin…
- is indeed a super-antioxidant
- is a neuroprotective agent
- also assists adult neurogenesis
- is probablygood for joints too
How much do I take, and is it safe?
A 2019 safety review concluded:
❝Recommended or approved doses varied in different countries and ranged between 2 and 24 mg.
We reviewed 87 human studies, none of which found safety concerns with natural astaxanthin supplementation, 35 with doses ≥12 mg/day.❞
Source: Astaxanthin: How much is too much? A safety review
In short: for most people, it’s very safe and well-tolerated. If you consume it to an extreme, you will likely turn pink, much as you would turn orange if you did the same thing with carrots. But aside from that, the risks appear to be minimal.
However! If you have a seafood allergy, please take care to get a supplement that’s made from microalgae, not one that’s made from krill or other crustaceans, or from other creatures that eat those.
Where can I get it?
We don’t sell it, but here’s an example product on Amazon, for your convenience
Enjoy!
Don’t Forget…
Did you arrive here from our newsletter? Don’t forget to return to the email to continue learning!
Learn to Age Gracefully
Join the 98k+ American women taking control of their health & aging with our 100% free (and fun!) daily emails:
-

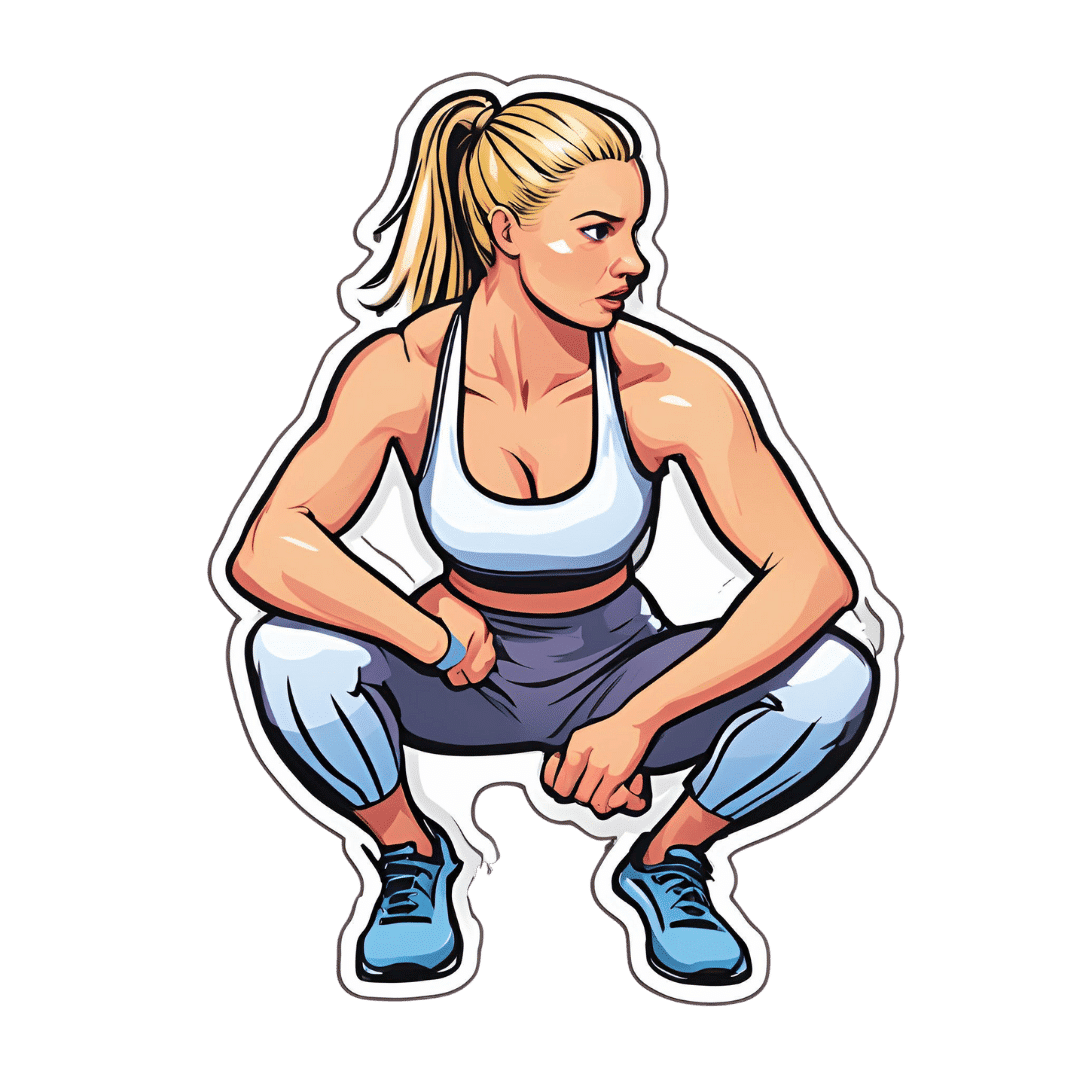
The Secret To Better Squats: Foot, Knee, & Ankle Mobility
10almonds is reader-supported. We may, at no cost to you, receive a portion of sales if you purchase a product through a link in this article.
We’ve talked before about how Slav squats, Asian squats, deep squats, sitting squats, or various other things they might by called (these are all different names for the same thing), are one of the most anti-aging exercises, if not outright the most anti-aging exercise. Yet, how to get good at them?
“Just squat more” is fine advice and will get you there eventually, but there are ways to shorten the time it takes, by unlocking whatever part(s) might be holding you back:
Piece by piece
The key to improving the whole is to not neglect any of the parts—so here they are:
- Foot rolls: roll your foot onto its outer and inner edges to stretch; repeat for both legs.
- Toe lifts: lift your toes up and down while keeping your legs straight.
- Toe curls: curl your toes to engage foot muscles.
- Foot circles: rotate your feet in circles; repeat for both legs.
- Heel raises: stand tall, raise your heels off the ground, and engage your core.
- Tibialis anterior exercise: lean against a wall or similar, and lift your toes off ground to strengthen your tibialis anterior (important and oft-forgotten muscle, responsible for more than people think!)
- Heel drops: perform dynamic heel drops with your feet back, to stretch your ankles.
- Hamstring curls & leg extension: curl your leg back toward your glutes, and then extend it forwards; alternate legs.
- Dynamic calf stretch: bend and straighten your knees alternately in a forward lunge position.
- Squat to heel raise: perform squats with your heels lifting off the floor and your arms raised.
- Banded ankle dorsiflexion: use a yoga strap or towel to stretch your feet, calves, and hamstrings.
- Seated feet circles: extend your legs and rotate your feet in outward and inward circles.
- Dorsiflexion/plantar flexion: alternate one foot up and the other down dynamically.
- Seated knee flexion & extension: alternate lifting your knees and extending your legs, while seated.
Note: “seated” in all cases means on the floor, not a chair!
For more on all of these plus visual demonstrations, enjoy:
Click Here If The Embedded Video Doesn’t Load Automatically!
Want to learn more?
You might also like to read:
What Nobody Teaches You About Strengthening Your Knees ← about that tibialis anterior muscle and what it means for your knees
Take care!
Don’t Forget…
Did you arrive here from our newsletter? Don’t forget to return to the email to continue learning!
Learn to Age Gracefully
Join the 98k+ American women taking control of their health & aging with our 100% free (and fun!) daily emails: