
How To Heal And Regrow Receding Gums
10almonds is reader-supported. We may, at no cost to you, receive a portion of sales if you purchase a product through a link in this article.
It’s Q&A Day at 10almonds!
Have a question or a request? You can always hit “reply” to any of our emails, or use the feedback widget at the bottom!
In cases where we’ve already covered something, we might link to what we wrote before, but will always be happy to revisit any of our topics again in the future too—there’s always more to say!
As ever: if the question/request can be answered briefly, we’ll do it here in our Q&A Thursday edition. If not, we’ll make a main feature of it shortly afterwards!
So, no question/request too big or small
❝So, I have a topic that I’d love you guys to discuss: green tea. I used to try + drink it years ago but I always got an allergic reaction to it. So the question I’d like answered is: Will I still get the same allergic reaction if I take the capsules ? Also, because it’s caffeinated, will taking it interfere with iron pills, other vitamins + meds ? I read that the health benefits of the decaffeinated tea/capsules are not as great as the caffeinated. Any info would be greatly appreciated !! Thanks much !!❞
I’ll answer this one in the first person as I’ve had a similar issue:
I found long ago that taking any kind of tea (not herbal infusions, but true teas, e.g. green tea, black tea, red tea, etc) on an empty stomach made me want to throw up. The feeling would subside within about half an hour, but I learned it was far better to circumvent it by just not taking tea on an empty stomach.
However! I take an l-theanine supplement when I wake up, to complement my morning coffee, and have never had a problem with that. Of course, my physiology is not your physiology, and this “shouldn’t” be happening to either of us in the first place, so it’s not something there’s a lot of scientific literature about, and we just have to figure out what works for us.
I’d hypothesize that the reason tea causes a problem but the supplement doesn’t, is because the reaction is not to the l-theanine, but rather to the tannins in the tea.
This last Monday I wrote (inspired in part by your query) about l-theanine supplementation, and how it doesn’t require caffeine to unlock its benefits after all, by the way. So that’s that part in order.
I can’t speak for interactions with your other supplements or medications without knowing what they are, but I’m not aware of any known issue, beyond that l-theanine will tend to give a gentler curve to the expression of some neurotransmitters. So, if for example you’re talking anything that affects that (e.g. antidepressants, antipsychotics, ADHD meds, sleepy/wakefulness meds, etc) then checking with your doctor is best.
❝Can you do something on collagen and keep use posted on pineapple, and yes love and look forward to each issue❞
Glad you’re enjoying! We did write a main feature on collagen a little while back! Here it is:
We Are Such Stuff As Fish Are Made Of
As for pineapple, there’s not a lot to keep you posted about! Pineapple’s protein-digesting, DNA-unzipping action is well-established and considered harmless (if your mouth feels weird when you eat pineapple or drink pineapple juice, this is why, by the way) because no meaningful damage was done.
For example:
- Pineapple’s bromelain action is akin to taking apart a little lego model brick by brick (easy to fix)
- Clastogenic genotoxicity is more like taking a blowtorch to the lego model (less easy to fix)
Fun fact: pineapple is good against inflammation, because of the very same enzyme!
❝I never knew anything about the l- tea. Where can I purchase it?❞
You can get it online quite easily! Here’s an example on Amazon
❝The 3 most important exercises don’t work if you can’t get on the floor. I’m 78, and have knee replacements. What about 3 best chair yoga stretches? Love your articles!❞
Here are six!
We turn the tables and ask you a question!
We’ll then talk about this tomorrow:
Don’t Forget…
Did you arrive here from our newsletter? Don’t forget to return to the email to continue learning!
Recommended

Learn to Age Gracefully
Join the 98k+ American women taking control of their health & aging with our 100% free (and fun!) daily emails:
-

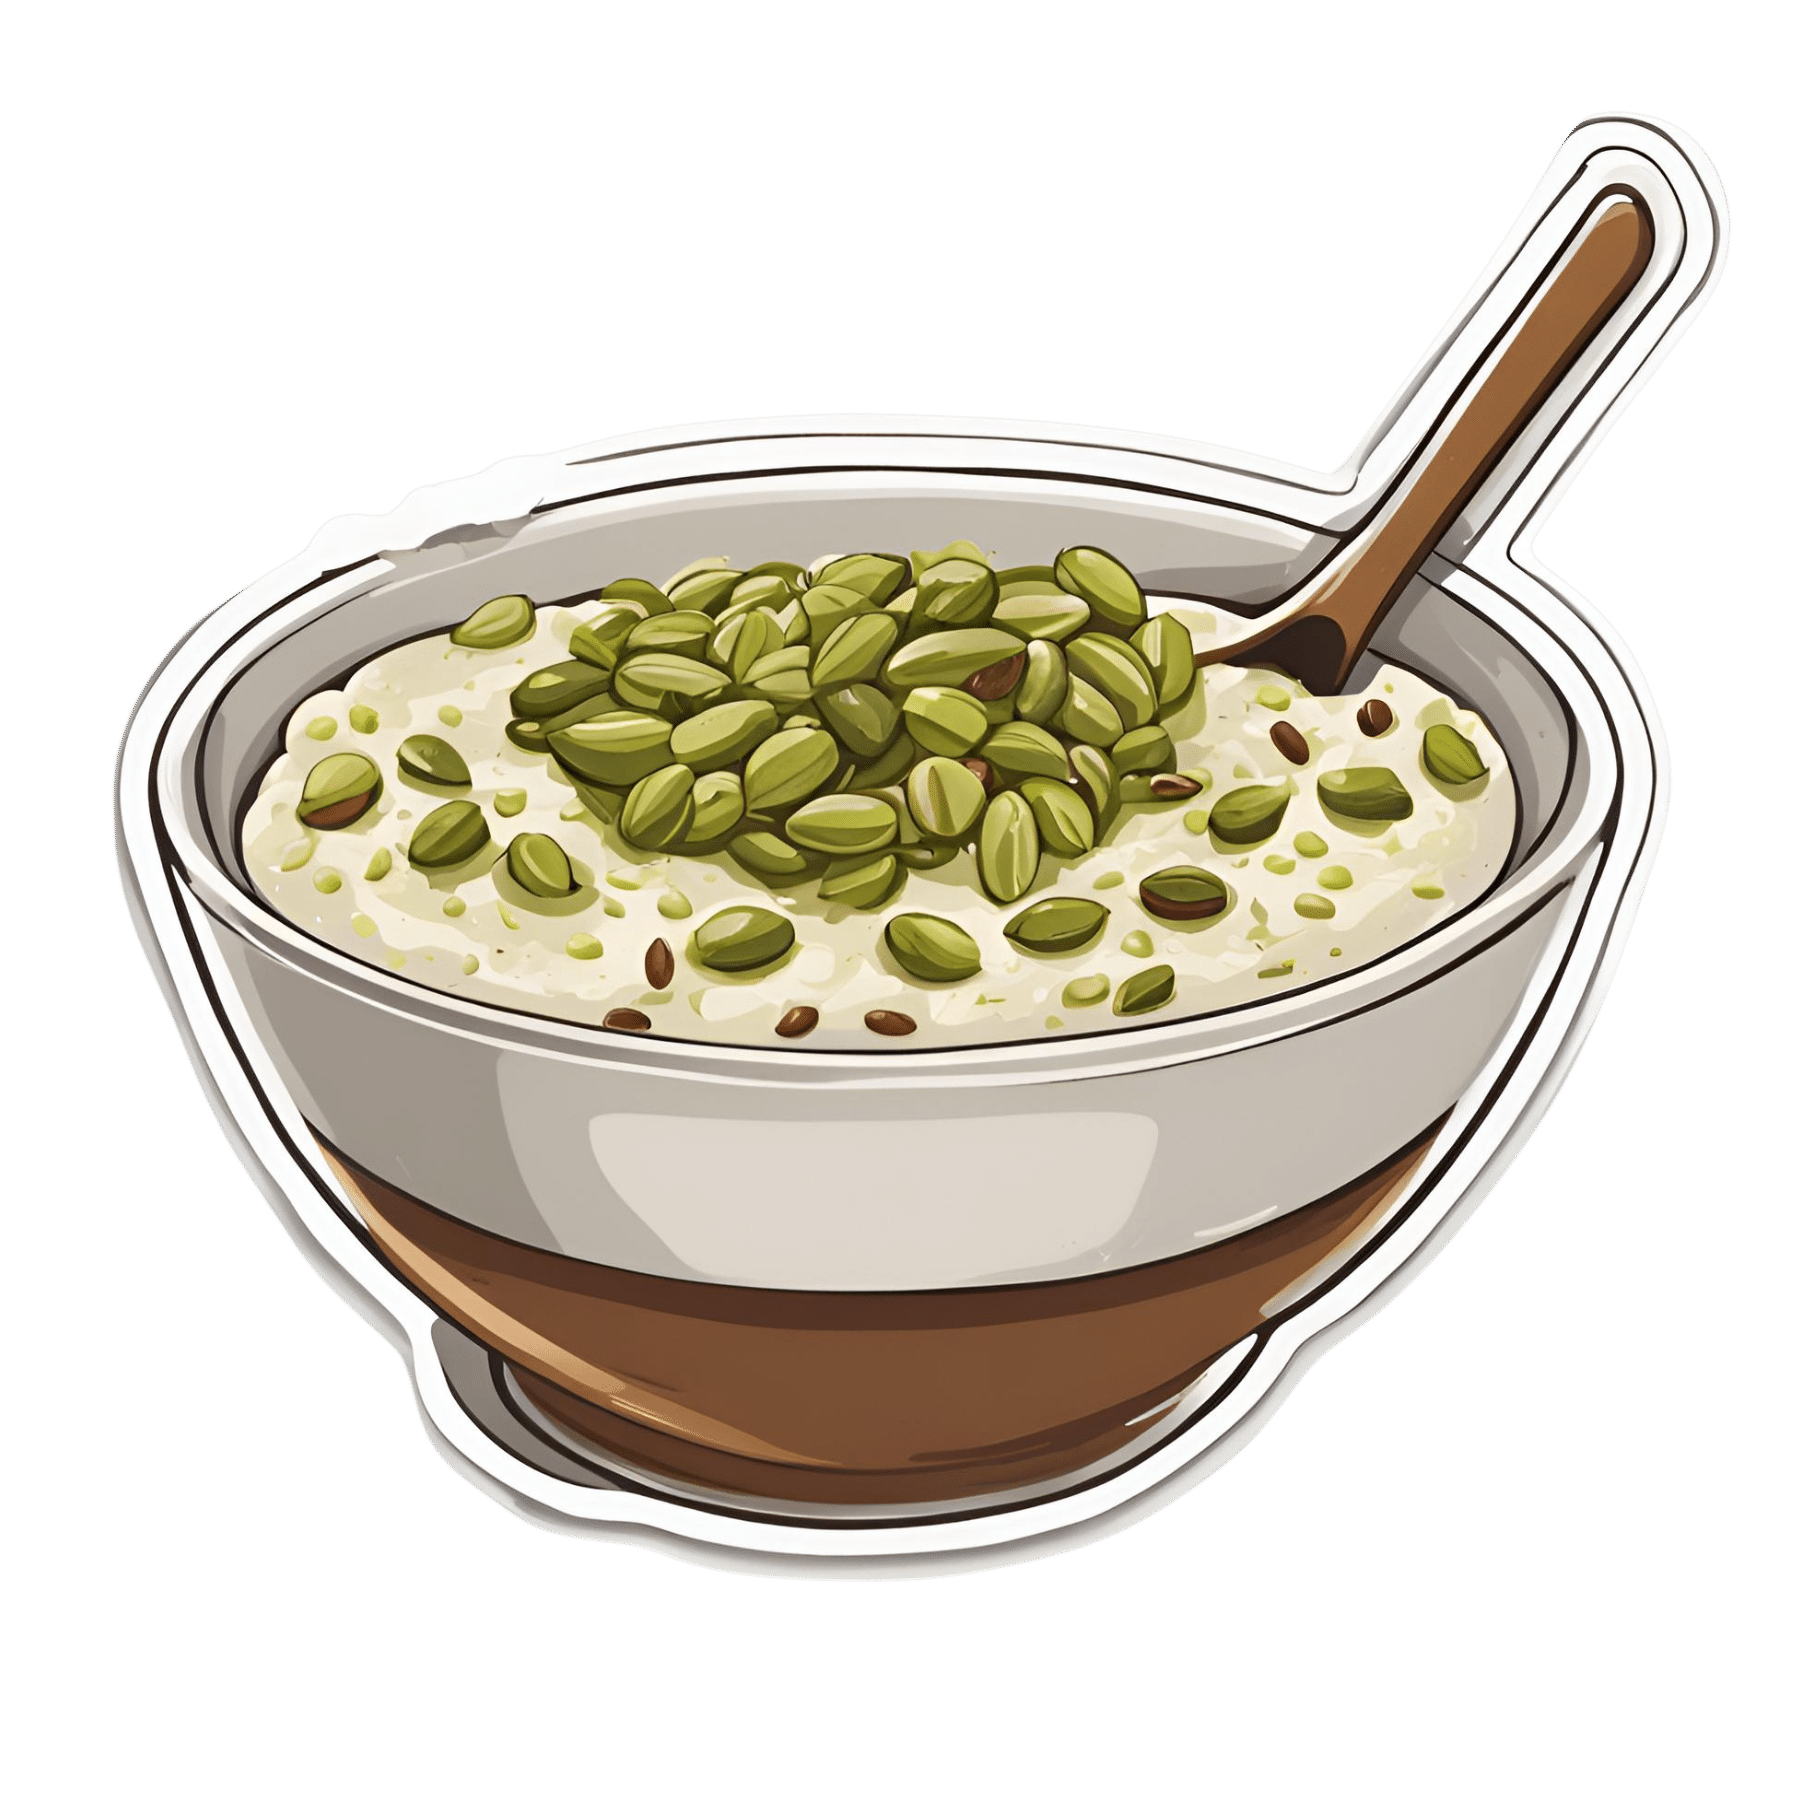
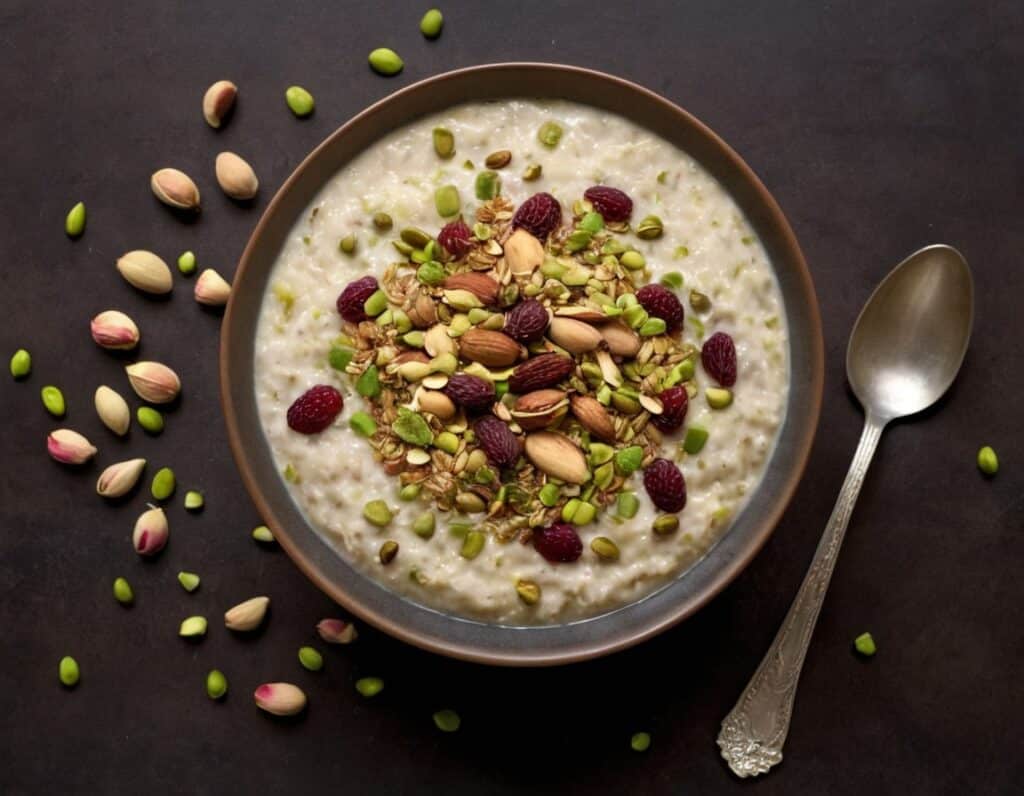
Anti-Cholesterol Cardamom & Pistachio Porridge

10almonds is reader-supported. We may, at no cost to you, receive a portion of sales if you purchase a product through a link in this article.
This tasty breakfast’s beta-glucan content binds to cholesterol and carries it out of the body; there are lots of other nutritional benefits too!
You will need
- 1 cup coconut milk
- ⅓ cup oats
- 4 tbsp crushed pistachios
- 6 cardamom pods, crushed
- 1 tsp rose water or 4 drops edible rose essential oil
- Optional sweetener: drizzle of honey or maple syrup
- Optional garnishes: rose petals, chopped nuts, dried fruit
Method
(we suggest you read everything at least once before doing anything)
1) Heat the coconut milk, adding the oats and crushed cardamom pods. Simmer for 5–10 minutes depending on how cooked you want the oats to be.
2) Stir in the crushed pistachio nuts, as well as the rose water.
3) Serve in a bowl, adding any optional toppings:

Enjoy!
Want to learn more?
For those interested in some of the science of what we have going on today:
- The Best Kind Of Fiber For Overall Health? ← it’s beta-glucan, which is fund abundantly in oats
- Pistachios vs Pecans – Which is Healthier? ← have a guess
- Can Saturated Fats Be Healthy? ← coconut can!
Take care!
Share This Post
-

Professional-Style Dental Cleaning At Home?
10almonds is reader-supported. We may, at no cost to you, receive a portion of sales if you purchase a product through a link in this article.
You know the scene: your dentist is rummaging around inside your mouth with an implement that looks like a medieval torture device; you wince at a sudden sharp pain, only to be told “if you flossed, you wouldn’t be bleeding now”.
For most of us, going to the dentist isn’t near the top of our “favorite things to do” list, but it is of course a necessity of (healthy) life.
So, what can we do to minimize suffering in the dentist’s chair?
First, the basics
Of course, good oral hygiene is the absolute baseline, but with so many choices out there, which is best? We examined an array of options in this three-part series:
- Toothpastes & Mouthwashes: Which Help And Which Harm?
- Flossing Without Flossing?
- Less Common Oral Hygiene Options ← we recommend the miswak! Not only does it clean the teeth as well as or better than traditional brushing, but also it changes the composition of saliva to improve the oral microbiome, effectively turning your saliva into a biological mouthwash that kills unwanted microbes and is comfortable for the ones that should be there.
In fact, caring for the composition of one’s saliva, and thus one’s oral microbiome, is so important that we did a main feature on that, a little later:
Make Your Saliva Better For Your Teeth ← this is especially important if you take any meds that affect the composition of your saliva (scroll down to the table of meds). Your medications’ leaflets won’t tell you that it does that directly, but they will list “dry mouth” as one of the potential side effects (and you’ll probably know if you have a medication that gives you a dry mouth).
Next, level up
For this one, we’ll drop some links to some videos we’ve featured (for those who prefer text, worry not, your faithful writer has added text-based overviews):
- How To Regrow Receding Gums
- Tooth Remineralization: How To Heal Your Teeth Naturally
- Tartar Removal At Home & How To Prevent Tartar
Now, that last one sounds slightly more exciting than it is—it is about using chemical processes to gradually lessen the tartar over time, with a six-month timeframe.
So, what if you want to do one better than that?
Finally… Buckle up, this one’s fun
Ok, so “fun” and “dental care” don’t usually go hand-in-hand, and maybe your sense of fun differs from this writer’s, but hey. The thing is, we’re going to get hands-on with dental tools.
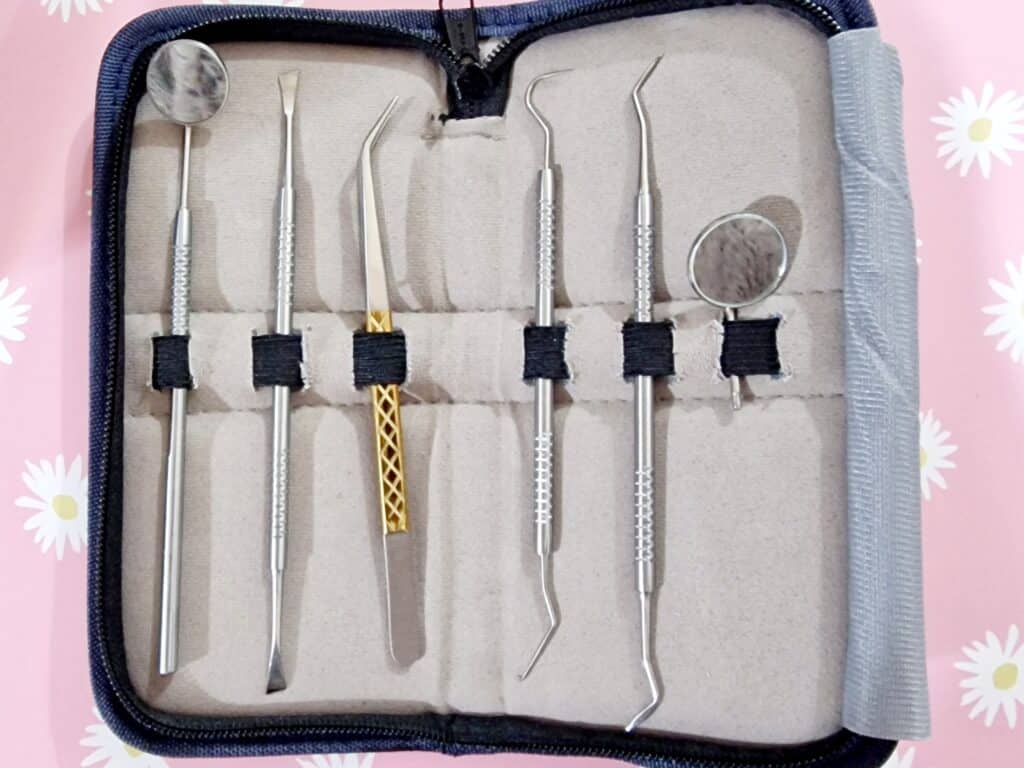
Specifically, these dental tools:

👆 these are literally the tools this writer has; if you look in the specula (the round mirror bits), you can see the reflection of the fluffy gray bathrobe I was wearing when I took the picture!
You can get tools like these easily online; here’s an example product on Amazon; do also shop around of course, and we recommend checking the reviews to ensure good quality.
Writer’s story on why I have these: once upon a time, a wisdom tooth came through at 45°, ploughing through the molar next to it, which then needed removing.
However, my teeth have the interesting anatomical quirk that I have hooked/barbed roots, which does not make tooth extraction easy; it had to come out sidewise, and the process was somewhat bungled by an inexperienced dental surgeon.
When the anesthetic wore off, it was the most pain I’ve ever been in in my life.
After that, I wasn’t a very regular returner to the dentist, and in 2013, I fell into a very deep depression for unrelated reasons, and during that period, I got some plaque/tartar buildup on some of my teeth due to lack of care, that then just stayed until I decided to take care of it more recently, which I am happy to say, I’ve now done (my teeth are the happiest and healthiest they’ve ever been), and I’m going to share how, with you.
So, here’s how to do it… First, you’ll need those tools, of course.
You will also want a good quality backlit magnifying mirror. Again, here’s an example product on Amazon ← this is the exact kind this writer has, and it’s very good.
You may be thinking: “wait a minute, this is scary, those are dangerous and I’m not a dentist!”
If so, then a few quick things to bear in mind:
- If you’re not comfortable doing it, don’t do it. As ever, our medical/legal disclaimer applies, and we share information for your interest only, and not as an exhortation to take any particular action. By all means confer with your dentist, too, and see whether they support the idea.
- These things do look scarier than they are once you get used to them. Do you use metal silverware when eating? Technically you could stab yourself with a fork any time, or damage your teeth with it, but when was the last time you did that?
- With regard to manual dexterity, if you have the manual dexterity required to paint your nails, floss your teeth, sew by hand, or write with a pen, then you have the manual dexterity to do this, too.
Now, about the tools:
- Speculum / magnifying speculum: the one with the mirror. This is useful for looking at the backs of teeth.
- Tweezers: the one with the gold grip in the photo above. You probably won’t need to use these, but we’re sure you know how to use tweezers in general.
- Dental explorer: the one with the big wicked-looking hook on one end, and a tiny (almost invisible in the photo) hook on the other end. This is for examining cavities, not for manipulating things. Best leave that to your dentist if you have cavities.
- Dental pick: this is the one to the right of the dental explorer, and it is for cleaning in the crevices between teeth. One end is quite blunt; the other is pointier, and you can choose which end to use depending on what fits into the shape of the crevice between your teeth.
- Dental scraper: this is the one with chisel ends. One end curves very slightly to the left, the other, very slightly to the right. This is for ergonomics depending on which hand you’re using, and which side you’re scraping (you’ll become very aware that your teeth, even if they look straight, curve very slightly at the edges.
You’ll be using these last two for the actual tartar removal, selecting the tool appropriate to cleaning the flat surface of a tooth, or the crevice where the teeth meet (not like flossing! That part, yes, but under no circumstances is this thing going all the way through to the other side, it’s just for getting into to nook that the scraper can’t so easily clean, that’s all).
A word on using metal against your teeth: a scary prospect, initially! However…
While steel is indeed harder than the enamel of your teeth, the enamel of your teeth is much harder than the plaque/tartar/calculus that you will be removing. Therefore, the technique to use is very gently scrape, starting as gently as humanly possible until you get a feel for it.
Unlike the dentist, you will have an advantage here in that you have biofeedback, and bone conduction of the sounds in your mouth, so you can exercise much more restraint than your dentist can. With the correct minimum of pressure, the tool should glide smoothly down enamel, but when it’s scraping tartar, it should make a very fine sandpapery noise.
This is why “or write with a pen” was one of the skills we mentioned earlier; it’s the same thing; you don’t press with a pen so hard that it goes through the paper, so don’t press so hard with the tool that it damages your enamel, that’s all.
Because of the differential in hardness between the tartar and the enamel, it’s really very easy to remove the tartar without harming the enamel, provided one is gentle.
Final word of warning; we’ll repeat: If you’re not comfortable doing it, don’t do it. As ever, our medical/legal disclaimer applies, and we share information for your interest only, and not as an exhortation to take any particular action. By all means confer with your dentist, too, and see whether they support the idea.
Also, while this kind of cleaning can be done safely at home, we recommend against doing anything more complicated than that.
See for example: Can You Repair Your Own Teeth At Home? ← the short answer is “no”, or not beyond tooth remineralization, anyway, and kits that say otherwise are potentially misleading, or stop-gap solutions at best.
One last time: always consult with a professional and get their advice (ours is not advice; it’s just information).
Take care!
Share This Post
-

Fluoride Toothpaste vs Non-Fluoride Toothpaste – Which is Healthier?
10almonds is reader-supported. We may, at no cost to you, receive a portion of sales if you purchase a product through a link in this article.
Our Verdict
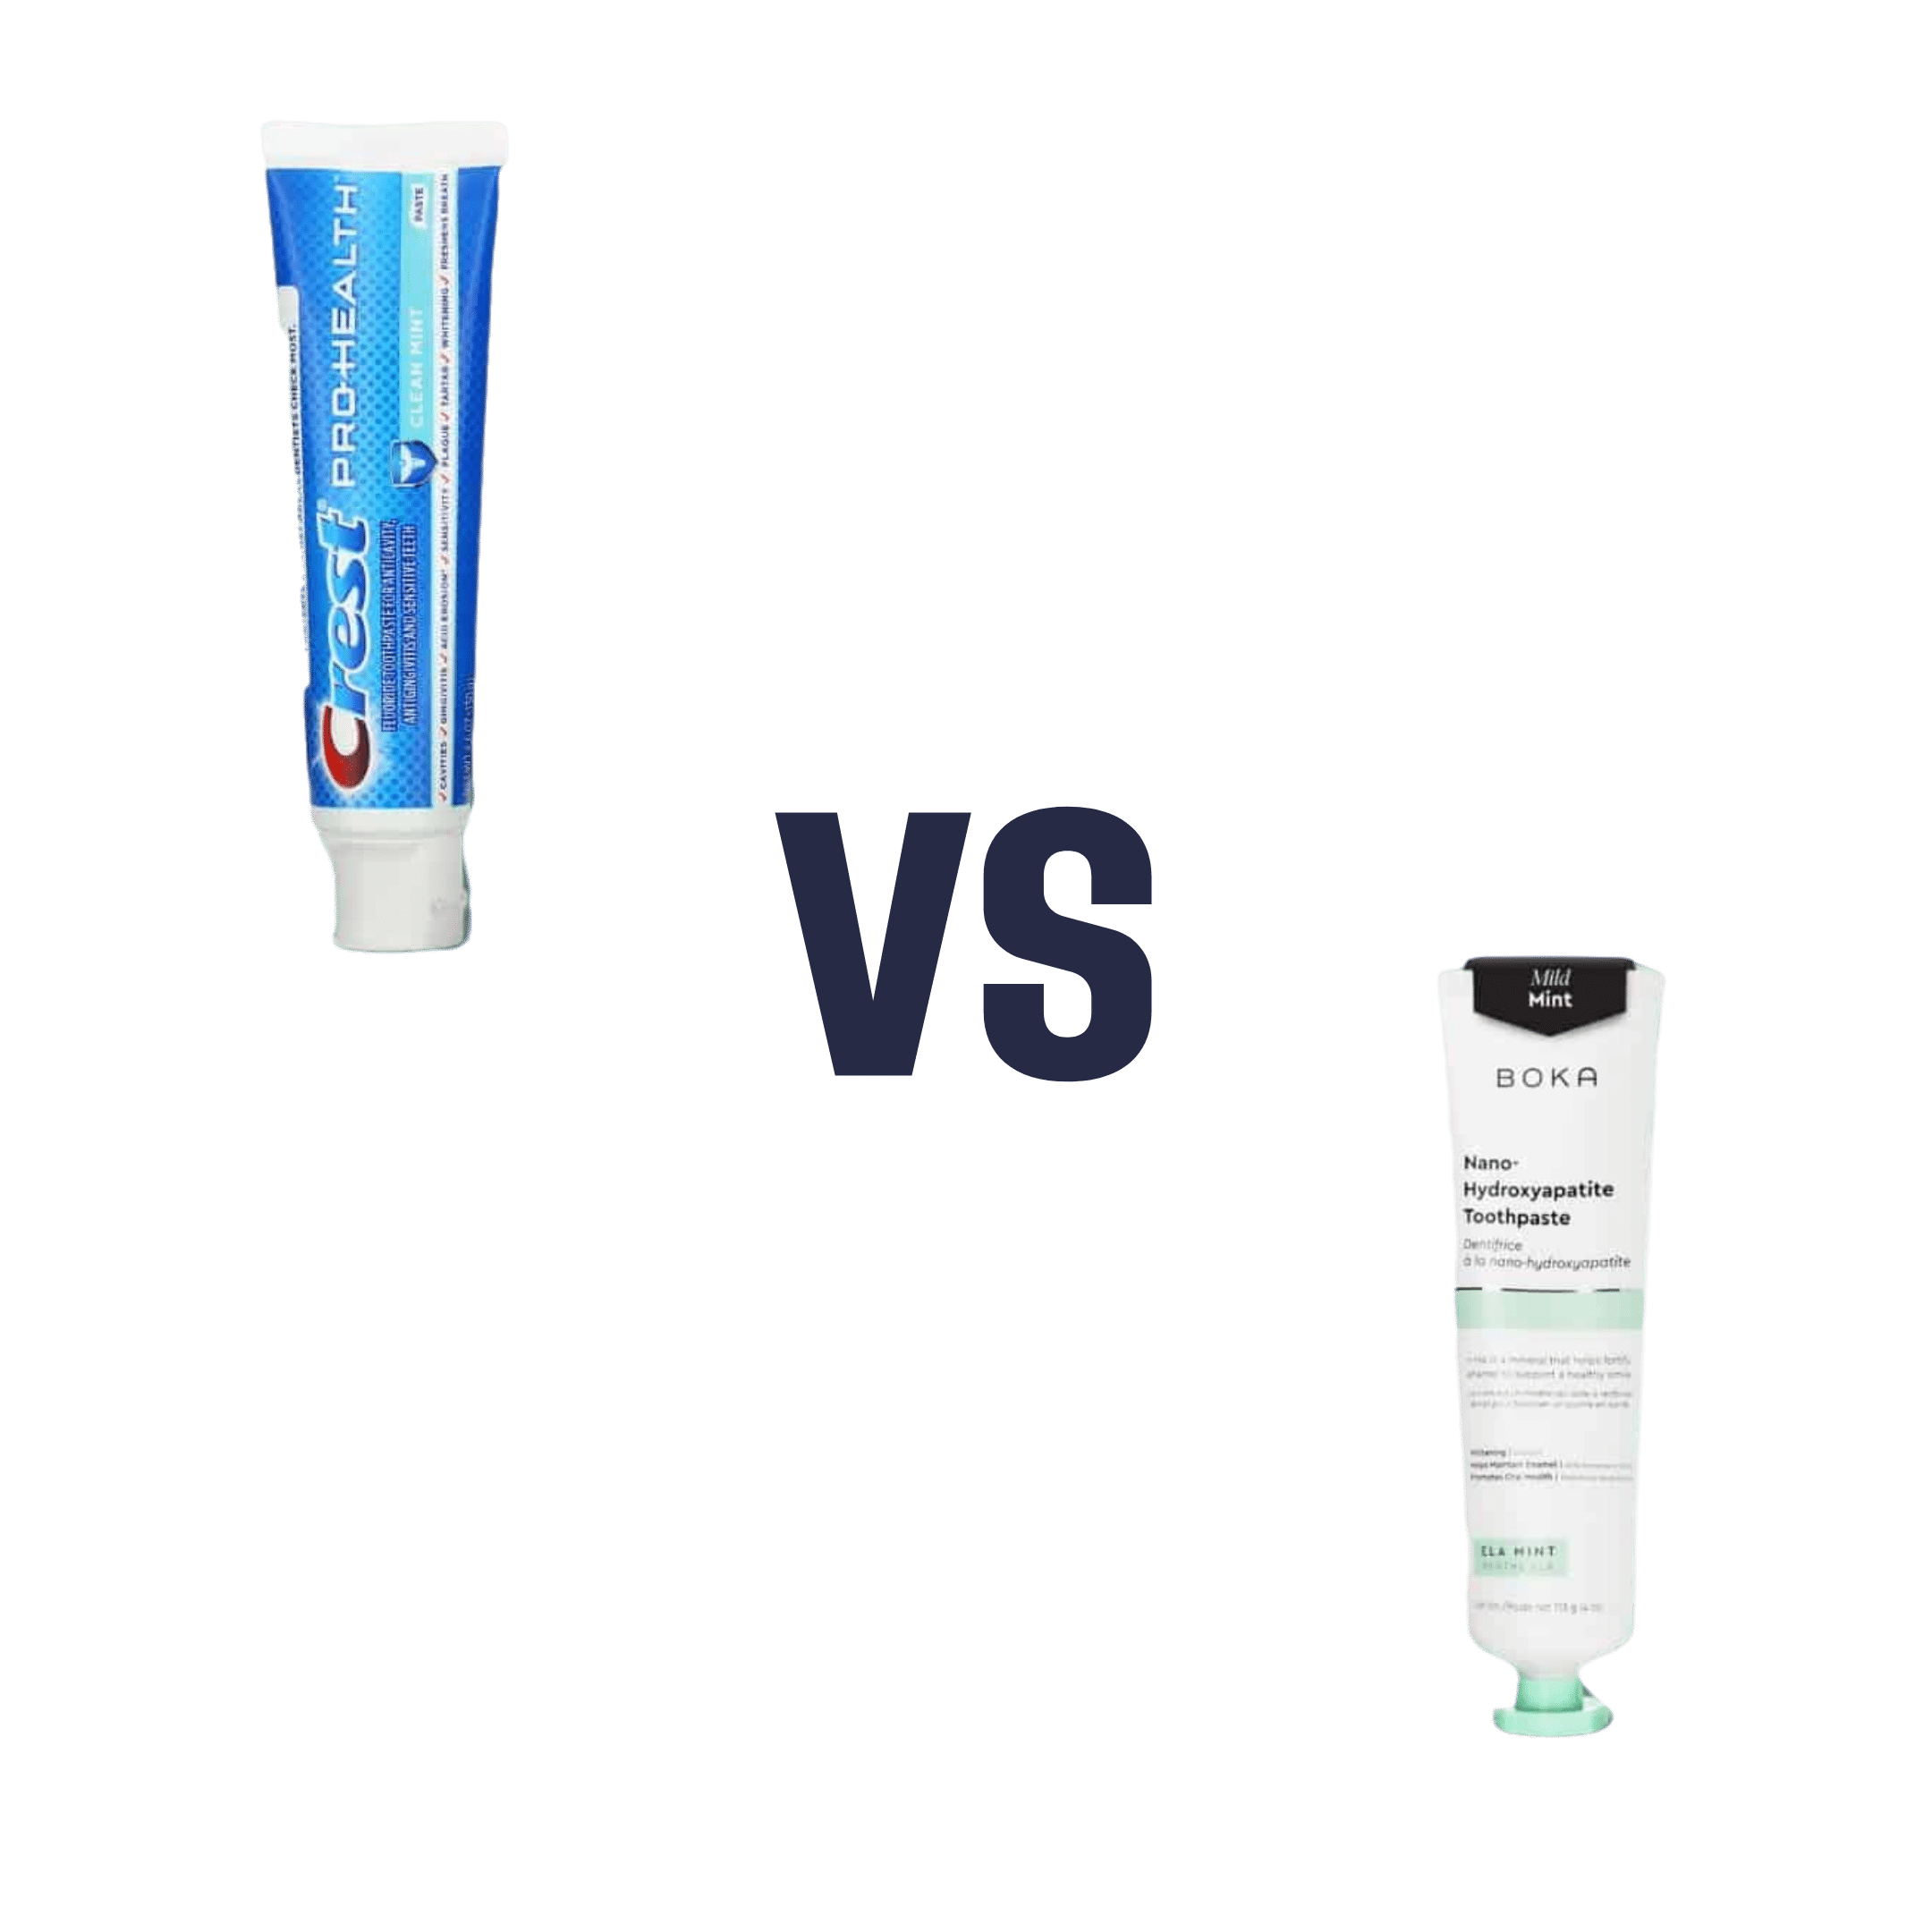
When comparing fluoride toothpaste to non-fluoride toothpaste, we picked the fluoride.
Why?
Fluoride is indeed toxic; that’s why it’s in toothpaste (to kill things; namely, bacteria whose waste products would harm our teeth). However, we are much bigger than those bacteria.
Given the amount of fluoride in toothpaste (usually under 1mg per strip of toothpaste to cover a toothbrush head), the amount that people swallow unintentionally (about 1/20th of that, so about 0.1mg daily if brushing teeth twice daily), and the toxicity level of fluoride (32–64mg/kg), then even if we take the most dangerous ends of all those numbers (and an average body size), to suffer ill effects from fluoride due to brushing your teeth, would require that you brush your teeth more than 23,000 times per day.
Alternatively, if you were to ravenously eat the toothpaste instead of spitting it out, you’d only need to brush your teeth a little over 1,000 times per day.
All the same, please don’t eat toothpaste; that’s not the message here.
However! In head-to-head tests, fluoride toothpaste has almost always beaten non-fluoride toothpaste.
Almost? Yes, almost: hydroxyapatite performed equally in one study, but that’s not usually an option on as many supermarket shelves.
We found some on Amazon, though, which is the one we used for today’s head-to-head. Here it is:
However, before you rush to buy it, do be aware that the toxicity of hydroxyapatite appears to be about twice that of fluoride:
Scientific Committee on Consumer Safety Opinion On Hydroxyapatite (Nano)
…which is still very safe (you’d need to brush your teeth, and eat all the toothpaste, about 500 times per day, to get to toxic levels, if we run with the same numbers we discussed before. Again, please do not do that, though).
But, since the science so far suggests it’s about twice as toxic as fluoride, then regardless of that still being very safe, the fluoride is obviously (by the same metric) twice as safe, hence picking the fluoride.
Want more options?
Check out our previous main feature:
Less Common Oral Hygiene Options
(the above article also links back to our discussion of different toothpastes and mouthwashes, by the way)
Take care!
Share This Post

Related Posts
-
Collard Greens vs Watercress – Which is Healthier?
10almonds is reader-supported. We may, at no cost to you, receive a portion of sales if you purchase a product through a link in this article.
Our Verdict
When comparing collard greens to watercress, we picked the collard greens.
Why?
It was close! But…
In terms of macros, collard greens have 8x the fiber, 4x the carbs, and slightly more protein. The fiber-to-carbs ratio also gives collard greens the lower glycemic index, although honestly, nobody is getting metabolic disease from eating watercress. Still, by the numbers it’s a clear win for collard greens, and especially 8x the fiber is not to be undervalued!
When it comes to vitamins, things were much more even; collard greens have more of vitamins A, B3, B9, K, and choline, while watercress has more of vitamins B1, B2, B5, C, and E. They’re tied on vitamin B6, so that makes a 5.5:5.5 tie overall. Looking for a tiebreaker, collard greens’ margins of difference are greater, so we could call this a tie or the narrowest of wins for collard greens ion this category.
In the category of minerals, collard greens have more calcium, copper, iron, manganese, and zinc, while watercress has more copper, phosphorus, potassium, and selenium. They’re tied on magnesium. This time the margins of difference are also comparable, so there’s really no tiebreaker available for this one. Thus, an absolute tie on minerals.
Looking at polyphenols, watercress has slightly more, with the main contender being 4mg/100g quercetin.
Adding up the sections results in either a tie or a slight for collard greens based on the tiebreaker in the vitamins category.
We can also put the two clear wins (one for collard greens and one for watercress), and say that in our opinion, collard greens’ 4g/100g fiber beats watercress’s 4mg/100g quercetin.
Quercetin is great and all, but:
- if you buy a quercetin supplement like this one on Amazon it’s 1000mg capsules, so how critical is watercress’s 4mg, really? Yes, getting it from food is better, but it’s not 25,000% better.
- no doctor that we know of is saying “you need more quercetin or you’re going to die”, but they do say “you need more fiber or you’re going to die”
- indeed, the WHO passionately proclaims that 95% of people in the US especially desperately need to eat more fiber, whereas there is no similar giant public health campaign begging people to have 4mg more of quercetin
…so we’ll say that’s another tiebreaker in favor of collard greens.
In short: collard greens scrape a win based on several tiebreakers, but watercress was a very close contender indeed!
Of course, by all means enjoy either or (ideally!) both; diversity is good.
Want to learn more?
You might like:
What’s Your Plant Diversity Score?
Enjoy!
Don’t Forget…
Did you arrive here from our newsletter? Don’t forget to return to the email to continue learning!
Learn to Age Gracefully
Join the 98k+ American women taking control of their health & aging with our 100% free (and fun!) daily emails:
-

The Fiber Fueled Cookbook – by Dr. Will Bulsiewicz
10almonds is reader-supported. We may, at no cost to you, receive a portion of sales if you purchase a product through a link in this article.
We’ve previously reviewed Dr. Bulsiewicz’s book “Fiber Fuelled” (which is great), but this one is more than just a cookbook with the previous book in mind. Indeed, this is even a great stand-alone book by itself, since it explains the core principles well enough already, and then adds to it.
It’s also about a lot more than just “please eat more fiber”, though. It looks at FODMAPs, purine, histamine intolerance, celiac disease, altered gallbladder function, acid reflux, and more.
He offers a five-part strategy:
Genesis (what is the etiology of your problem)
- Restrict (cut things out to address that first)
- Observe (keep a food/symptom diary)
- Work things back in (re-add potential triggers one by one, see how it goes)
- Train your gut (your microbiome does not exist in a vacuum, and communication is two-way)
- Holistic healing (beyond the gut itself, looking at other relevant factors and aiming for synergistic support)
As for the recipes themselves, there are more than a hundred of them and they are good, so no more “how can I possibly cook [favorite dish] without [removed ingredient]?”
Bottom line: if you’d like better gut health, this book is a top-tier option for fixing existing complaints, and enjoying plain-sailing henceforth.
Click here to check out The Fiber Fueled Cookbook; your gut will thank you later!
Don’t Forget…
Did you arrive here from our newsletter? Don’t forget to return to the email to continue learning!
Learn to Age Gracefully
Join the 98k+ American women taking control of their health & aging with our 100% free (and fun!) daily emails:
-
Bulgarian Split Squats: How To Get The Best Glute Strength & Size
10almonds is reader-supported. We may, at no cost to you, receive a portion of sales if you purchase a product through a link in this article.
Even without considering aesthetics, the glutes are very important muscles (you absolutely cannot have a healthy back and hips without strong glutes).
Bulgarian split squats have a name that makes them sound complicated; they’re actually very simple, but there are mistakes that people make that sabotage their progress.
Professional coach Elisi Wolf explains in this video:
Mistakes most people make
There are quite a few, but bear with us, as they really do come together—and once you understand them, you’ll have it for life;
- Lack of neural pathway establishment: most people skip the step of building a mind-muscle connection before adding weight. Focus on bodyweight movements first until you can feel your glutes working.
- Not focusing on glute contraction: avoid counting reps; it distracts the brain. Don’t use weights too soon, as they can prevent neural pathway development. Focus on time under tension and feeling the glutes before adding resistance.
- Not lowering slowly enough: slow, controlled movements give the brain time to activate the glutes. This increases time under tension and improves neural pathway formation.
- Not wearing knee sleeves: knee sleeves stabilize the joint, allowing the brain to recruit the glutes more efficiently.
- Not leaning over to the working side: staying upright distributes weight to the back leg instead of the glute, whereas leaning over the working side maximizes glute activation.
- Holding two dumbbells instead of one: two dumbbells force your body to stay level, reducing glute activation. Instead, hold a single dumbbell on the opposite side to improve balance and allow for a greater lean. You can even rest it on your thigh if you like; you’re not here for an arm workout, after all, and allowing the body to focus on one task is better.
- Not pushing out the working knee: pushing the knee outward mimics a sprinting motion, engaging the glutes more effectively.
- Allowing the pelvis to tilt down: if the pelvis tilts as you lower, the glutes disengage. Keeping the pelvis level ensures the glute medius stays activated.
For more on all of these plus visual demonstrations, enjoy:
Click Here If The Embedded Video Doesn’t Load Automatically!
Want to learn more?
You might also like:
Strong Curves: A Woman’s Guide to Building a Better Butt and Body – by Bret Contreras & Kellie Davis
Take care!
Don’t Forget…
Did you arrive here from our newsletter? Don’t forget to return to the email to continue learning!
Learn to Age Gracefully
Join the 98k+ American women taking control of their health & aging with our 100% free (and fun!) daily emails: