
Cardiac Failure Explained – by Dr. Warrick Bishop
10almonds is reader-supported. We may, at no cost to you, receive a portion of sales if you purchase a product through a link in this article.
The cover of this book makes it look like it’ll be a flashy semi-celebrity doctor keen to sell his personalized protocol, along with eleventy-three other books, but actually, what’s inside this one is very different:
We (hopefully) all know the basics of heart health, but this book takes it a lot further. Starting with the basics, then the things that it’s easy to feel like you should know but actually most people don’t, then into much more depth.
The format is much more like a university textbook than most pop-science books, and everything about the way it’s written is geared for maximum learning. The one thing it does keep in common with pop-science books as a genre is heavy use of anecdotes to illustrate points—but he’s just as likely to use tables, diagrams, callout boxes, emboldening of key points, recap sections, and so forth. And for the most part, this book is very information-dense.
Dr. Bishop also doesn’t just stick to what’s average, and talks a lot about aberrations from the norm, what they mean and what they do and yes, what to do about them.
On the one hand, it’s more information dense than the average reader can reasonably expect to need… On the other hand, isn’t it great to finish reading a book feeling like you just did a semester at medical school? No longer will you be baffled by what is going on in your (or perhaps a loved one’s) cardiac health.
Bottom line: if you’d like to know cardiac health inside out, this book is an excellent place to start.
Click here to check out Cardiac Failure Explained, and get to the heart of things!
Don’t Forget…
Did you arrive here from our newsletter? Don’t forget to return to the email to continue learning!
Recommended
Learn to Age Gracefully
Join the 98k+ American women taking control of their health & aging with our 100% free (and fun!) daily emails:
-

Beat The Heat, With Fat

10almonds is reader-supported. We may, at no cost to you, receive a portion of sales if you purchase a product through a link in this article.
Surviving Summer
Summer is upon us, for those of us in the Northern Hemisphere anyway, and given that nowadays each year tends to be hotter than the one before, on average, it pays to be prepared.
We’ve talked about dealing with the heat before:
Sun, Sea, And Sudden Killers To Avoid
All the above advice stands this summer too, but today we’re going to speak a little extra on not having a “default body”.
For much of medical literature and common health advice, the default body is that of a slim and/or athletic white cis man aged 25–35 with no disabilities.
When it comes to “women’s health”, this is often confined to “the bikini zone” and everything else is commonly treated based on research conducted with men.
Today we’ll be looking at a particular challenge for a wide variety of people, when it comes to heat…
Beating the heat, with fat
If you are fat, and/or have a bit of a tummy, and/or have breasts, this one’s for you.
Fat acts as an insulator, which naturally does no favors in hot weather. Carrying the weight around is also extra exercise, which also becomes a problem in hot weather. Fat people usually sweat more than thin people do, as a result.
Sweat is great for cooling down the body, because it takes heat with it when it evaporates off. However, that only works if it can evaporate off, and it can’t evaporate off if it’s trapped in a skin fold / fat roll.
If you’re fat, you may have plenty of those; if you have a bit of a tummy (if you’re not fat generally, this might be a leftover from pregnancy, or weight loss, or something else; how it got there doesn’t matter for our purposes today), you’ll have at least one under it, and if you have breasts, unless they’re quite small, you’ll have one under each breast, and potentially your cleavage may become an issue too.
Note: if you are perhaps a man who has fat in the place where breasts go, then medically this goes for you too, except that there’s not a societal expectation that you wear bra. Use today’s information as you see fit.
Sweat-wicking hacks
We don’t want sweat to stay in those folds—both because then it’s not doing its cooling-down job, and also, because it can cause a rash, and even yeast infections and/or bacterial infections.
So, we want there to be some barrier there. You could use something like vaseline or baby powder, as to prevent chafing, but fat better (more effective, and less messy) is to have some kind of cloth there that can wick the sweat away.
There are made-for-purpose curved cotton bands that exist, called “tummy liners”; here’s an example product on Amazon, or you could make your own if you’re so inclined. They’re breathable, absorbent, and reduce friction too, making everything a lot more comfortable.
And for breasts? Same deal, there are made-for-purpose cotton bra-liners that exist; here’s an example product on Amazon, or again, you could make your own if you feel so inclined. The important part is that it makes things so much comfortable, because let’s face it: wearing a bra in the summer is not comfortable.
So with these, it can become more comfortable (and the cotton liners are flat, so they’re not visible if one’s wearing a t-shirt or similar-coverage garment). You could go braless, of course, but then you’re back to having sweaty folds, so if you’re doing something other than swimming or lying on your back, you might want something there.
Different hydration rules
“People should drink this much per day” and guess what, those guidelines were based on, drumroll please, not fat people.
Sweating more means needing to hydrate more, and even without breaking a sweat, having a larger body than average (be it muscle, fat, or both) means having more body to hydrate. That’s simple math.
So instead, a good general guideline is half an ounce of water per your weight in pounds, per day:
How much water do I need each day?
Another good general guideline is to simply drink “little and often”, that is to say, always have a (hydrating!) drink on the go.
Take care!
Share This Post
-

Broad Beans vs Green Beans – Which is Healthier?
10almonds is reader-supported. We may, at no cost to you, receive a portion of sales if you purchase a product through a link in this article.
Our Verdict
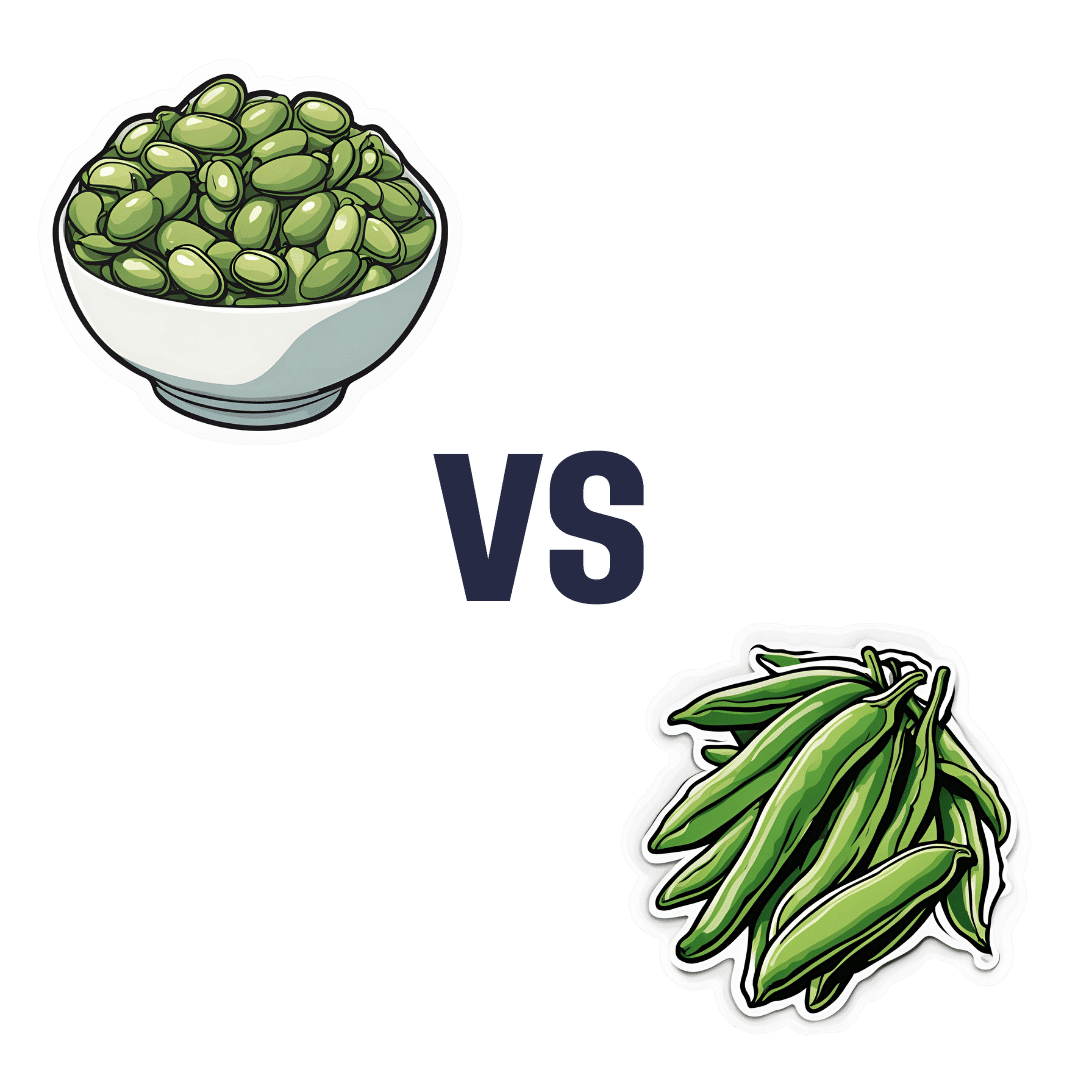
When comparing broad beans to green beans, we picked the broad.
Why?
It’s quite a straightforward one today:
In terms of macros, broad beans have 2.5x the protein, and slightly more fiber and carbs, so we pick the broad beans as the more nutrient-dense option here.
In the category of vitamins, broad beans have more of vitamins B1, B3, B9, and C, while green beans have more of vitamins A and B6 (with comparable margins of difference for both beans’ winning vitamins), so another win for broad beans, based on the 4:2 numerical advantage.
When it comes to minerals, broad beans have more copper, iron, magnesium, phosphorus, potassium, and selenium, while green beans have more calcium and manganese. Again, comparable mostly margins of difference (except for broad beans bing 5x richer in selenium, which is a bit of an outlier, but it’s not because broad beans are an amazing source of selenium, but rather, that green beans have only a tiny amount), so it’s a clear 7:2 win for broad beans.
Adding up the three wins for broad beans makes an overall win for them, but by all means, enjoy either or both; diversity is good!
Want to learn more?
You might like to read:
Enjoy!
Share This Post
-

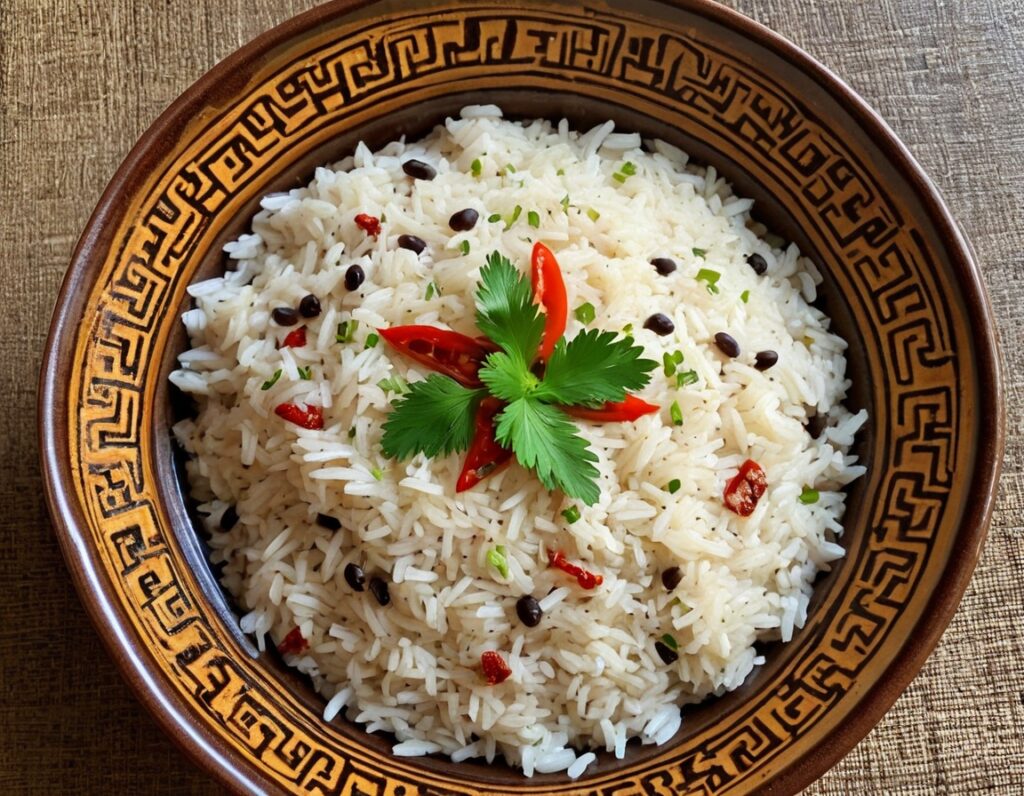
Jamaican Coconut Rice
10almonds is reader-supported. We may, at no cost to you, receive a portion of sales if you purchase a product through a link in this article.
This is a great dish that can be enjoyed hot or cold, as a main or as a side. It has carbs, proteins, healthy fats, fiber, as well as an array of healthy phytochemicals. Not to mention, a great taste!
You will need
- 1 cup wholegrain basmati rice (it may also be called “brown basmati rice“; this is the same) (traditional recipe calls for pudding rice, but we’re going with the healthier option here)
- 2 cans (each 12 z / 400g) coconut milk
- 2 cups (or 2 cans, of which the drained weight is comparable to a cup each) cooked black beans. If you cook them yourself, this is better, as you will be able to cook them more al dente than you can get from a can, and this firmness is desirable. But canned is fine if that’s what’s available.
- 1 large red onion, finely chopped
- ½ cup low-sodium vegetable stock (ideally you made this yourself from vegetable offcuts you saved in the freezer for this purpose, but failing that, low-sodium stock cubes can be bought at any large supermarket)
- 2 serrano chilis, finely chopped
- 1 Scotch bonnet chili, without doing anything to it
- 1 tbsp black pepper, coarse ground
- 1 tbsp chia seeds
- 1 tbsp coconut oil
- Garnish: parsley, chopped
Note: we have erred on the side of low-heat when it comes to the chilis. If you know that you and (if applicable) everyone else eating would enjoy more heat, add more heat. If not, let extra heat be added at the table via your hot sauce of choice. Sounds heretical, but it ensures everyone gets the right amount! It’s easy to add heat than to take it out, after all.
However: if you do end up with too much heat in this or any other dish, adding acid will usually help to neutralize that. In the case of this dish, we’d recommend lime juice as a complementary flavor.
Method
(we suggest you read everything at least once before doing anything)
1) In a big sauté pan, add the coconut oil, melt it if not already melted, and add the chopped onion and the chopped chilis, at a temperature sufficient to sizzle. Keep them all moving. Once the coconut oil is absorbed into the onion (this will happen before the onion is fully cooked), add the vegetable stock, followed by the coconut milk; mix it all gently to create a smooth consistency.
2) Add the rice, chia seeds, and black pepper; mix it all gently but thoroughly; turn the temperature to a simmer, and add the Scotch bonnet chili, without cutting it at all.
3) Cover and keep on low for about 20–30 minutes until the rice is looking done. Check on it periodically to make sure it’s not running out of liquid, but resist the urge to stir it; it shouldn’t be burning but paradoxically, once you start stirring you can’t stop or it will definitely burn.
4) Take out the Scotch bonnet chili, and discard*. Add the black beans.
*its job was to add flavor without adding the high-level heat of that particular chili. If you’re a regular heat-fiend, feel free to experiment with using sliced Scotch bonnet chilis instead of serrano chilis; just be aware that there’s a big difference in heat. Only do this if you really like heat. Using it the way we described in the main recipe is what’s traditional in the Caribbean, by the way.
5) Now you can (and in fact must) stir, to mix in the black beans and bring them back to temperature within the dish. Be aware that once you start stirring, you need to keep stirring until you’re ready to take it off the heat.
6) Serve, adding the parsley garnish.

(this example went light on the beans; our recipe includes more for a heartier dish)
Enjoy!
Want to learn more?
For those interested in some of the science of what we have going on today:
- Should You Go Light Or Heavy On Carbs?
- Our Top 5 Spices: How Much Is Enough For Benefits?
- Why You’re Probably Not Getting Enough Fiber (And How To Fix It)
- Burn! How To Boost Your Metabolism
- Capsaicin For Weight Loss And Against Inflammation
Take care!
Share This Post

Related Posts
-

The Body Is Not an Apology – by Sonya Renee Taylor
10almonds is reader-supported. We may, at no cost to you, receive a portion of sales if you purchase a product through a link in this article.
First, a couple of things that this book is not about:
- Self-confidence (it’s about more than merely thinking highly of oneself)
- Self-acceptance (it’s about more than merely settling for “good enough”)
In contrast, it’s about loving and celebrating what is, while striving for better, for oneself and for others.
You may be wondering: whence this “radical” in the title?
The author argues that often, the problem with our bodies is not actually our bodies. If we have cancer, or diabetes, then sure, that’s a problem with the body. But most of the time, the “problem with our bodies” is simply society’s rejection of our “imperfect” bodies as somehow “less than”, and something we must invest time and money to correct. Hence, the need for a radical uprooting of ideas, to fix the real problem.
Bottom line: if, like most of us, you have a body that would not entirely pass for that of a Marvel Comics superhero, this is a book for you. And if you do have a MCU body? This is also a book for you, because we have bad news for you about what happens with age.
Click here to check out The Body Is Not An Apology, and appreciate more about yours!
Don’t Forget…
Did you arrive here from our newsletter? Don’t forget to return to the email to continue learning!
Learn to Age Gracefully
Join the 98k+ American women taking control of their health & aging with our 100% free (and fun!) daily emails:
-
Getting Your Messy Life In Order
10almonds is reader-supported. We may, at no cost to you, receive a portion of sales if you purchase a product through a link in this article.
Getting Your Messy Life In Order
We’ve touched on this before by recommending the book, but today we’re going to give an overview of the absolute most core essentials of the “Getting Things Done” method. If you’re unfamiliar, this will be enough to get you going. If you’re already familiar, this may be a handy reminder!
First, you’ll need:
- A big table
- A block of small memo paper squares—post-it note sized, but no need to be sticky.
- A block of A4 printer paper
- A big trash bag
Gathering everything
Gather up not just all your to-dos, but: all sources of to-dos, too, and anything else that otherwise needs “sorting”.
Put them all in one physical place—a dining room table may have enough room. You’ll need a lot of room because you’re going to empty our drawers of papers, unopened (or opened and set aside) mail. Little notes you made for yourself, things stuck on the fridge or memo boards. Think across all areas of your life, and anything you’re “supposed” to do, write it down on a piece of paper. No matter what area of your life, no matter how big or small.
Whether it’s “learn Chinese” or “take the trash out”, write it down, one item per piece of paper (hence the block of little memo squares).
Sorting everything
Everything you’ve gathered needs one of three things to happen:
- You need to take some action (put it in a “to do” pile)
- You may need it later sometime (put it in a “to file” pile)
- You don’t need it (put it in the big trash bag for disposal)
What happens next will soothe you
- Dispose of the things you put for disposal
- File the things for filing in a single alphabetical filing system. If you don’t have one, you’ll need to get one, so write that down and add it to the “to do” pile.
- You will now process your “to dos”
Processing the “to dos”
The pile you have left is now your “inbox”. It’s probably huge; later it’ll be smaller, maybe just a letter-tray on your desk.
Many of your “to dos” are actually not single action items, they’re projects. If something requires more than one step, it’s a project.
Take each item one-by-one. Do this in any order; you’re going to do this as quickly as possible! Now, ask yourself: is this a single-action item that I could do next, without having to do something else first?
- If yes: put it in a pile marked “next action”
- If no: put it in a pile marked “projects”.
Take a sheet of A4 paper and fold it in half. Write “Next Action” on it, and put your pile of next actions inside it.
Take a sheet of A4 paper per project and write the name of the project on it, for example “Learn Chinese”, or “Do taxes”. Put any actions relating to that project inside it.
Likely you don’t know yet what the first action will be, or else it’d be in your “Next Action” pile, so add an item to each project that says “Brainstorm project”.
Processing the “Next Action” pile
Again you want to do this as quickly as possible, in any order.
For each item, ask yourself “Do I care about this?” If the answer is no, ditch that item, and throw it out. That’s ok. Things change and maybe we no longer want or need to do something. No point in hanging onto it.
For each remaining item, ask yourself “can this be done in under 2 minutes?”.
- If yes, do it, now. Throw away the piece of paper for it when you’re done.
- If no, ask yourself:”could I usefully delegate this to someone else?” If the answer is yes, do so.
If you can’t delegate it, ask yourself: “When will be a good time to do this?” and schedule time for it. A specific, written-down, clock time on a specific calendar date. Input that into whatever you use for scheduling things. If you don’t already use something, just use the calendar app on whatever device you use most.
The mnemonic for the above process is “Do/Defer/Delegate/Ditch”
Processing projects:
If you don’t know where to start with a project, then figuring out where to start is your “Next Action” for that project. Brainstorm it, write down everything you’ll need to do, and anything that needs doing first.
The end result of this is:
- You will always, at any given time, have a complete (and accessible) view of everything you are “supposed” to do.
- You will always, at any given time, know what action you need to take next for a given project.
- You will always, when you designate “work time”, be able to get straight into a very efficient process of getting through your to-dos.
Keeping on top of things
- Whenever stuff “to do something with/about” comes to you, put it in your physical “inbox” place—as mentioned, a letter-tray on a desk should suffice.
- At the start of each working day, quickly process things as described above. This should be a small daily task.
- Once a week, do a weekly review to make sure you didn’t lose sight of something.
- Monthly, quarterly, and annual reviews can be a good practice too.
How to do those reviews? Topic for another day, perhaps.
Or:
Check out the website / Check out GTD apps / Check out the book
Don’t Forget…
Did you arrive here from our newsletter? Don’t forget to return to the email to continue learning!
Learn to Age Gracefully
Join the 98k+ American women taking control of their health & aging with our 100% free (and fun!) daily emails:
-

Exercise with Type 1 Diabetes – by Ginger Vieira
10almonds is reader-supported. We may, at no cost to you, receive a portion of sales if you purchase a product through a link in this article.
If you or a loved one has Type 1 Diabetes, you’ll know that exercise can be especially frustrating…
- If you don’t do it, you risk weight gain and eventual insulin resistance.
- If you do it, you risk dangerous hypos, or perhaps hypers if you took off your pump or skipped a bolus.
Unfortunately, the popular medical advice is “well, just do your best”.
Ginger Vieira is Type 1 Diabetic, and writes with 20+ experience of managing her diabetes while being a keen exerciser. As T1D folks out there will also know, comorbidities are very common; in her case, fibromyalgia was the biggest additional blow to her ability to exercise, along with an underactive thyroid. So when it comes to dealing with the practical nuts and bolts of things, she (while herself observing she’s not a doctor, let alone your doctor) has a lot more practical knowledge than an endocrinologist (without diabetes) behind a desk.
Speaking of nuts and bolts, this book isn’t a pep talk.
It has a bit of that in, but most of it is really practical information, e.g: using fasted exercise (4 hours from last meal+bolus) to prevent hypos, counterintuitive as that may seem—the key is that timing a workout for when you have the least amount of fast-acting insulin in your body means your body can’t easily use your blood sugars for energy, and draws from your fat reserves instead… Win/Win!
That’s just one quick tip because this is a 1-minute review, but Vieira gives:
- whole chapters, with example datasets (real numbers)
- tech-specific advice, e.g. pump, injection, etc
- insulin-specific advice, e.g. fast vs slow, and adjustments to each in the context of exercise
- timing advice re meal/bolus/exercise for different insulins and techs
- blood-sugar management advice for different exercise types (aerobic/anaerobic, sprint/endurance, etc)
…and lots more that we don’t have room to mention here
Basically… If you or a loved one has T1D, we really recommend this book!
Order a copy of “Exercise with Type 1 Diabetes” from Amazon today!
Don’t Forget…
Did you arrive here from our newsletter? Don’t forget to return to the email to continue learning!
Learn to Age Gracefully
Join the 98k+ American women taking control of their health & aging with our 100% free (and fun!) daily emails: