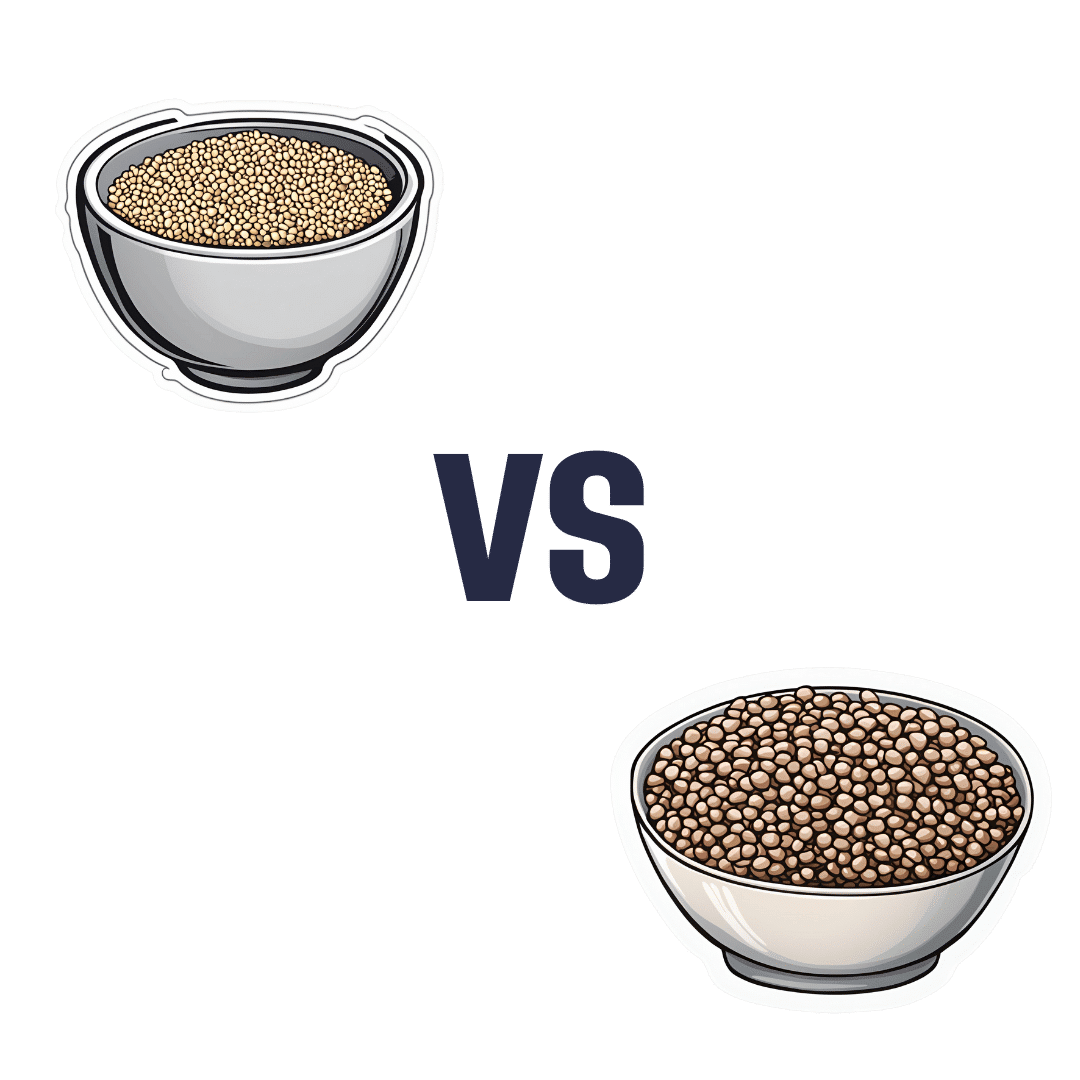
Millet vs Buckwheat – Which is Healthier?
10almonds is reader-supported. We may, at no cost to you, receive a portion of sales if you purchase a product through a link in this article.
Our Verdict
When comparing millet to buckwheat, we picked the buckwheat.
Why?
Both of these naturally gluten-free grains* have their merits, but we say buckwheat comes out on top for most people (we’ll discuss the exception later).
*actually buckwheat is a flowering pseudocereal, but in culinary terms, we’ll call it a grain, much like we call tomato a vegetable.
Considering the macros first of all, millet has slightly more carbs while buckwheat has more than 2x the fiber. An easy win for buckwheat (they’re about equal on protein, by the way).
In the category of vitamins, millet has more of vitamins B1, B2, B3, B6, and B9, while buckwheat has more of vitamins B5, E, K, and choline. Superficially that’s a 5:4 win for millet, though buckwheat’s margins of difference are notably greater, so the overall vitamin coverage could arguably be considered a tie.
When it comes to minerals, millet has more phosphorus and zinc, while buckwheat has more calcium, copper, iron, magnesium, manganese, potassium, and selenium. For most of them, buckwheat’s margins of difference are again greater. An easy win for buckwheat, in any case.
This all adds up to a clear win for buckwheat, but as promised, there is an exception: if you have issues with your kidneys that mean you are avoiding oxalates, then millet becomes the healthier choice, as buckwheat is rather high in oxalates while millet is low in same.
For everyone else: enjoy both! Diversity is good. But if you’re going to pick one, buckwheat’s the winner.
Want to learn more?
You might like to read:
Grains: Bread Of Life, Or Cereal Killer?
Take care!
Don’t Forget…
Did you arrive here from our newsletter? Don’t forget to return to the email to continue learning!

Learn to Age Gracefully
Join the 98k+ American women taking control of their health & aging with our 100% free (and fun!) daily emails:
-

The Anti-Stress Herb That Also Fights Cancer

10almonds is reader-supported. We may, at no cost to you, receive a portion of sales if you purchase a product through a link in this article.
What does Rhodiola rosea actually do, anyway?
Rhodiola rosea (henceforth, “rhodiola”) is a flowering herb whose roots have adaptogenic properties.
In the cold, mountainous regions of Europe and Asia where it grows, it has been used in herbal medicine for centuries to alleviate anxiety, fatigue, and depression.
What does the science say?
Well, let’s just say the science is more advanced than the traditional use:
❝In addition to its multiplex stress-protective activity, Rhodiola rosea extracts have recently demonstrated its anti-aging, anti-inflammation, immunostimulating, DNA repair and anti-cancer effects in different model systems❞
Nor is how it works a mystery, as the same paper explains:
❝Molecular mechanisms of Rhodiola rosea extracts’s action have been studied mainly along with one of its bioactive compounds, salidroside. Both Rhodiola rosea extracts and salidroside have contrasting molecular mechanisms on cancer and normal physiological functions.
For cancer, Rhodiola rosea extracts and salidroside inhibit the mTOR pathway and reduce angiogenesis through down-regulation of the expression of HIF-1α/HIF-2α.
For normal physiological functions, Rhodiola rosea extracts and salidroside activate the mTOR pathway, stimulate paracrine function and promote neovascularization by inhibiting PHD3 and stabilizing HIF-1α proteins in skeletal muscles❞
~ Ibid.
And, as for the question of “do the supplements work?”,
❝In contrast to many natural compounds, salidroside is water-soluble and highly bioavailable via oral administration❞
~ Ibid.
And as to how good it is:
❝Rhodiola rosea extracts and salidroside can impose cellular and systemic benefits similar to the effect of positive lifestyle interventions to normal physiological functions and for anti-cancer❞
~ Ibid.
Source: Rhodiola rosea: anti-stress, anti-aging, and immunostimulating properties for cancer chemoprevention
But that’s not all…
We can’t claim this as a research review if we only cite one paper (even if that paper has 144 citations of its own), and besides, it didn’t cover all the benefits yet!
Let’s first look at the science for the “traditional use” trio of benefits:
When you read those, what are your first thoughts?
Please don’t just take our word for things! Reading even just the abstracts (summaries) at the top of papers is a very good habit to get into, if you don’t have time (or easy access) to read the full text.
Reading the abstracts is also a very good way to know whether to take the time to read the whole paper, or whether it’s better to skip onto a different one.
- Perhaps you noticed that the paper we cited for anxiety was quite a small study.
- The fact is, while we found mountains of evidence for rhodiola’s anxiolytic (antianxiety) effects, they were all small and/or animal studies. So we picked a human study and went with it as illustrative.
- Perhaps you noticed that the paper we cited for fatigue pertained mostly to stress-related fatigue.
- This, we think, is a feature not a bug. After all, most of us experience fatigue because of the general everything of life, not because we just ran a literal marathon.
- Perhaps you noticed that the paper we cited for depression said it didn’t work as well as sertraline (a very common pharmaceutical SSRI antidepressant).
- But, it worked almost as well and it had far fewer adverse effects reported. Bear in mind, the side effects of antidepressants are the reason many people avoid them, or desist in taking them. So rhodiola working almost as well as sertraline for far fewer adverse effects, is quite a big deal!
Bonus features
Rhodiola also putatively offers protection against Alzheimer’s disease, Parkinson’s disease, and cerebrovascular disease in general:
Rosenroot (Rhodiola): Potential Applications in Aging-related Diseases
It may also be useful in the management of diabetes (types 1 and 2), but studies so far have only been animal studies, and/or in vitro studies. Here are two examples:
- Antihyperglycemic action of rhodiola-aqeous extract in type 1 diabetic rats
- Evaluation of Rhodiola crenulata and Rhodiola rosea for management of type 2 diabetes and hypertension
How much to take?
Dosages have varied a lot in studies. However, 120mg/day seems to cover most bases. It also depends on which of rhodiola’s 140 active compounds a particular benefit depends on, though salidroside and rosavin are the top performers.
Where to get it?
As ever, we don’t sell it (or anything else) but here’s an example product on Amazon.
Enjoy!
Share This Post
- Perhaps you noticed that the paper we cited for anxiety was quite a small study.
-

The Most Underrated Hip Mobility Exercise (Not Stretching)
10almonds is reader-supported. We may, at no cost to you, receive a portion of sales if you purchase a product through a link in this article.
Cori Lefkowith, of “Redefining Strength” and “Strong At Every Age” fame, is back to help us keep our hips in good order:
These tips don’t lie
It’s less about stretching, and more about range of motion and “use it or lose it”:
- Full range of motion in lifting exercises enhances joint mobility and stability, whereas strengthening muscles through a limited range of motion (e.g., half squats) can cause tightness.
- Lifting through a larger range of motion may result in faster strength gains too, so that’s a bonus.
- Customize your range of motion based on your body type and capability, but do try for what you reasonably can—don’t give up!
- Lower weights and focus on deeper movements like split squats or single-leg squats, but work up slowly if you have any difficulties to start with.
- Using exercises like the Bulgarian split squat and deficit split squat can improve hip mobility and strength (you’ll really need to see the video for this one)
- Fully controlling the range of motion is key to progress, even if it means going lighter; prioritize mobility over brute strength. Strength is good, but mobility is even more critical.
- Adding instability, such as raising the front foot in lunges, challenges muscles and increases mobility. Obviously, please be safe while doing so, and slowly increase the range of motion while maintaining control, avoiding reliance on momentum.
- Final tip that most don’t consider: try starting exercises from the bottom position to ensure proper form and muscle engagement!
For more on each of these plus visual demonstrations, enjoy:
Click Here If The Embedded Video Doesn’t Load Automatically!
Want to learn more?
You might also like to read:
Take care!
Share This Post
-

Healthy Mind In A Healthy Body
10almonds is reader-supported. We may, at no cost to you, receive a portion of sales if you purchase a product through a link in this article.
The 8-minute piece of music “Weightless” by Marconi was created scientifically to lower the heart rate and relax the listener. How did they do it? You can read the British Academy of Sound Therapy’s explanation of the methodology here, but important results of the study were:
- “Weightless” was able to induce greater relaxation levels than a massage (increase of 6%).
- “Weightless” also induced an 11% increase in relaxation over all other relaxing music tracks in the study.
- “Weightless” was also subjectively rated as more relaxing than any other music by all the participants.
Try it for yourself!
Click Here If The Embedded Video Doesn’t Load Automatically!
Isn’t that better? Whenever you’re ready, read on…
Today we’re going to share a technique for dealing with difficult emotions. The technique is used in Cognitive Behavioral Therapy (CBT), and Dialectical Behavior Therapy (DBT), and it’s called RAIN:
- Recognizing: ask yourself “what is it that I’m feeling?”, and put a name to it. It could be anger, despair, fear, frustration, anxiety, overwhelm etc.
- Accepting: “OK, so, I’m feeling ________”. There’s no point in denying it, or being defensive about it, these things won’t help you. For now, just accept it.
- Investigating: “Why am I feeling ________?” Maybe there is an obvious reason, maybe you need to dig for a reason—or dig deeper for the real reason. Most bad feelings are driven by some sort of fear or insecurity, so that can be a good avenue for examination. Important: your feelings may be rational or irrational. That’s fine. This is a time for investigating, not judging.
- Non-Identification: not making whatever it is you’re feeling into a part of you. Once you get too attached to “I am jealous”, “I am angry”, “I am sad” etc, it can be difficult to manage something that has become a part of your personality; you’ll defend your jealousy, anger, sadness etc rather than tackle it.
As a CBT tool, this is something you can do for yourself at any time. It won’t magically solve your problems, but it can stop you from spiralling into a state of crisis, and get you back on a more useful track.
As a DBT tool, to give this its full strength, ideally now you will communicate what you’re feeling, to somebody you trust, perhaps a partner or friend, for instance.
Humans are fundamentally social creatures, and we achieve our greatest strengths when we support each other—and that also means sometimes seeking and accepting support!
Do you have a good technique you’d like to share? Reply to this email and let us know!
Share This Post


Related Posts
-
Is there anything good about menopause? Yep, here are 4 things to look forward to
10almonds is reader-supported. We may, at no cost to you, receive a portion of sales if you purchase a product through a link in this article.
Menopause is having a bit of a moment, with less stigma and more awareness about the changes it can bring.
A recent senate inquiry recommended public education about perimenopause and menopause, more affordable treatments and flexible work arrangements.
But like many things in life the experiences of menopause are on a continuum. While some women find it challenging and require support, others experience some physical and emotional benefits. These are rarely reported – but we can learn from the research available and, importantly, from people’s lived experiences.
Here are four changes to look forward to once you reach menopause.

Insta_Photos/Shutterstock 1. No more periods or related issues
Menopause is considered “complete” 12 months after the final period of a woman (or person assigned female at birth) who previously menstruated.
Perhaps unsurprisingly, the benefit at the top of the list is no more periods (unless you are taking hormone therapy and still have your womb). This can be particularly beneficial for women who have had to manage erratic, unpredictable and heavy bleeding.
At last, you don’t need to keep sanitary protection in every bag “just in case”. No more planning where the bathroom is or having to take extra clothes. And you’ll save money by not purchasing sanitary products.
There is also good news for women who have had heavy bleeding due to uterine fibroids – common benign gynaecological tumours that affect up to 80% of women. The evidence suggests hormonal changes (for women not taking hormone therapy) can lead to a reduction in the size of fibroids and relieve symptoms.
Women who suffer from menstrual migraine may experience an improvement in migraines post-menopause as their hormonal fluctuations begin to settle – but the timeframe for this remains unclear.
For some women, no more periods also means more participation in social activities from which they may have been excluded due to periods. For example, religious activities or food preparation in some cultures.
2. Getting your body and your groove back
Throughout their reproductive lives, women in heterosexual relationships are usually the ones expected to be proactive about preventing pregnancy.
Some post-menopausal women describe a re-emergence of their sexuality and a sense of sexual freedom that they had not previously experienced (despite contraceptive availability) as there is no longer a risk of pregnancy.
A participant in my research into women’s experiences of menopause described the joy of no longer being child-bearing age:
I’ve got a body back for me, you know, coz I can’t get pregnant, not that I haven’t enjoyed having [children] and things like that and it was a decision to get pregnant but I feel like, ooh my body isn’t for anybody now but me, people, you know?
For women who have chosen to be child-free there may also be a sense of freedom from social expectations. People will likely stop asking them when they are planning to have children.
3. A new chapter and a time to focus on yourself
Another participant described menopause as an unexpected “acceleration point” for change.
Women told us they were more accepting of themselves and their needs rather than being focused on the needs of other people. Researchers have previously tracked this shift from “living for others” to “a life of one’s own”.
Some women find the strength of emotions at this time a challenge, whereas others find their potency can facilitate liberation – enabling them to speak their minds or be more assertive than at any other time in their lives.
4. Increased self-confidence
A new sense of liberation can fuel increased self-confidence at menopause. This has been reported in studies based on in-depth interviews with women.
Confidence boosts can coincide with changes in career and sometimes in relationships as priorities and self-advocacy transform.
Life on the other side
It can be hard to think about what is good about menopause, particularly if you are having challenges during perimenopause – but these can get better with time.
In cultures where women are valued as they become older, women describe themselves as positively contributing to the community. They find they gain power and respect as they age.
We need to work towards more positive societal attitudes on this front. Our bodies change across the lifespan and are remarkable at every stage, including menopause.
Yvonne Middlewick, Nurse, Lecturer & Director of Post-graduate Studies in the School of Nursing and Midwifery, Edith Cowan University
This article is republished from The Conversation under a Creative Commons license. Read the original article.
Don’t Forget…
Did you arrive here from our newsletter? Don’t forget to return to the email to continue learning!
Learn to Age Gracefully
Join the 98k+ American women taking control of their health & aging with our 100% free (and fun!) daily emails:
-

What Would a Second Trump Presidency Look Like for Health Care?
10almonds is reader-supported. We may, at no cost to you, receive a portion of sales if you purchase a product through a link in this article.
On the presidential campaign trail, former President Donald Trump is, once again, promising to repeal and replace the Affordable Care Act — a nebulous goal that became one of his administration’s splashiest policy failures.
“We’re going to fight for much better health care than Obamacare. Obamacare is a catastrophe,” Trump said at a campaign stop in Iowa on Jan. 6.
The perplexing revival of one of Trump’s most politically damaging crusades comes at a time when the Obama-era health law is even more popular and widely used than it was in 2017, when Trump and congressional Republicans proved unable to pass their own plan to replace it. That failed effort was a big part of why Republicans lost control of the House of Representatives in the 2018 midterms.
Despite repeated promises, Trump never presented his own Obamacare replacement. And much of what Trump’s administration actually accomplished in health care has been reversed by the Biden administration.
Still, Trump secured some significant policy changes that remain in place today, including efforts to bring more transparency to prices charged by hospitals and paid by health insurers.
Trying to predict Trump’s priorities in a second term is even more difficult given that he frequently changes his positions on issues, sometimes multiple times.
The Trump campaign did not respond to a request for comment.
Perhaps Trump’s biggest achievement is something he rarely talks about on the campaign trail. His administration’s “Operation Warp Speed” managed to create, test, and bring to market a covid-19 vaccine in less than a year, far faster than even the most optimistic predictions.
Many of Trump’s supporters, though, don’t support — and some even vehemently oppose — covid vaccines.
Here is a recap of Trump’s health care record:
Public Health
Trump’s pandemic response dominates his overall record on health care.
More than 400,000 Americans died from covid over Trump’s last year in office. His travel bans and other efforts to prevent the global spread of the virus were ineffective, his administration was slower than other countries’ governments to develop a diagnostic test, and he publicly clashed with his own government’s health officials over the response.
Ahead of the 2020 election, Trump resumed large rallies and other public campaign events that many public health experts regarded as reckless in the face of a highly contagious, deadly virus. He personally flouted public health guidance after contracting covid himself and ending up hospitalized.
At the same time, despite what many saw as a politicization of public health by the White House, Trump signed a massive covid relief bill (after first threatening to veto it). He also presided over some of the largest boosts for the National Institutes of Health’s budget since the turn of the century. And the mRNA-based vaccines Operation Warp Speed helped develop were an astounding scientific breakthrough credited with helping save millions of lives while laying the groundwork for future shots to fight other diseases including cancer.
Abortion
Trump’s biggest contribution to abortion policy was indirect: He appointed three Supreme Court justices, who were instrumental in overturning the constitutional right to an abortion.
During his 2024 campaign, Trump has been all over the place on the red-hot issue. Since the Supreme Court overturned Roe v. Wade in 2022, Trump has bemoaned the issue as politically bad for Republicans; criticized one of his rivals, Florida Gov. Ron DeSantis, for signing a six-week abortion ban; and vowed to broker a compromise with “both sides” on abortion, promising that “for the first time in 52 years, you’ll have an issue that we can put behind us.”
He has so far avoided spelling out how he’d do that, or whether he’d support a national abortion ban after any number of weeks.
More recently, however, Trump appears to have mended fences over his criticism of Florida’s six-week ban and more with key abortion opponents, whose support helped him get elected in 2016 — and whom he repaid with a long list of policy changes during his presidency.
Among the anti-abortion actions taken by the Trump administration were a reinstatement of the “Mexico City Policy” that bars giving federal funds to international organizations that support abortion rights; a regulation to bar Planned Parenthood and other organizations that provide abortions from the federal family planning program, Title X; regulatory changes designed to make it easier for health care providers and employers to decline to participate in activities that violate their religious and moral beliefs; and other changes that made it harder for NIH scientists to conduct research using fetal tissue from elective abortions.
All of those policies have since been overturned by the Biden administration.
Health Insurance
Unlike Trump’s policies on reproductive health, many of his administration’s moves related to health insurance still stand.
For example, in 2020, Trump signed into law the No Surprises Act, a bipartisan measure aimed at protecting patients from unexpected medical bills stemming from payment disputes between health care providers and insurers. The bill was included in the $900 billion covid relief package he opposed before signing, though Trump had expressed support for ending surprise medical bills.
His administration also pushed — over the vehement objections of health industry officials — price transparency regulations that require hospitals to post prices and insurers to provide estimated costs for procedures. Those requirements also remain in place, although hospitals in particular have been slow to comply.
Medicaid
While first-time candidate Trump vowed not to cut popular entitlement programs like Medicare, Medicaid, and Social Security, his administration did not stick to that promise. The Affordable Care Act repeal legislation Trump supported in 2017 would have imposed major cuts to Medicaid, and his Department of Health and Human Services later encouraged states to require Medicaid recipients to prove they work in order to receive health insurance.
Drug Prices
One of the issues the Trump administration was most active on was reducing the price of prescription drugs for consumers — a top priority for both Democratic and Republican voters. But many of those proposals were blocked by the courts.
One Trump-era plan that never took effect would have pegged the price of some expensive drugs covered by Medicare to prices in other countries. Another would have required drug companies to include prices in their television advertisements.
A regulation allowing states to import cheaper drugs from Canada did take effect, in November 2020. However, it took until January 2024 for the FDA, under Trump’s successor, to approve the first importation plan, from Florida. Canada has said it won’t allow exports that risk causing drug shortages in that country, leaving unclear whether the policy is workable.
Trump also signed into law measures allowing pharmacists to disclose to patients when the cash price of a drug is lower than the cost using their insurance. Previously pharmacists could be barred from doing so under their contracts with insurers and pharmacy benefit managers.
Veterans’ Health
Trump is credited by some advocates for overhauling Department of Veterans Affairs health care. However, while he did sign a major bill allowing veterans to obtain care outside VA facilities, White House officials also tried to scuttle passage of the spending needed to pay for the initiative.
Medical Freedom
Trump scored a big win for the libertarian wing of the Republican Party when he signed into law the “Right to Try Act,” intended to make it easier for patients with terminal diseases to access drugs or treatments not yet approved by the FDA.
But it is not clear how many patients have managed to obtain treatment using the law because it is aimed at the FDA, which has traditionally granted requests for “compassionate use” of not-yet-approved drugs anyway. The stumbling block, which the law does not address, is getting drug companies to release doses of medicines that are still being tested and may be in short supply.
Trump said in a Jan. 10 Fox News town hall that the law had “saved thousands and thousands” of lives. There’s no evidence for the claim.
KFF Health News is a national newsroom that produces in-depth journalism about health issues and is one of the core operating programs at KFF—an independent source of health policy research, polling, and journalism. Learn more about KFF.
Subscribe to KFF Health News’ free Morning Briefing.
Don’t Forget…
Did you arrive here from our newsletter? Don’t forget to return to the email to continue learning!
Learn to Age Gracefully
Join the 98k+ American women taking control of their health & aging with our 100% free (and fun!) daily emails:
-

The Menopause Manifesto – by Dr. Jen Gunter
10almonds is reader-supported. We may, at no cost to you, receive a portion of sales if you purchase a product through a link in this article.
From the subtitle, you may wonder: with facts and feminism? Is this book about biology or sociology?
And the answer is: both. It’s about biology, principally, but without ignoring the context. We do indeed “live in a society”, and that affects everything from our healthcare options to what is expected of us as women.
So, as a warning: if you dislike science and/or feminism, you won’t like this book.
Dr. Jen Gunter, herself a gynaecologist, is here to arm us with science-based facts, to demystify an important part of life that is commonly glossed over.
She talks first about the what/why/when/how of menopause, and then delivers practical advice. She also talks about the many things we can (and can’t!) usefully do about symptoms we might not want, and how to look after our health overall in the context of menopause. We learn what natural remedies do or don’t work and/or can be actively harmful, and we learn the ins and outs of different hormone therapy options too.
Bottom line: no matter whether you are pre-, peri-, or post-menopausal, this is the no-BS guide you’ve been looking for. Same goes if you’re none of the above but spend any amount of time close to someone who is.
Don’t Forget…
Did you arrive here from our newsletter? Don’t forget to return to the email to continue learning!
Learn to Age Gracefully
Join the 98k+ American women taking control of their health & aging with our 100% free (and fun!) daily emails: