
Top Foods Against Neuroinflammation
10almonds is reader-supported. We may, at no cost to you, receive a portion of sales if you purchase a product through a link in this article.
Chronic inflammation is something you might feel in your joints, but it will usually be in the brain too. There, neuroinflammation can disrupt brain function, affecting stress responses, mood, cognition, and even alter brain structure. It’s also heavily implicated in the pathogenesis of various forms of dementia.
What to do about it
Dr. Tracey Marks, psychiatrist, bids us eat:
- Fatty fish: omega-3-rich fish like salmon reduce neuroinflammation.
- Leafy greens: spinach, kale, and collards protect brain cells and support neurotransmitter production.
- Berries: blueberries and strawberries improve memory and protect neurons.
- Nuts and seeds: walnuts, almonds, and flaxseeds support brain health and reduce inflammation.
- Turmeric: curcumin combats inflammation and supports neuron growth (best with supplements).
- Fermented foods: yogurt and sauerkraut improve gut health, benefiting the brain via the gut-brain axis; not just the vagus nerve, but also, remember that various neurotransmitters (including serotonin) are made in the gut.
Of course, you should also avoid alcohol, nicotine, red meat, processed meat, and ideally also white flour products, and sugary foods (unless they are also rich in fiber, like whole fruit).
For more on each of these, enjoy:
Click Here If The Embedded Video Doesn’t Load Automatically!
Want to learn more?
You might also like to read:
How to Prevent (or Reduce) Inflammation
Take care!
Don’t Forget…
Did you arrive here from our newsletter? Don’t forget to return to the email to continue learning!

Learn to Age Gracefully
Join the 98k+ American women taking control of their health & aging with our 100% free (and fun!) daily emails:
-

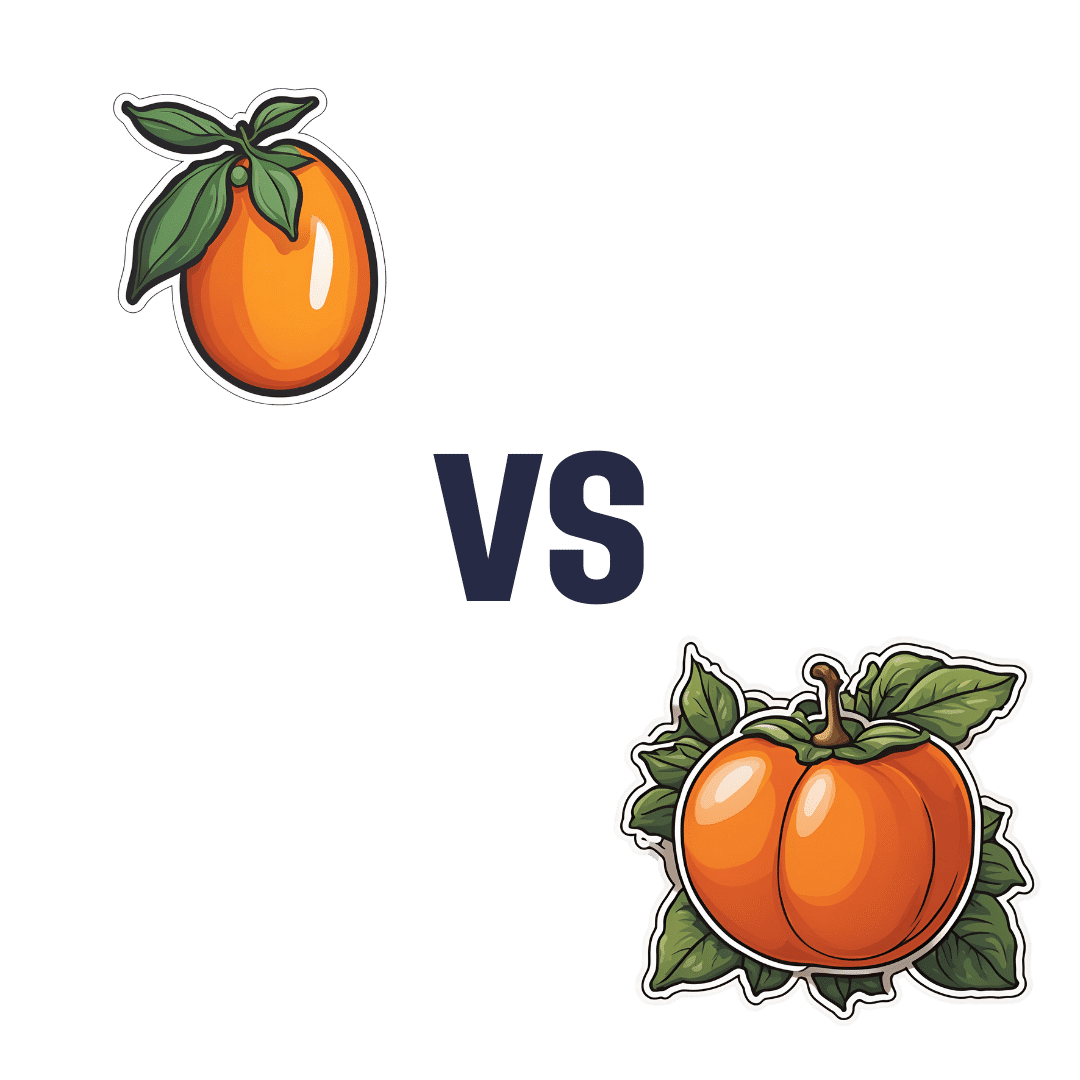
Kumquat vs Persimmon – Which is Healthier?

10almonds is reader-supported. We may, at no cost to you, receive a portion of sales if you purchase a product through a link in this article.
Our Verdict
When comparing kumquat to persimmon, we picked the kumquat.
Why?
In terms of macros, kumquats have more protein, though like most fruits, it’s unlike anybody’s eating them for the protein content. More importantly, they have a lot more fiber, for less than half the carbs. It bears mentioning though that (again, like most fruits) persimmon isn’t bad for this either, and both fruits are low glycemic index foods.
When it comes to vitamins, it’s not close: kumquats have more of vitamins A, B1, B2, B3, B5, B6, B9, E, and choline, while persimmon has more vitamin C. It’s worth noting that kumquats are already a very good source of vitamin C though; persimmon just has more.
In the category of minerals, kumquats again lead with more calcium, copper, magnesium, manganese, and zinc, while persimmon has more iron, phosphorus, and potassium.
In short, enjoy both, and/or whatever fruit you enjoy the most, but if looking for nutritional density, kumquats are bringing it.
Want to learn more?
You might like to read:
Why You’re Probably Not Getting Enough Fiber (And How To Fix It)
Take care!
Share This Post
-

Our ‘food environments’ affect what we eat. Here’s how you can change yours to support healthier eating
10almonds is reader-supported. We may, at no cost to you, receive a portion of sales if you purchase a product through a link in this article.
In January, many people are setting new year’s resolutions around healthy eating. Achieving these is often challenging – it can be difficult to change our eating habits. But healthy diets can enhance physical and mental health, so improving what we eat is a worthwhile goal.
One reason it’s difficult to change our eating habits relates to our “food environments”. This term describes:
The collective physical, economic, policy and sociocultural surroundings, opportunities and conditions that influence people’s food and beverage choices and nutritional status.
Our current food environments are designed in ways that often make it easier to choose unhealthy foods than healthy ones. But it’s possible to change certain aspects of our personal food environments, making eating healthier a little easier.
Unhealthy food environments
It’s not difficult to find fast-food restaurants in Australian cities. Meanwhile, there are junk foods at supermarket checkouts, service stations and sporting venues. Takeaway and packaged foods and drinks routinely come in large portion sizes and are often considered tastier than healthy options.
Our food environments also provide us with various prompts to eat unhealthy foods via the media and advertising, alongside health and nutrition claims and appealing marketing images on food packaging.
At the supermarket, unhealthy foods are often promoted through prominent displays and price discounts.
We’re also exposed to various situations in our everyday lives that can make healthy eating challenging. For example, social occasions or work functions might see large amounts of unhealthy food on offer.
Not everyone is affected in the same way
People differ in the degree to which their food consumption is influenced by their food environments.
This can be due to biological factors (for example, genetics and hormones), psychological characteristics (such as decision making processes or personality traits) and prior experiences with food (for example, learned associations between foods and particular situations or emotions).
People who are more susceptible will likely eat more and eat more unhealthy foods than those who are more immune to the effects of food environments and situations.
Those who are more susceptible may pay greater attention to food cues such as advertisements and cooking smells, and feel a stronger desire to eat when exposed to these cues. Meanwhile, they may pay less attention to internal cues signalling hunger and fullness. These differences are due to a combination of biological and psychological characteristics.
These people might also be more likely to experience physiological reactions to food cues including changes in heart rate and increased salivation.

It’s common to eat junk food in front of the TV.
PR Image Factory/ShutterstockOther situational cues can also prompt eating for some people, depending on what they’ve learned about eating. Some of us tend to eat when we’re tired or in a bad mood, having learned over time eating provides comfort in these situations.
Other people will tend to eat in situations such as in the car during the commute home from work (possibly passing multiple fast-food outlets along the way), or at certain times of day such as after dinner, or when others around them are eating, having learned associations between these situations and eating.
Being in front of a TV or other screen can also prompt people to eat, eat unhealthy foods, or eat more than intended.
Making changes
While it’s not possible to change wider food environments or individual characteristics that affect susceptibility to food cues, you can try to tune into how and when you’re affected by food cues. Then you can restructure some aspects of your personal food environments, which can help if you’re working towards healthier eating goals.
Although both meals and snacks are important for overall diet quality, snacks are often unplanned, which means food environments and situations may have a greater impact on what we snack on.
Foods consumed as snacks are often sugary drinks, confectionery, chips and cakes. However, snacks can also be healthy (for example, fruits, nuts and seeds).
Try removing unhealthy foods, particularly packaged snacks, from the house, or not buying them in the first place. This means temptations are removed, which can be especially helpful for those who may be more susceptible to their food environment.
Planning social events around non-food activities can help reduce social influences on eating. For example, why not catch up with friends for a walk instead of lunch at a fast-food restaurant.
Creating certain rules and habits can reduce cues for eating. For example, not eating at your desk, in the car, or in front of the TV will, over time, lessen the effects of these situations as cues for eating.
You could also try keeping a food diary to identify what moods and emotions trigger eating. Once you’ve identified these triggers, develop a plan to help break these habits. Strategies may include doing another activity you enjoy such as going for a short walk or listening to music – anything that can help manage the mood or emotion where you would have typically reached for the fridge.
Write (and stick to) a grocery list and avoid shopping for food when hungry. Plan and prepare meals and snacks ahead of time so eating decisions are made in advance of situations where you might feel especially hungry or tired or be influenced by your food environment.

Georgie Russell, Senior Lecturer, Institute for Physical Activity and Nutrition (IPAN), Deakin University and Rebecca Leech, NHMRC Emerging Leadership Fellow, School of Exercise and Nutrition Sciences, Deakin University
This article is republished from The Conversation under a Creative Commons license. Read the original article.
Share This Post
-
Beetroot For More Than Just Your Blood Pressure
10almonds is reader-supported. We may, at no cost to you, receive a portion of sales if you purchase a product through a link in this article.
Beetroot is well-known for being good for blood pressure, but what else can it do?
Firstly, blood pressure, yes
This is because… Well, we’ll quote from a paper:
❝As a source of nitrate, beetroot ingestion provides a natural means of increasing in vivo nitric oxide (NO) availability and has emerged as a potential strategy to prevent and manage pathologies associated with diminished NO bioavailability, notably hypertension and endothelial function❞
Source: The Potential Benefits of Red Beetroot Supplementation in Health and Disease
That’s a little modest in its wording though, so let’s just be clear, it does work:
- The effects of dietary nitrate on blood pressure and endothelial function: a review of human intervention studies
- Clinical evidence demonstrating the utility of inorganic nitrate in cardiovascular health
- Vascular effects of dietary nitrate (as found in green leafy vegetables and beetroot) via the nitrate-nitrite-nitric oxide pathway
…where you can see that it significantly reduced systolic and diastolic blood pressure.
Note: this does mean that if you suffer conversely from hypotension (dangerously low blood pressure) you should probably skip the beetroot.
For your blood sugar levels, too
The fiber in whole beetroot or powdered beetroot extract (but not beetroot juice) is, as usual, good for balancing blood sugars. However, in the case of beetroot, it (probably because of the betalain content, specifically betanin) also improves insulin sensitivity, resulting in lower fasting and postprandial (after-dinner) insulin levels:
See also (cited in the above paper): Post-prandial effect of beetroot (beta vulgaris) juice on glucose and lipids levels of apparently healthy subjects
For your blood lipids, also
This one has less readily available research to support it, so in the category of “papers that aren’t paywalled into oblivion”, here’s one that concludes with the entertainingly specific:
❝Results: Beetroot juice intake increased plasma high density lipoprotein (t= -60.88, P<0.05). Triglyceride, total cholesterol, and low density lipoprotein were reduced (P<0.05). Compared with placebo, beetroot juice reduced the concentrations of triglyceride, total cholesterol, and low density lipoprotein (P<0.05).
Conclusion: Regular beetroot juice intake has significant effects on lipid profile in female soccer players, hence its suggestion for preventing diseases such as hypercholesterolemia and hypertension in female soccer players.❞
However, even if you are not a female soccer player, chances are it will have the same effect on your physiology as theirs (but, credit where it’s due, it’s right that they make claims about only what they know for sure).
Here’s the paper: Efficacy of Beetroot Juice Consumption on the Lipid Profile of Female Soccer Players
What’s good for your blood, is good for your brain
…and that’s just as true here:
When reading that, you’ll see that as well as two health outcome benefits (antidiabetic and anti-Alzheimer’s), there are also two mechanisms of action, which are:
- The blood sugar lowering, insulin sensitivity increasing, lipid improving, qualities we discussed already
- Its fabulous flavonoid content
These two things each in turn have a lot of other components and nuances, so here’s an infographic covering them ← this flowchart makes it all a lot clearer
On which note, those flavonoids aren’t the only active compounds present that result in…
Antioxidant & anti-inflammatory action
This one’s pretty straightforward, but it’s worth mentioning also that (as is commonly the case) what fights oxidation also fights cancer:
❝In recent years, the beetroot, especially the betalains (betanin) and nitrates it contains, now has received increasing attention for their effective biological activity.
Betalains have been proven to eliminate oxidative and nitrative stress by scavenging DPPH, preventing DNA damage, and reducing LDL.
It also has been found to exert antitumor activity by inhibiting cell proliferation, angiogenesis, inducing cell apoptosis, and autophagy.❞
Want to try some?
We don’t sell it, but you can easily grow your own or find it at your local supermarket; if you prefer it in supplement form, dried is better than juice (for a multitude of reasons), so here for your convenience is an example product on Amazon 😎
Enjoy!
Share This Post

-
Shrimp vs Caviar – Which is Healthier?
10almonds is reader-supported. We may, at no cost to you, receive a portion of sales if you purchase a product through a link in this article.
Our Verdict
When comparing shrimp to caviar, we picked the caviar.
Why?
Both of these seafoods share a common history (also shared with lobster, by the way) of “nutrient-dense peasant-food that got gentrified and now it’s more expensive despite being easier to source”. But, cost and social quirks aside, what are their strengths and weaknesses?
In terms of macros, both are high in protein, but caviar is much higher in fat. You may be wondering: are the fats healthy? And the answer is that it’s a fairly even mix between monounsaturated (healthy), polyunsaturated (healthy), and saturated (unhealthy). The fact that caviar is generally enjoyed in very small portions is its saving grace here, but quantity for quantity, shrimp is the natural winner on macros.
…unless we take into account the omega-3 and omega-6 balance, in which case, it’s worthy of note that caviar has more omega-3 (which most people could do with consuming more of) while shrimp has more omega-6 (which most people could do with consuming less of).
When it comes to vitamins, caviar has more of vitamins A, B1, B2, B5, B6, B9, B12, D, K, and choline; nor are the margins small in most cases, being multiples (or sometimes, tens of multiples) higher. Shrimp, meanwhile, boasts only more vitamin B3.
In the category of minerals, caviar leads with more calcium, iron, magnesium, manganese, phosphorus, potassium, and selenium, while shrimp has more copper and zinc.
All in all, while shrimp has its benefits for being lower in fat (and thus also, for those whom that may interest, lower in calories), caviar wins the day by virtue of its overwhelming nutritional density.
Want to learn more?
You might like to read:
What Omega-3 Fatty Acids Really Do For Us
Take care!
Don’t Forget…
Did you arrive here from our newsletter? Don’t forget to return to the email to continue learning!
Learn to Age Gracefully
Join the 98k+ American women taking control of their health & aging with our 100% free (and fun!) daily emails:
-

Vision for Life, Revised Edition – by Dr. Meir Schneider
10almonds is reader-supported. We may, at no cost to you, receive a portion of sales if you purchase a product through a link in this article.
The “ten steps” would be better called “ten exercises”, as they’re ten things that one can (and should) continue to do on an ongoing basis, rather than steps to progress through and then forget about.
We can’t claim to have tested the ten exercises for improvement (this reviewer has excellent eyesight and merely hopes to maintain such as she gets older) but the rationale is compelling, and the public testimonials abundant.
Dr. Schneider also talks about improving and correcting errors of refraction—in other words, doing the job of any corrective lenses you may currently be using. While he doesn’t claim miracles, it turns out there is a lot that can be done for common issues such as near-sightedness and far-sightedness, amongst others.
There’s a large section on managing more chronic pathological eye conditions than this reviewer previously knew existed; in some cases it’s a matter of making sure things don’t get worse, but in many others, there’s a recurring of theme of “and here’s an exercise for correcting that”.
The writing style is a little more “narrative prose” than we’d have liked, but the quality of the content more than makes up for any style preference issues.
Bottom line: the human body is a highly adaptive organism, and sometimes it just needs a little help to correct itself. This book can help with that.
Click here to check out Vision for Life, and take good care of yours!
Don’t Forget…
Did you arrive here from our newsletter? Don’t forget to return to the email to continue learning!
Learn to Age Gracefully
Join the 98k+ American women taking control of their health & aging with our 100% free (and fun!) daily emails:
-
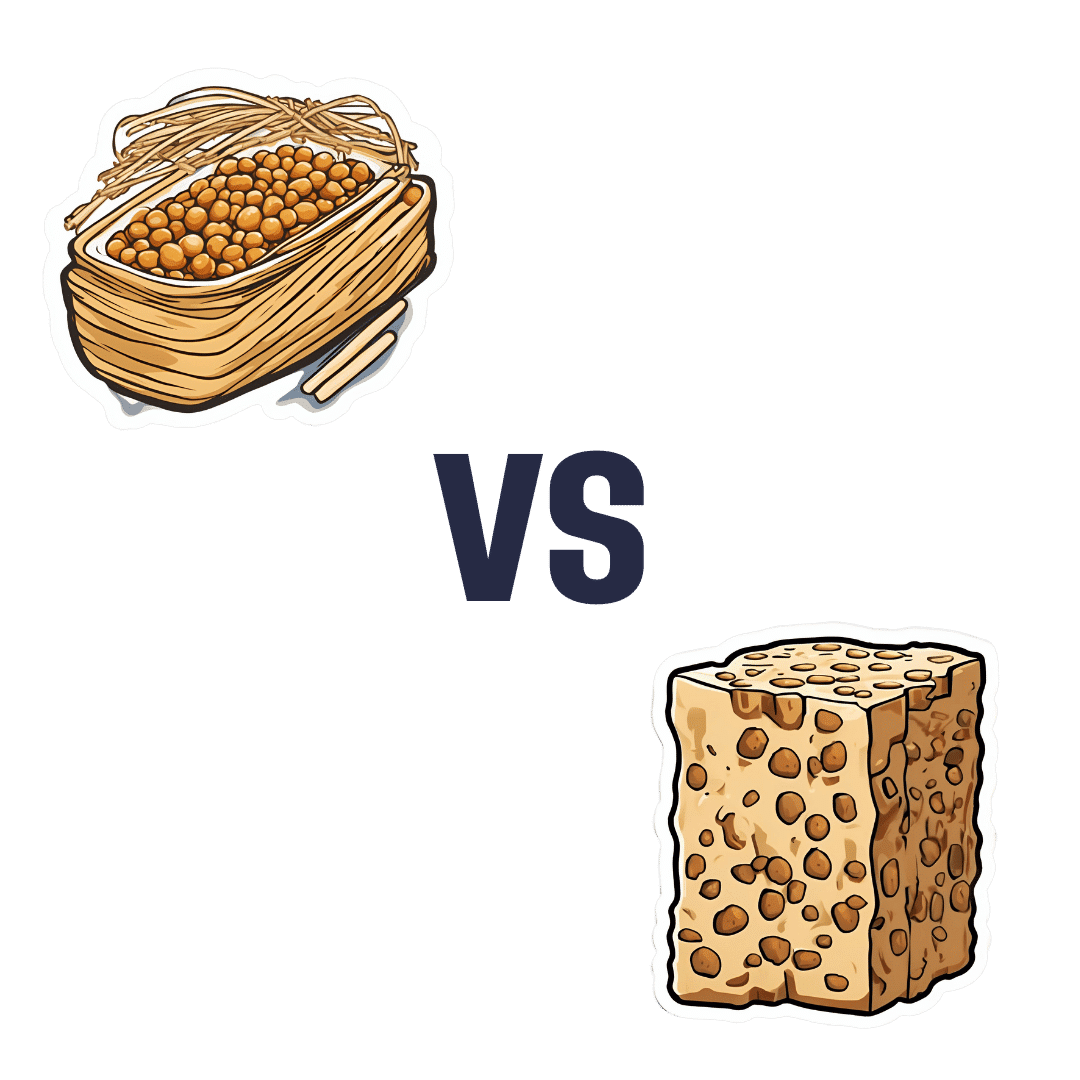
Natto vs Tempeh – Which is Healthier?
10almonds is reader-supported. We may, at no cost to you, receive a portion of sales if you purchase a product through a link in this article.
Our Verdict
When comparing nattō to tempeh, we picked the nattō.
Why?
Both are great, but in the battle of fermented soybeans vs fermented soybeans with extra steps, it turns out that the simplest option is the best, even if tempeh was a close runner-up:
In terms of macros, nattō has more carbs and fiber for the same protein and fat; we’ll call this category a tie or a marginal win for nattō.
In the category of vitamins, nattō has more of vitamins B1, C, E, K, and choline, while tempeh has more of vitamins B2, B3, B6, and B9. A clearer, yet still modest, win for nattō.
Minerals, however, are what really set them apart: nattō has more calcium, copper, iron, magnesium, manganese, potassium, selenium, and zinc, while tempeh has more phosphorus. An overwhelming win for nattō this time.
In short: enjoy either or both, but nattō is the more nutritionally dense option!
Want to learn more?
You might like:
21% Stronger Bones in a Year at 62? Yes, It’s Possible (No Calcium Supplements Needed!) ← nattō is featured as part of the diet 😎
Enjoy!
Don’t Forget…
Did you arrive here from our newsletter? Don’t forget to return to the email to continue learning!
Learn to Age Gracefully
Join the 98k+ American women taking control of their health & aging with our 100% free (and fun!) daily emails: